Little Sunday afternoon project.
Two PHP scripts.
Install on your webserver (see previous post)
Resizes images and removes the onkyo header.
(See previous posts)
<?php
// onkyo.php
// write jpeg header
header('Content-type: image/jpg');

$lines = file_get_contents('http://IP-ONKYO-AMPLIFIER/album_art.cgi', false);
$lines = explode("\n", $lines);
// remove weird Onkyo header (3 lines)
$content = implode("\n", array_slice($lines, 3));
print $content;
?>
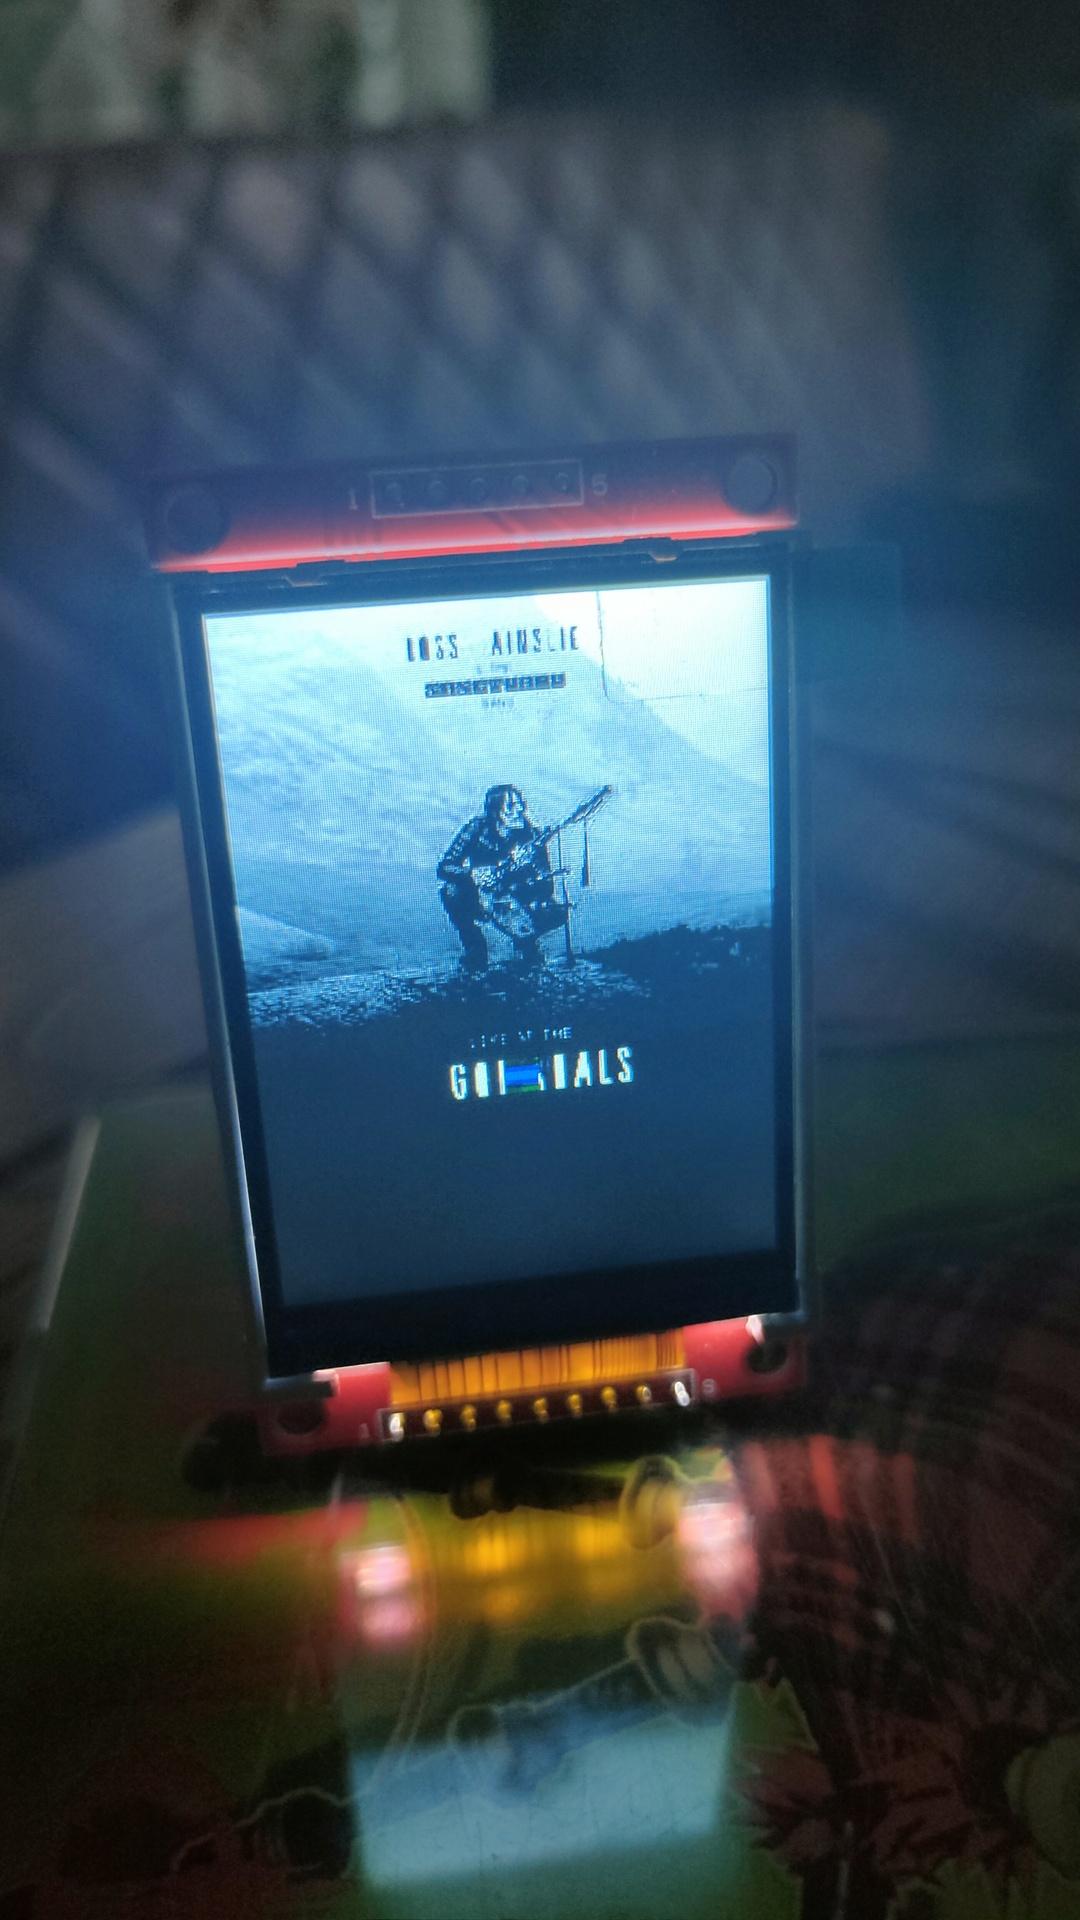
CoverArt from a squeezeboxserver
<?php
// squeezebox.php
// leave playerid as is, for the default.
// change to MAC address of player to get coverart specific player
$img = file_get_contents('http://IP-LOGITECH_MEDIA_SERVER:9000/music/current/cover.jpg?player=<playerid>');
$im = imagecreatefromstring($img);
$width = imagesx($im);
$height = imagesy($im);
$newwidth = '240';
$newheight = '240';
$thumb = imagecreatetruecolor($newwidth, $newheight);
imagecopyresized($thumb, $im, 0, 0, 0, 0, $newwidth, $newheight, $width, $height);
//imagejpeg($thumb,'small.jpg'); //save image as jpg
header('Content-Type: image/jpeg');
imagejpeg($thumb);
imagedestroy($thumb);
imagedestroy($im);
?>
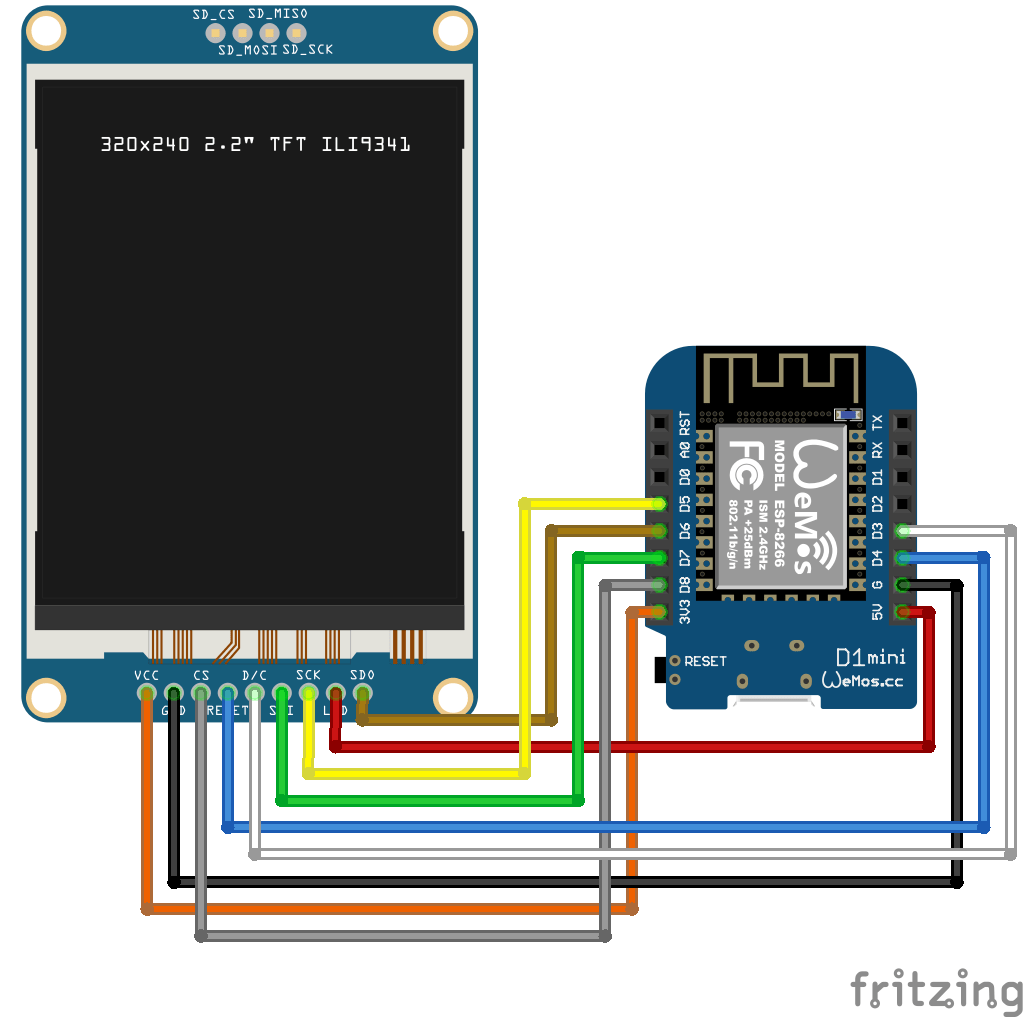
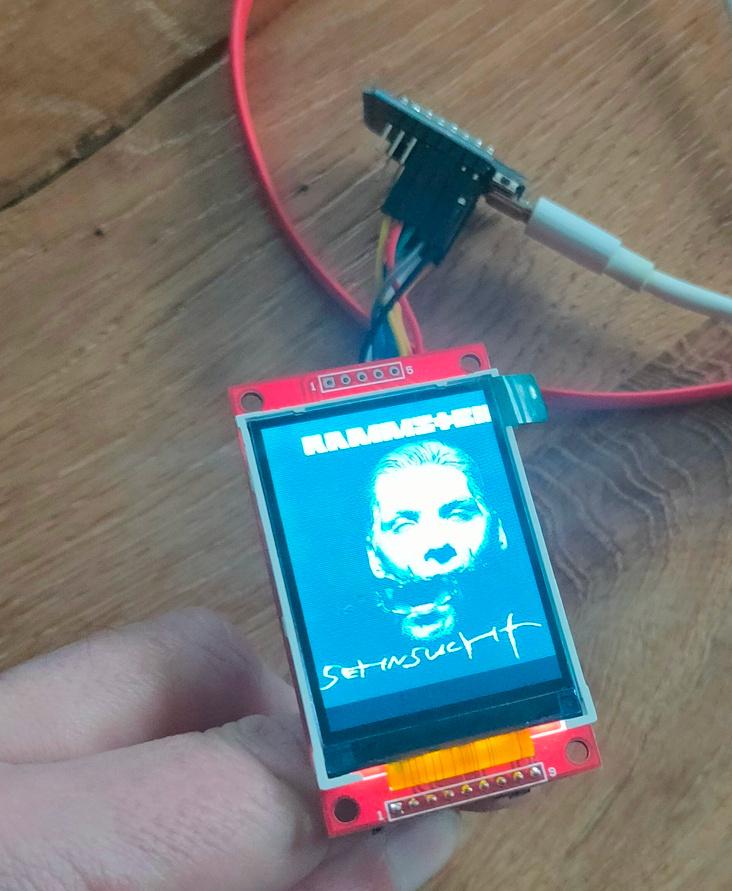
Arduino install:
Start IDE
Install TJpg_Decoder library
Open examples>Tjpeg_decoder>SPIFFS>SPIFFS_web_spiffs
change wifi credentials
and the url to your php script.
  bool loaded_ok = getFile("https://myserver/onkyo.php", "/M81.jpg"); // Note name preceded with "/"

replace bottom part with

 // while(1) yield();
 delay(5000);
     SPIFFS.remove("/M81.jpg");