I’ve used machine learning before, this is my waveform classifier.
(Next to do, more classes)
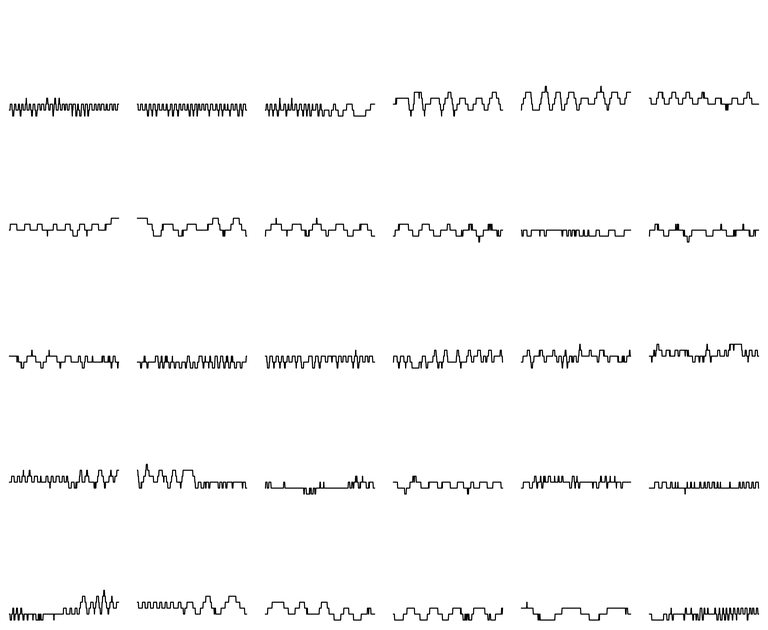
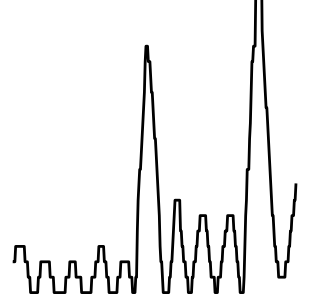
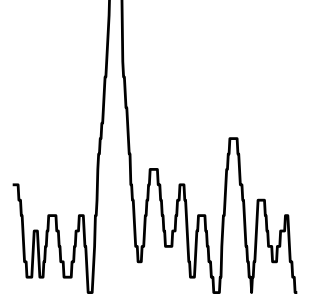
Class0 – Train data
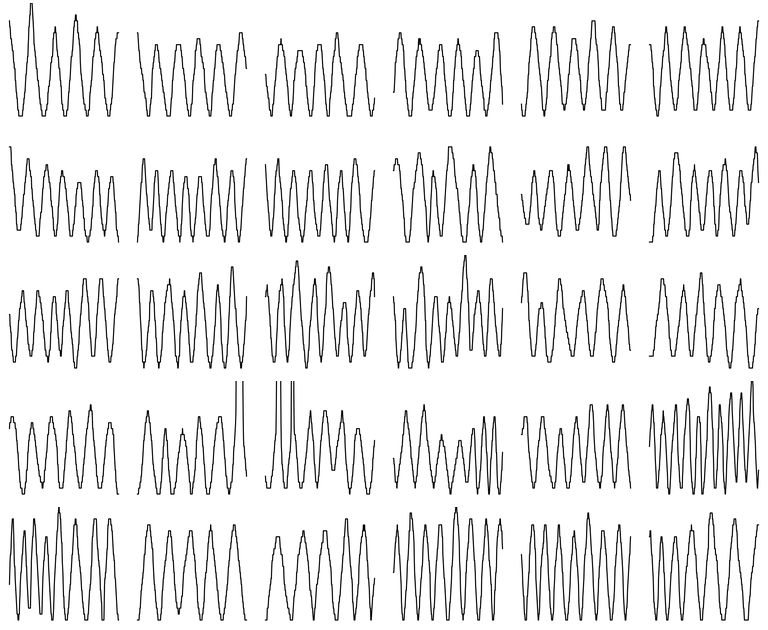
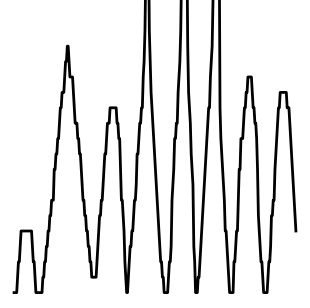
Class1 – Train data
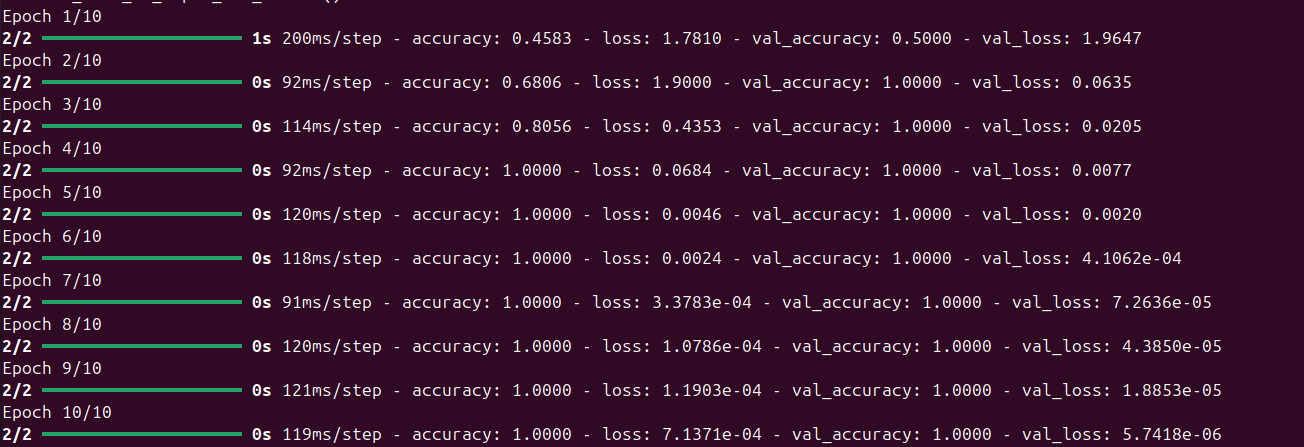
Running train script
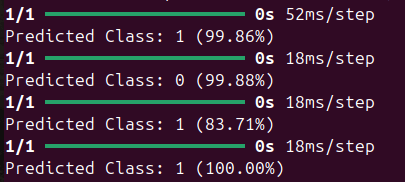
Test data
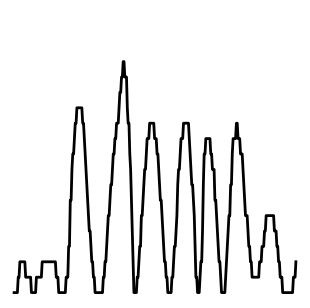
Prediction
Code ( generates a h5 classifier )
import tensorflow as tf

from tensorflow.keras.preprocessing.image import ImageDataGenerator
from tensorflow.keras.models import Sequential
from tensorflow.keras.layers import Conv2D, MaxPooling2D, Flatten, Dense, Dropout, Input
import os


# Define dataset path
DATASET_PATH = "data/"

# Load images using ImageDataGenerator
datagen = ImageDataGenerator(rescale=1./255, validation_split=0.2)

train_data = datagen.flow_from_directory(
    DATASET_PATH,
    target_size=(128, 128),
    batch_size=32,
    class_mode='categorical',
    subset="training"
)

val_data = datagen.flow_from_directory(
    DATASET_PATH,
    target_size=(128, 128),
    batch_size=32,
    class_mode='categorical',
    subset="validation"
)

# Define CNN model
model = Sequential([
    Input(shape=(128, 128, 3)),
    Conv2D(32, (3,3), activation='relu'),
    MaxPooling2D(2,2),

    Conv2D(64, (3,3), activation='relu'),
    MaxPooling2D(2,2),

    Flatten(),
    Dense(128, activation='relu'),
    Dropout(0.5),
    Dense(train_data.num_classes, activation='softmax')
])

# Compile model
model.compile(optimizer='adam', loss='categorical_crossentropy', metrics=['accuracy'])

# Train the CNN
model.fit(train_data, validation_data=val_data, epochs=10)

# Save model
model.save("waveform_classifier.h5")
print("Model saved as waveform_classifier.h5")
Code to predict class
import numpy as np
from tensorflow.keras.preprocessing import image
from tensorflow.keras.models import load_model

# Load trained model
model = load_model("waveform_classifier.h5")

# Load and preprocess image
def predict_waveform(image_path):
    img = image.load_img(image_path, target_size=(128, 128))
    img_array = image.img_to_array(img) / 255.0
    img_array = np.expand_dims(img_array, axis=0)

    # Predict class
    prediction = model.predict(img_array)
    predicted_class = np.argmax(prediction)

    print(f"Predicted Class: {predicted_class}")

for f in range(1,5):
    predict_waveform("testdata/" + str(f) + ".png")
Generate images from CSV
import pandas as pd
import matplotlib.pyplot as plt

def waveform_to_image(csv_file, signal_column="amplitude", save_path="waveform.png"):
    # Load CSV
    df = pd.read_csv(csv_file)

    # Extract signal (time,amplitude)
    signal = df[signal_column]

    # Plot waveform
    plt.figure(figsize=(4, 4))
    plt.ylim(0, 20)

    plt.plot(signal, color='black', linewidth=2)
    # Hide axes
    plt.axis('off')

    # Save as an image
    plt.savefig(save_path, bbox_inches='tight', pad_inches=0)
    plt.close()
    print(f"Saved waveform image as {save_path}")

# Loop through files 1.csv to 32.csv and generate images
for i in range(1, 31):
    csv_filename = f"{i}.csv"
    png_filename = f"{i}.png"
    waveform_to_image(csv_filename, save_path=png_filename)