See the yellow-white led strings, in the first two pictures.
These will be placed in the back.
Search : Flexible LED Filament String
See the yellow-white led strings, in the first two pictures.
These will be placed in the back.
Search : Flexible LED Filament String
In the past, I’ve played with a standard lidar device.
Now it is time to check out a 360 version.

This one is very small (40mm x 40mm x 35mm)
Provided examples didn’t work. (People with same error on the Github issues tracker page had the same)
I changed the python script so it worked also with this YDLidar T-mini Plus version.
Next to-do, put this on my robot car.
Code:
import os
import ydlidar
import time
import sys
from matplotlib.patches import Arc
import matplotlib.pyplot as plt
import matplotlib.animation as animation
import numpy as np

RMAX = 32.0

fig = plt.figure()
lidar_polar = plt.subplot(polar=True)
lidar_polar.autoscale_view(True,True,True)
lidar_polar.set_rmax(RMAX)
lidar_polar.grid(True)
ports = ydlidar.lidarPortList();
port = "/dev/ttyUSB0";
for key, value in ports.items():
    port = value;

laser = ydlidar.CYdLidar();

laser.setlidaropt(ydlidar.LidarPropSerialPort, port);
laser.setlidaropt(ydlidar.LidarPropSerialBaudrate, 230400);
laser.setlidaropt(ydlidar.LidarPropLidarType, ydlidar.TYPE_TRIANGLE);
laser.setlidaropt(ydlidar.LidarPropDeviceType, ydlidar.YDLIDAR_TYPE_SERIAL);
laser.setlidaropt(ydlidar.LidarPropScanFrequency, 10.0);
laser.setlidaropt(ydlidar.LidarPropSampleRate, 4);
laser.setlidaropt(ydlidar.LidarPropSingleChannel, False);
laser.setlidaropt(ydlidar.LidarPropMaxAngle, 180.0);
laser.setlidaropt(ydlidar.LidarPropMinAngle, -180.0);
laser.setlidaropt(ydlidar.LidarPropMaxRange, 16.0);
laser.setlidaropt(ydlidar.LidarPropMinRange, 0.02);
laser.setlidaropt(ydlidar.LidarPropIntenstiy, True);

scan = ydlidar.LaserScan()

def animate(num):

    r = laser.doProcessSimple(scan);
    if r:
        angle = []
        ran = []
        intensity = []
        for point in scan.points:
            angle.append(point.angle);
            ran.append(point.range);
            intensity.append(point.intensity);
        lidar_polar.clear()
        lidar_polar.scatter(angle, ran, c=intensity, cmap='hsv', alpha=0.95, marker=".")

ret = laser.initialize();
if ret:
    ret = laser.turnOn();
    if ret:
        ani = animation.FuncAnimation(fig, animate, interval=50)
        plt.show()
    laser.turnOff();
laser.disconnecting();
plt.close();
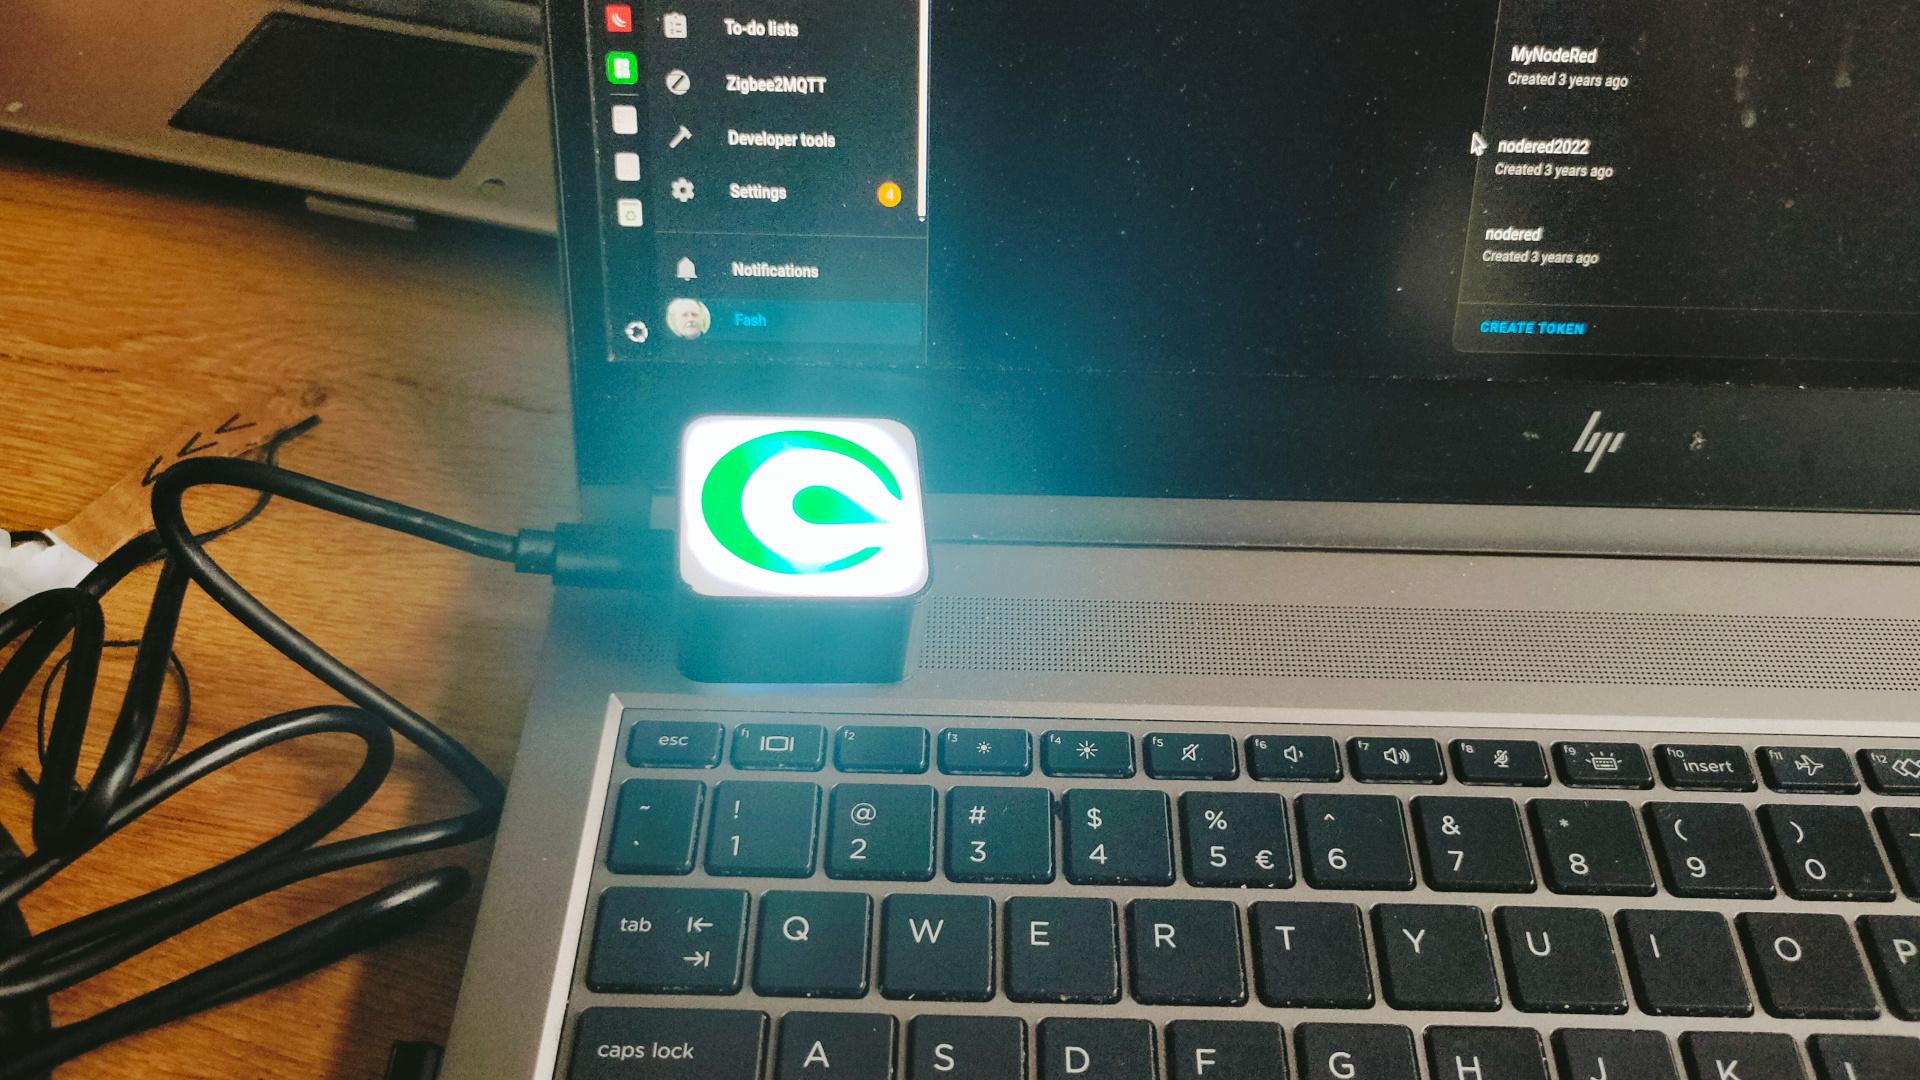
3D printed a little light case for a wemos and a piece of WS2812 led strip I had lying around.
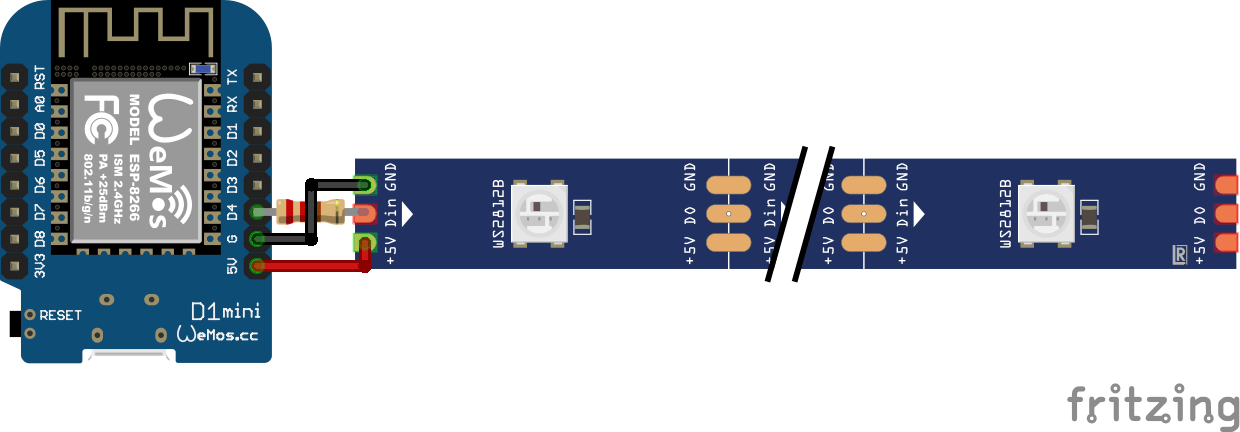
Schematic:
NOTE: The resistor is 100-500 ohm (I forgot, just try)
You can only use this trick for a few leds (I used 4), else you better can use the sacrifice a led to make a level shifter trick.
(Wemos logic is 3.3V and the led strip is 5V)
I flashed ESPHome on the wemos using the flasher in Home Assistant.
Code:
esphome:
  name: matternotification
  friendly_name: matternotification

esp8266:
  board: d1_mini

# Enable logging
logger:

# Enable Home Assistant API
api:
  encryption:
    key: "ogFxZUXerNxxxxxxxxxxxxxxxxxWaWyJVxCM="

ota:
  - platform: esphome
    password: "xxxxxxxxxxxxxxxxxxxxxxxxxxxxxxxxxxx"

wifi:
  ssid: !secret wifi_ssid
  password: !secret wifi_password

  # Enable fallback hotspot (captive portal) in case wifi connection fails
  ap:
    ssid: "Matternotification"
    password: "rxxxxxxxxxxxxxxx"

captive_portal:

light:
  - platform: neopixelbus
    type: GRB
    variant: WS2812
    pin: D4
    num_leds: 4
    name: "NeoPixelMattermost"
To get the status of messages and controlling the HA entity, I made a bash script.
First curl command to get a token from Mattermost using the API.
Second curl command to get messages states from Mattermost.
Bottom two curl command turn a light entity on or off in your Home Assistant server using a API
#!/bin/bash
#set -x
# change : mattermost username and password (and server)
# change : mattermost userid and teamid
# change : home assistant long time token (and HA server)
# change : light entity
#
while true; do
# Get token using login
#token=$(curl -s -i -X POST -H 'Content-Type: application/json' -d '{"login_id":"username","password":"password"}' https://mattermostinstance.com/api/v4/users/login | grep ^Token | awk '{ print $2 }' | tr -d '\r' )
#using a MM auth token (see below)
token=xxxxxxxxxxxxxxxxxxxx

# Get messages
# Gives you something like
# {"team_id":"j3fd7gksxxxxxxxxxxxxxjr","channel_id":"rroxxxxxxxxxxxxxxtueer","msg_count":0,"mention_count":0,"mention_count_root":0,"urgent_mention_count":0,"msg_count_root":0}
# We need to count ":0"

messages=$(curl -s  -i -H "Authorization: Bearer ${token}"  https://mattermostinstance.com/api/v4/users/ou5nz5--USER-UUID--rbuw4xy/channels/rropejn--TEAM-ID--tueer/unread | grep channel
| grep -o ":0" | wc -l)

# If 5 times ":0" then no messages
if [ $messages == 5 ] ; then
# Turn off
curl -s -X POST -H "Authorization: Bearer eyJhbGciOiJIUzI1NiIsInR5cC--HOME-ASSISTANT-LONG-TIME-TOKEN-CBusTgTUueWpPNdH5WAWOE" \
       -H "Content-Type: application/json" \
       -d '{"entity_id": "light.matternotification_neopixelmattermost_2"}' \
       http://192.168.1.2:8123/api/services/light/turn_off > /dev/null
else
# Turn on
curl -s -X POST -H "Authorization: Bearer eyJhbGciOiJIUzI1NiIsInR5cC--HOME-ASSISTANT-LONG-TIME-TOKEn--CBusTgTUueWpPNdH5WAWOE" \
       -H "Content-Type: application/json" \
       -d '{"entity_id": "light.matternotification_neopixelmattermost_2"}' \
       https://192.168.1.2:8123/api/services/light/turn_on > /dev/null
fi
sleep 5
done
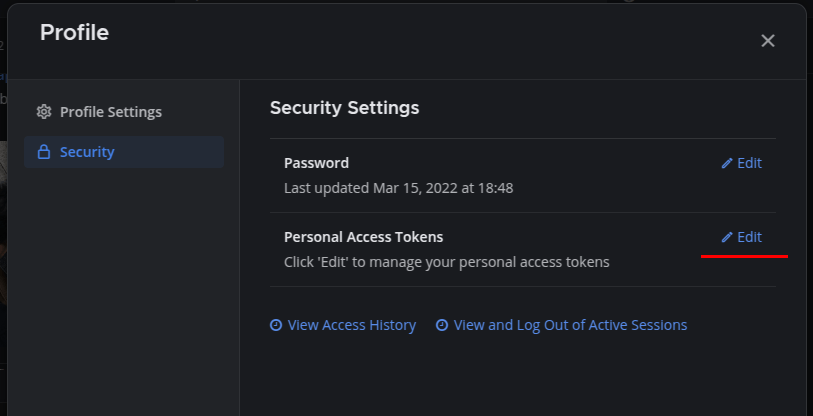
Get a Long-lived access token from HA:
Profile > Security and Create Token
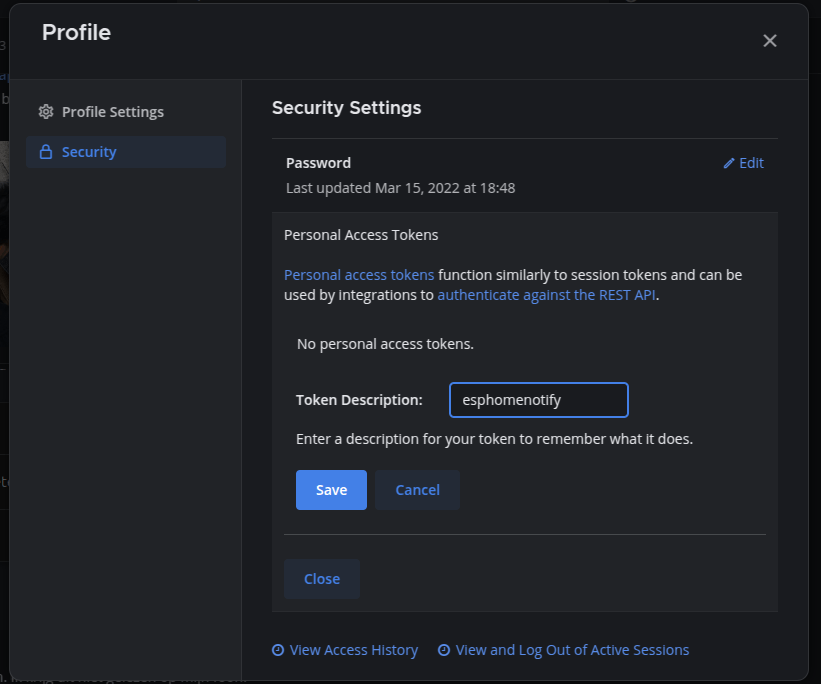
Create a token in Mattermost:

Jingcai/Sunton ESP32-3248S035C – 3.5 inch TFT Display 320*480 pixels with Capacitive Touchscreen – ESP32
An even cheaper solution than post below.
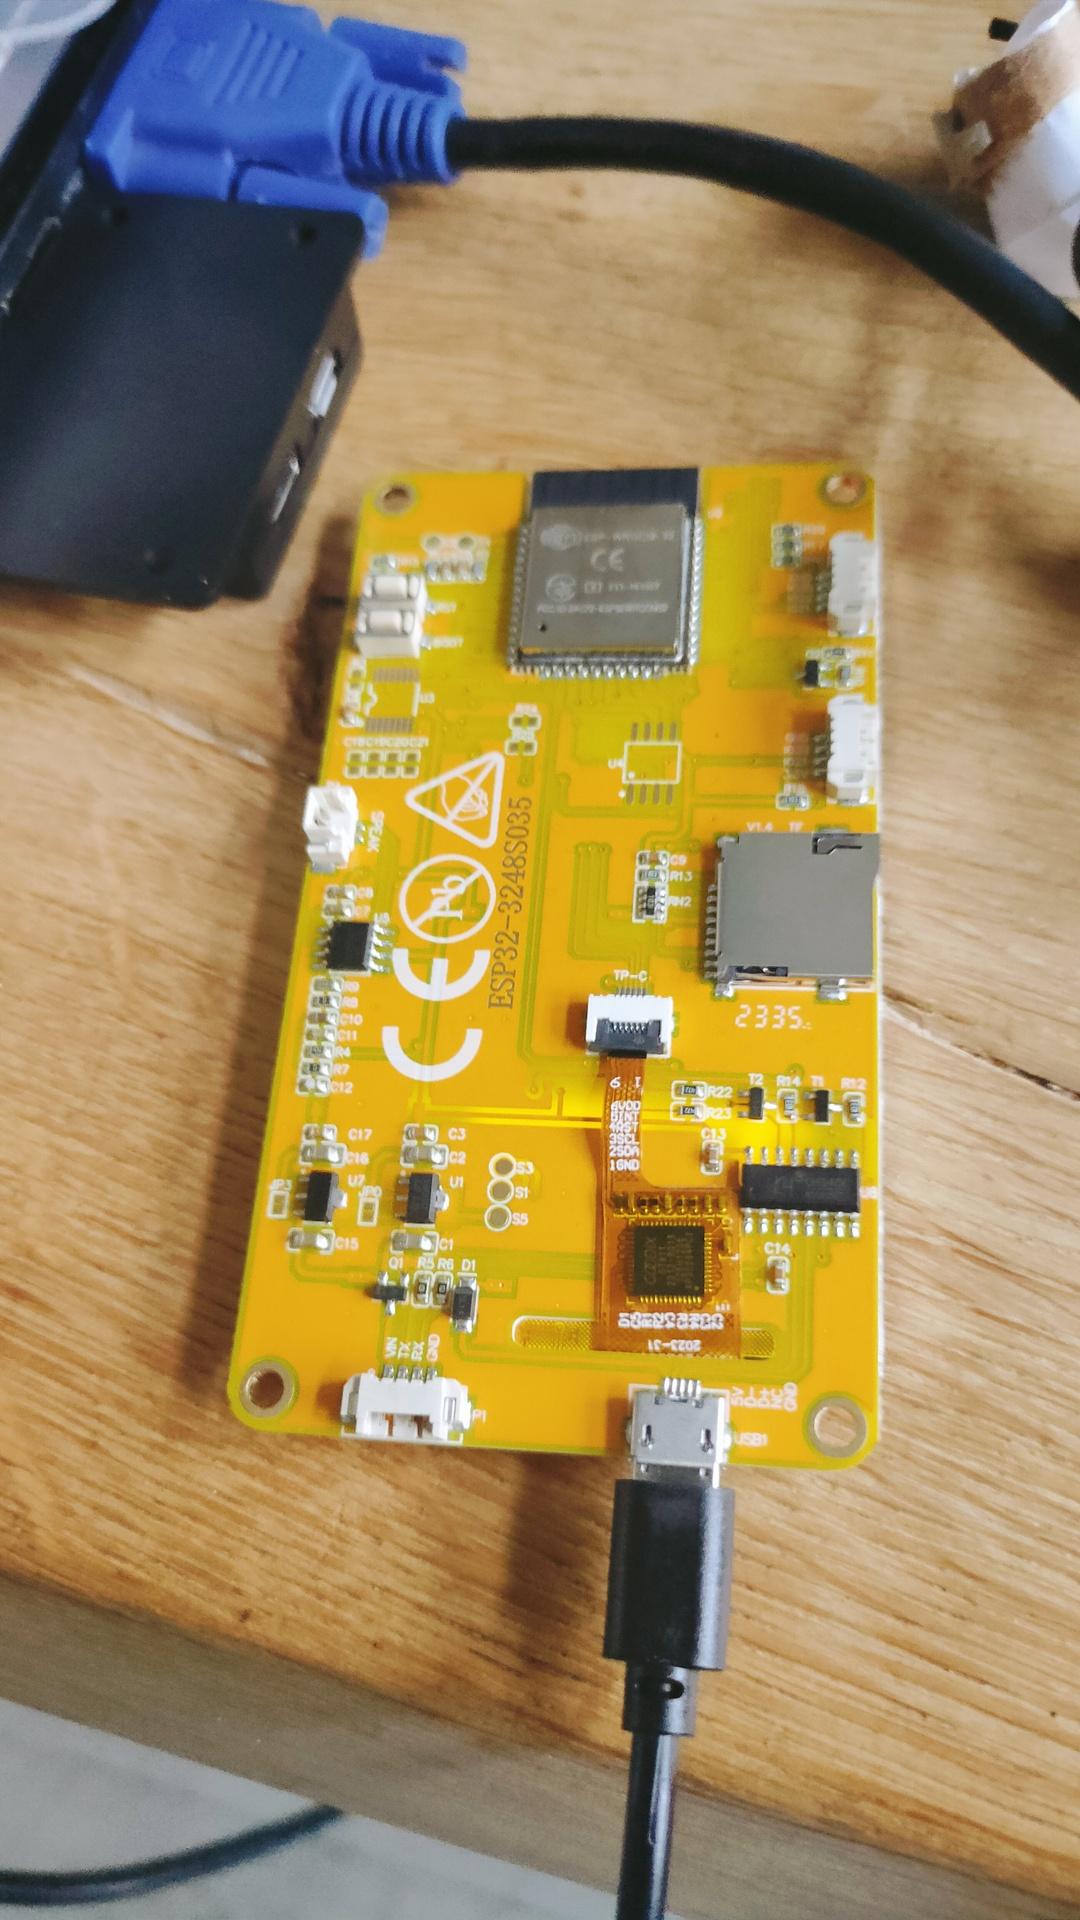
Printed a nice case, let the designing begin.
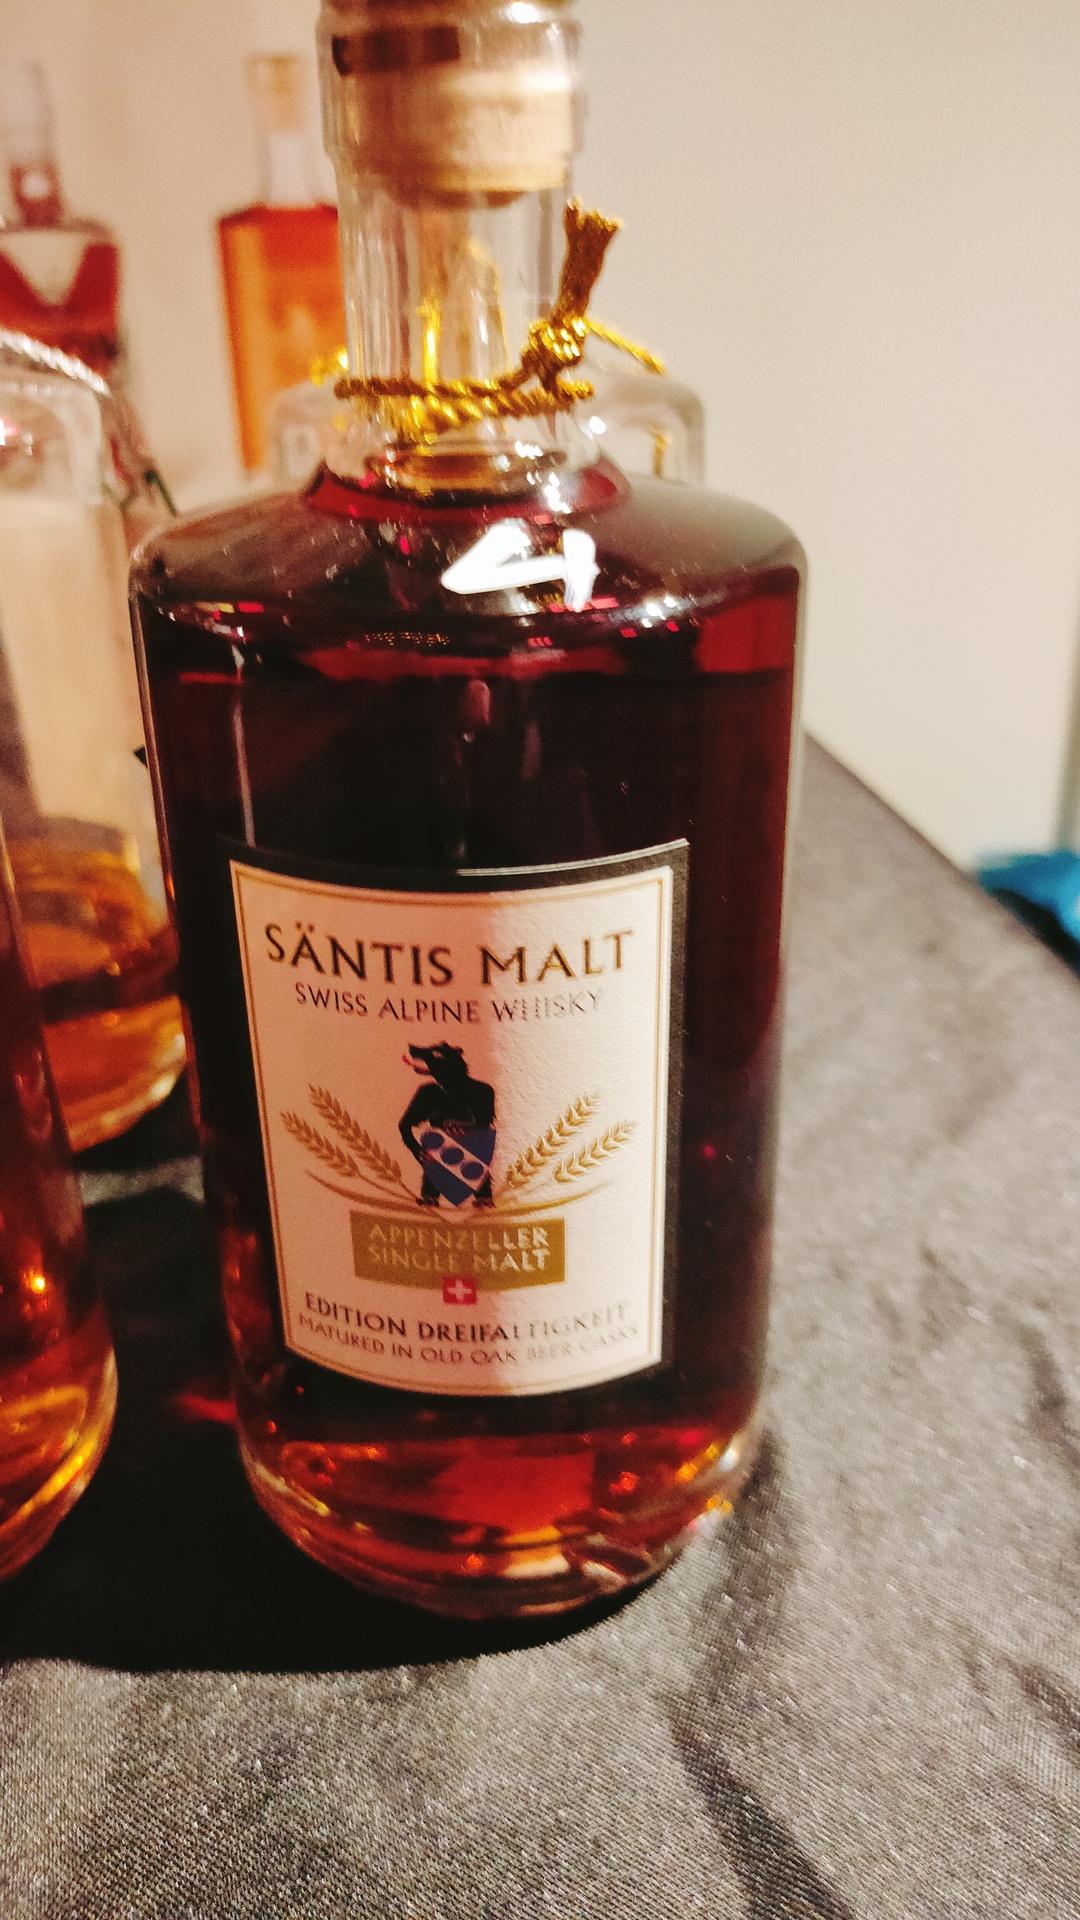
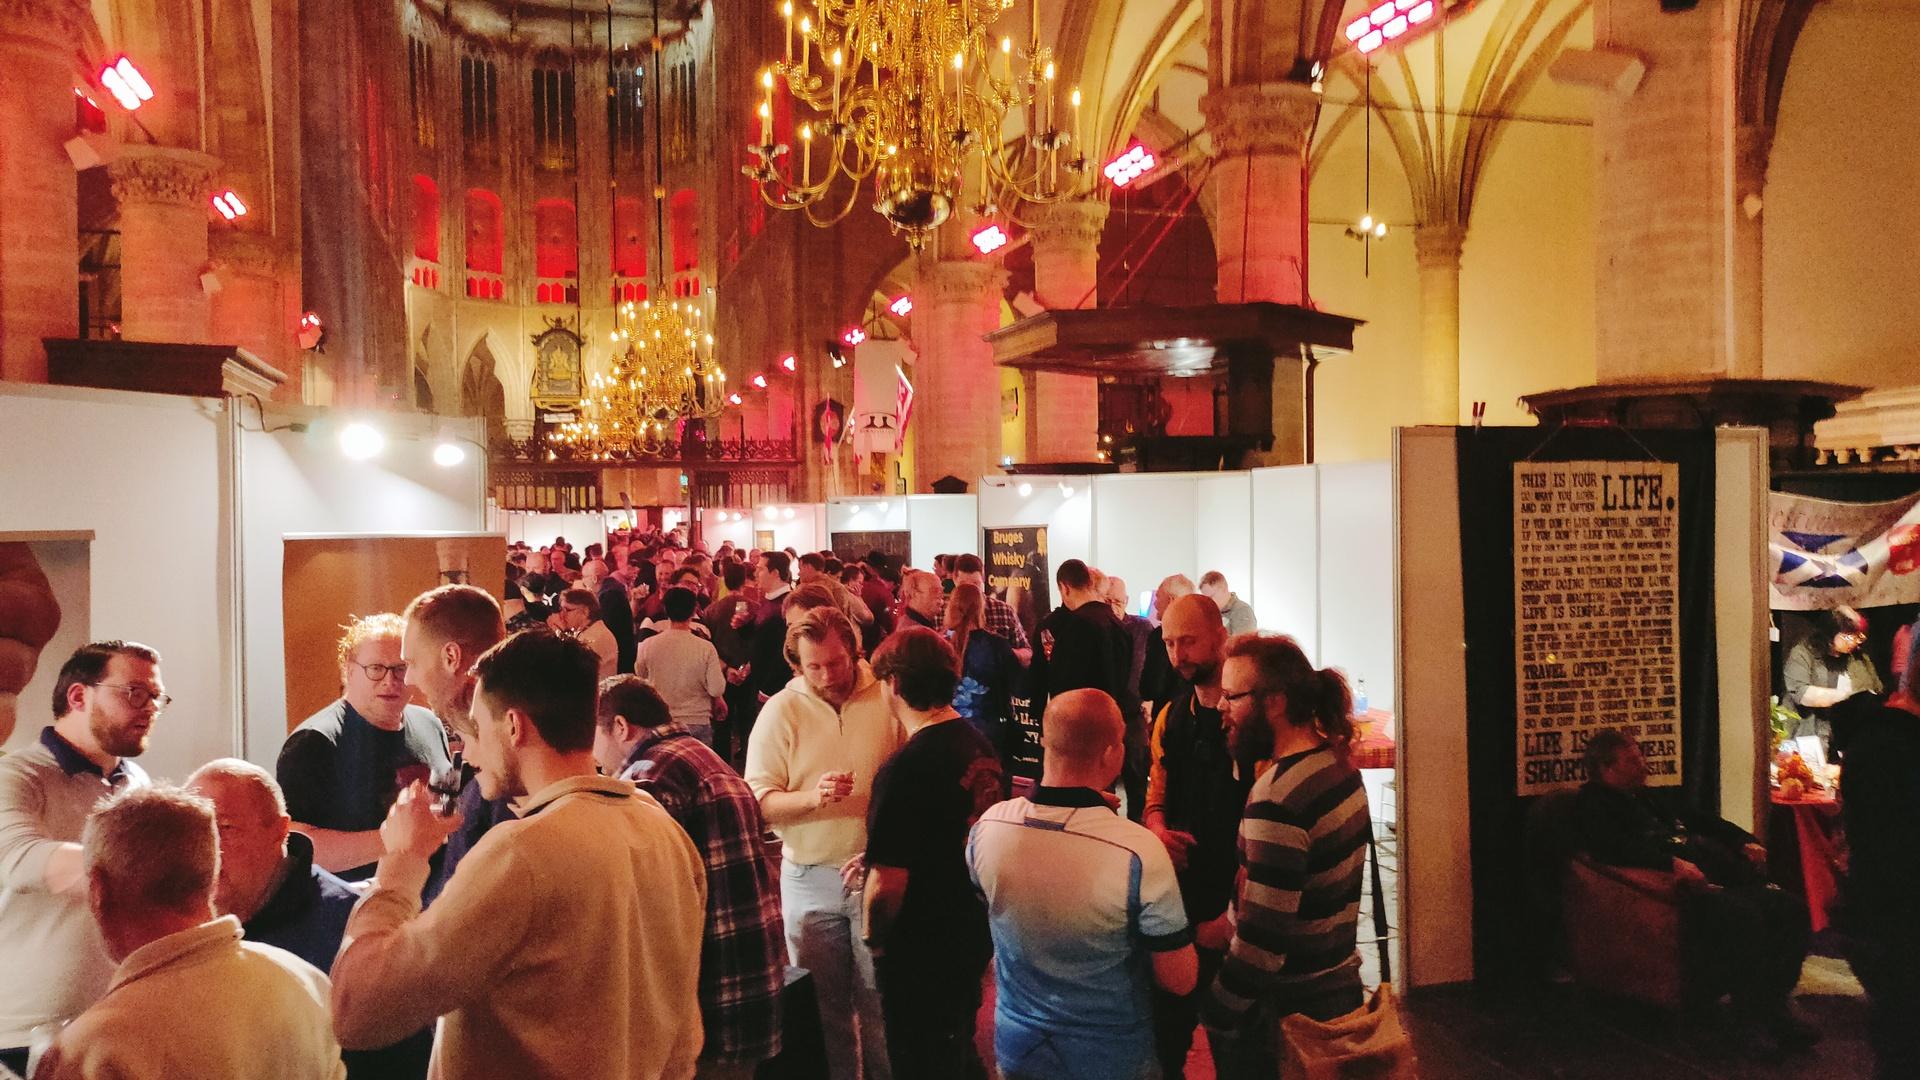
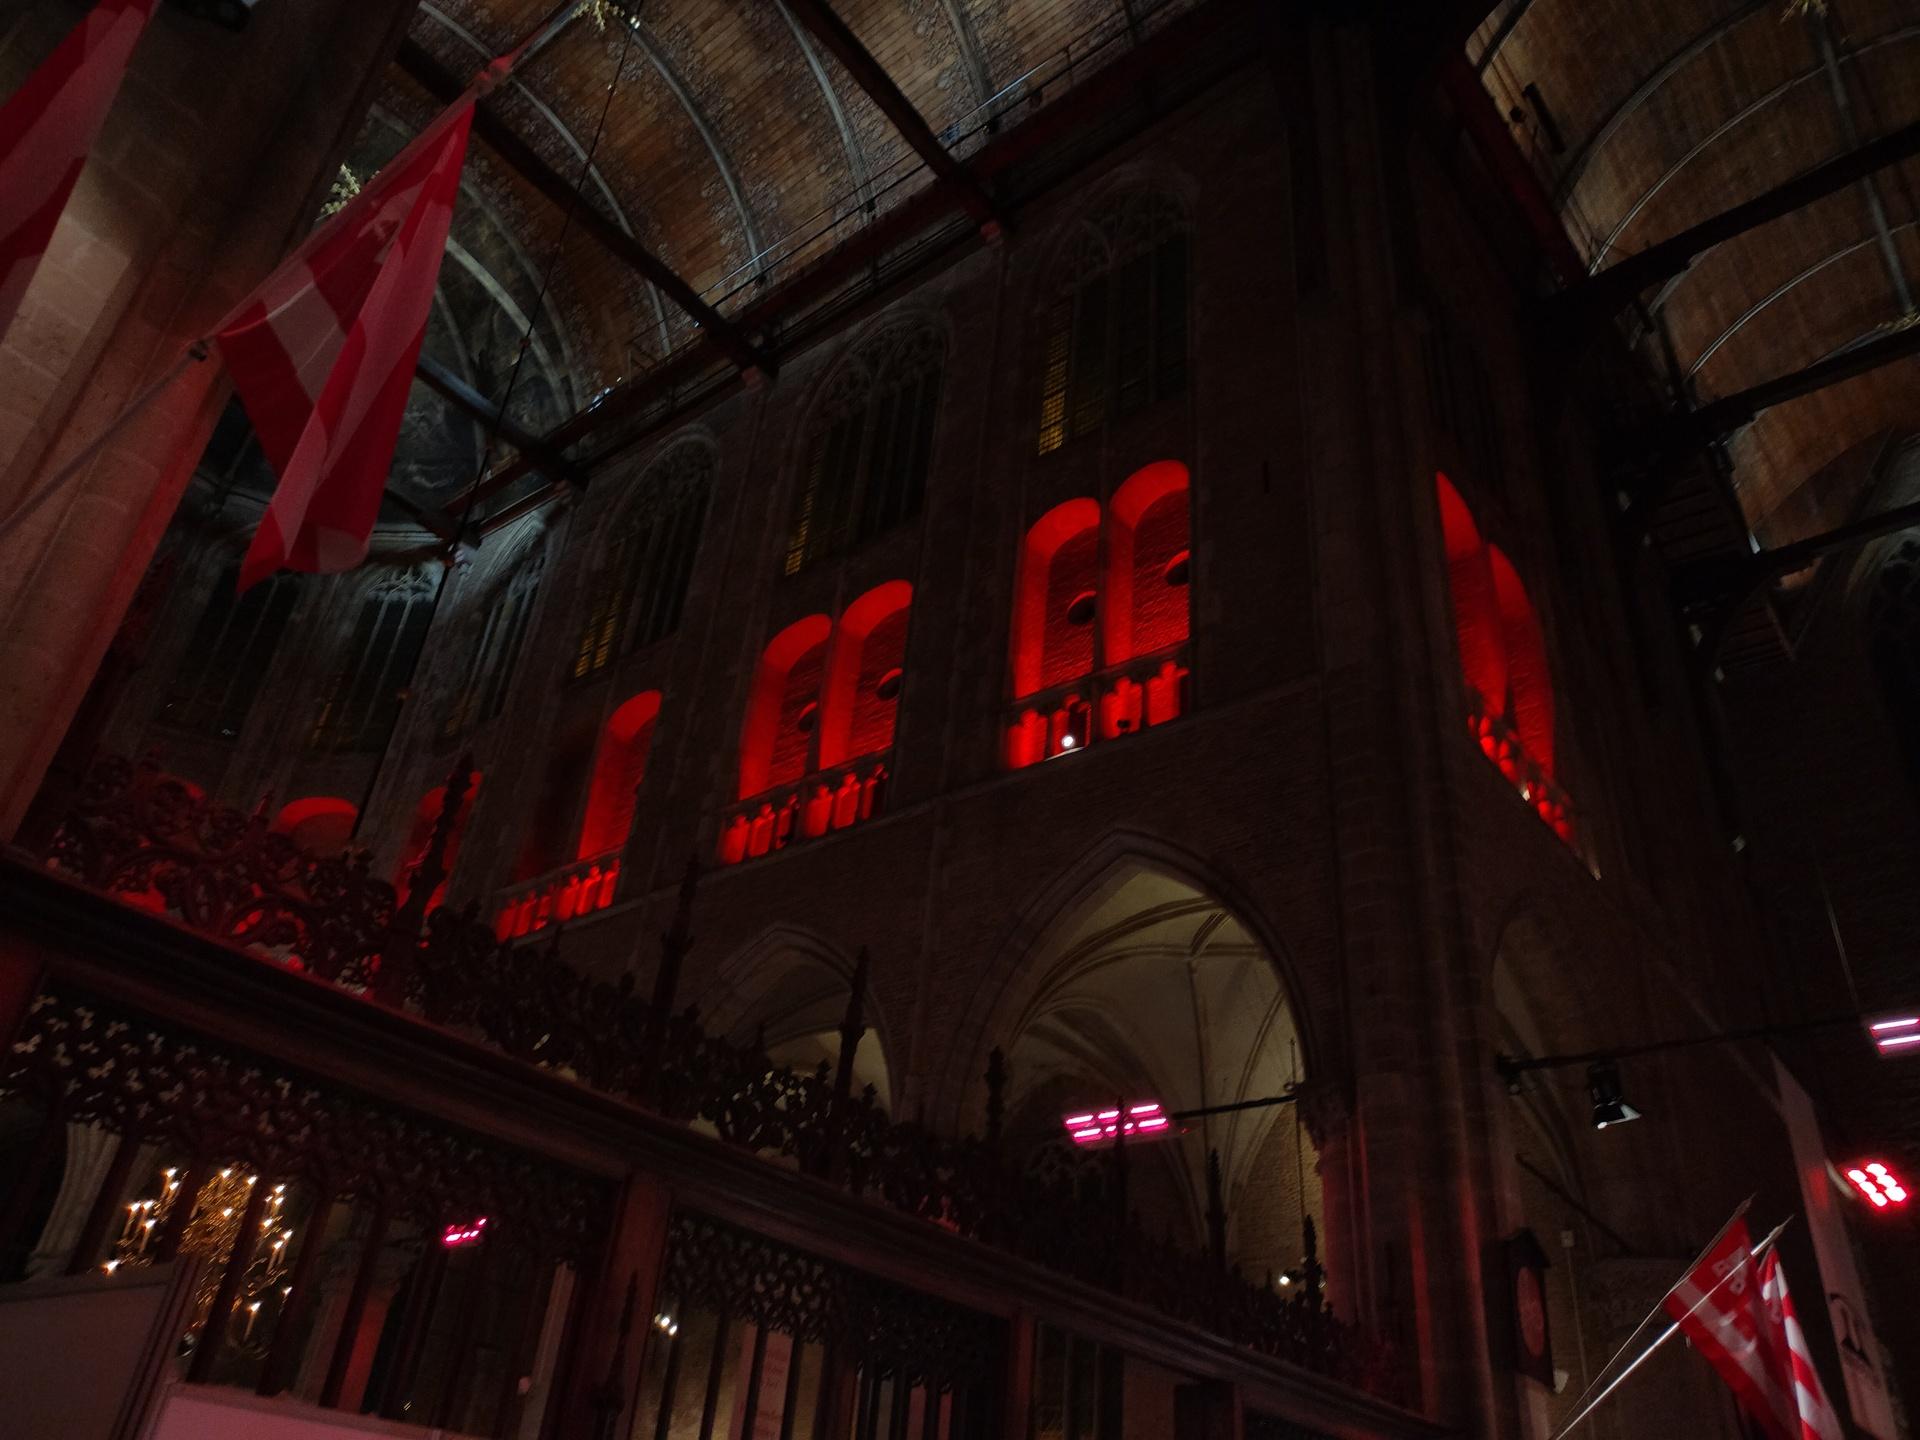
Going with my friend Vincent to the Whisky Festival, with some of his friends.
Missing the train, buying whisky coins every half hours, some beers afterwards. Fun times.
Bought some cigars accompanying the whiskies.
Seen Wullie Macmorland walking around.
I’ve played pipes in his restaurant several times in the 90’s
Last time I’ve seen him is 10+ years ago, with a great story.
When I walked into his restaurant, he remembered me. And my love for whisky.
Before I could sit down, he called me to his bar.
“I have a whisky you have to try!” He said.
Sneaky with the bottle below the counter, he poured me a “whisky”.
It was disgusting !
I said, “THAT’s not whisky!”
“Yes it is!” he smiled. Safari whisky!
He was laughing at my disgusted face.
“Someone gave it to me, it’s everything but whisky.”
It’s even bad for lamp oil! LOL
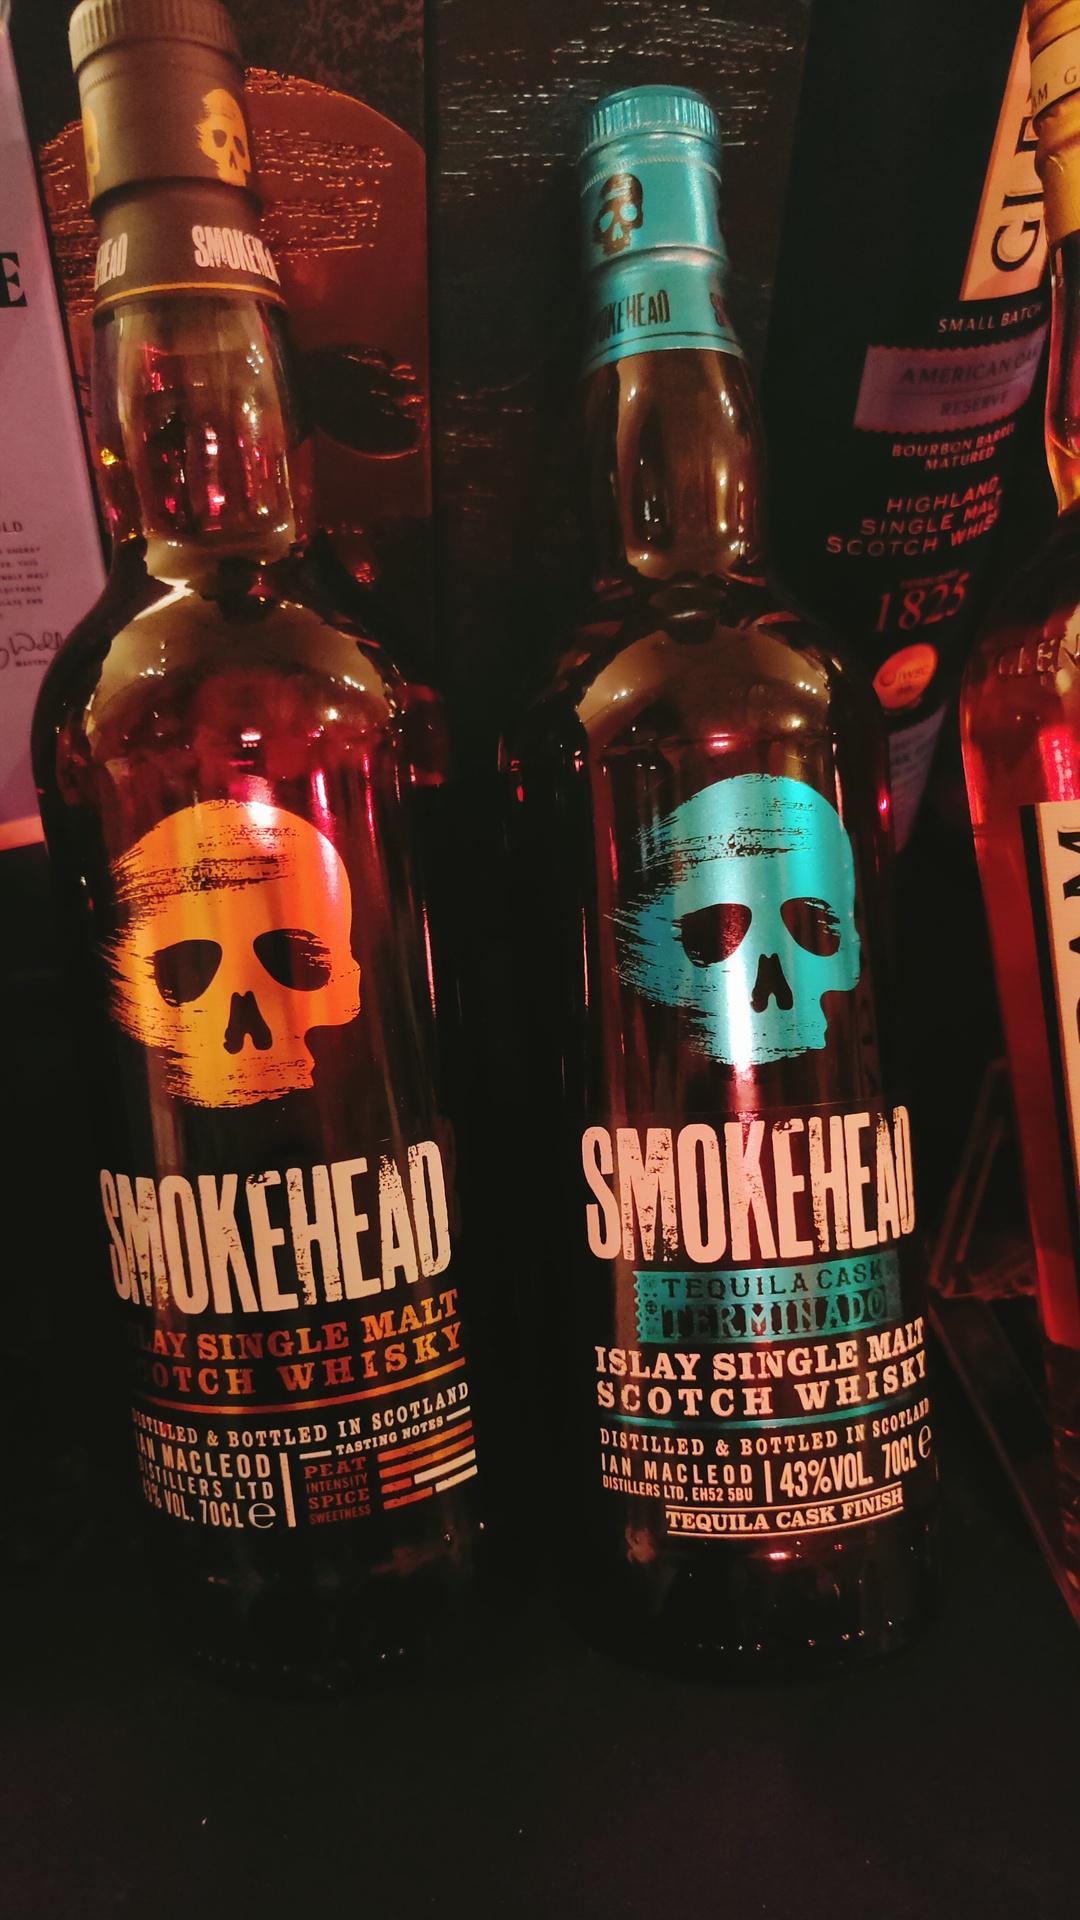


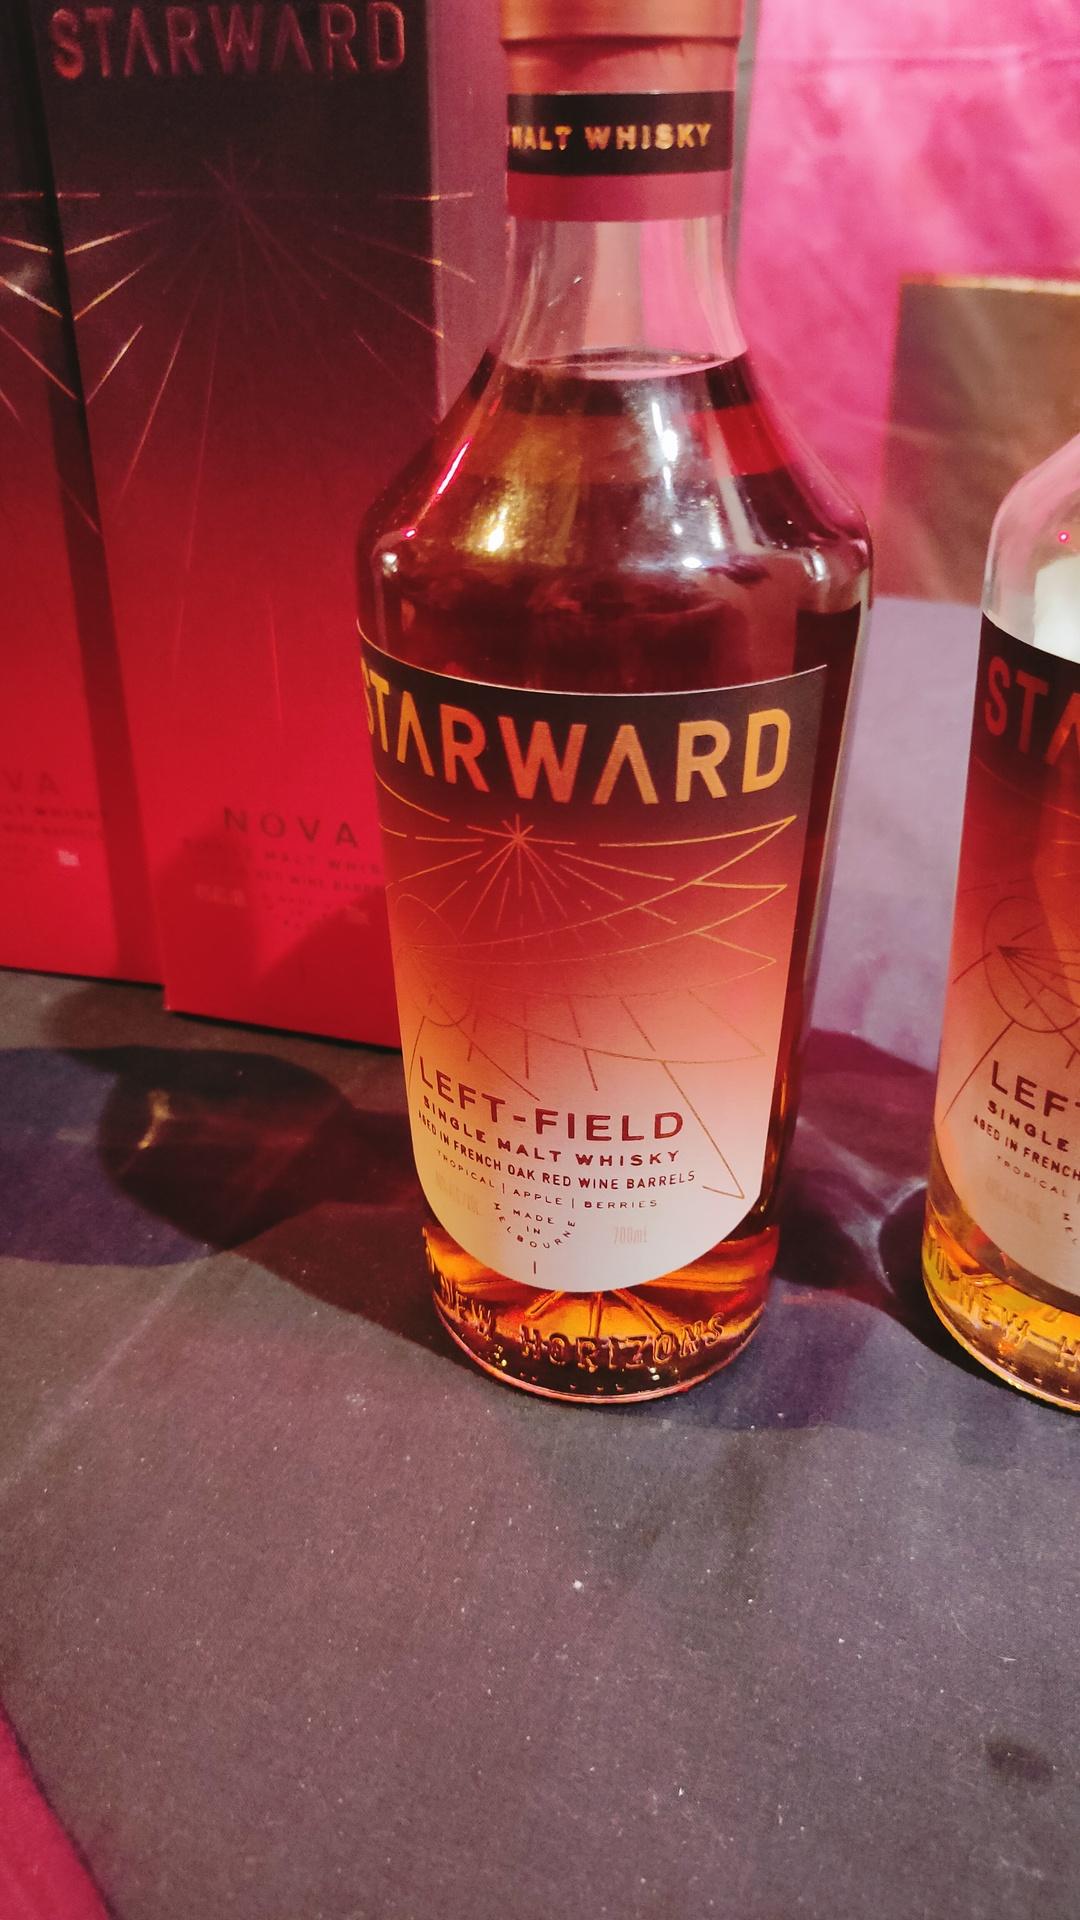
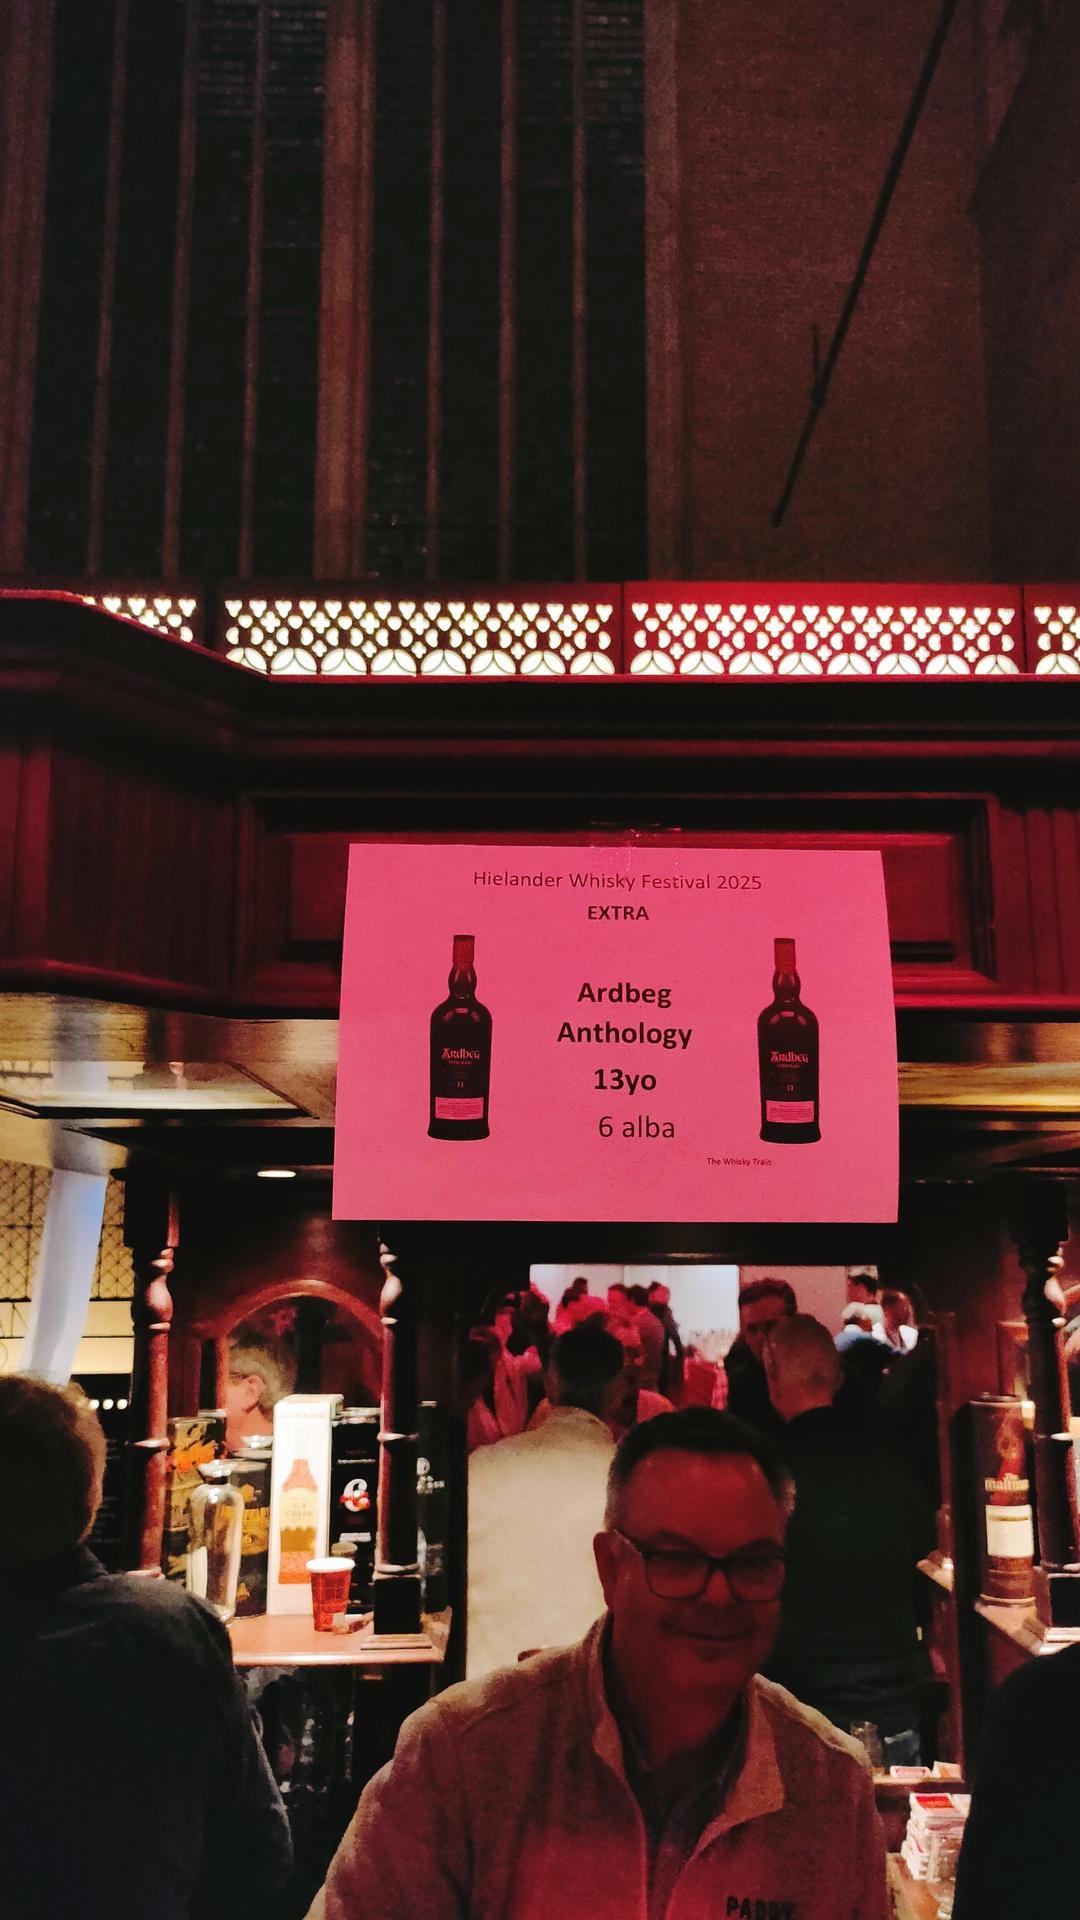
Jup, I am a fan of smoky whiskies.
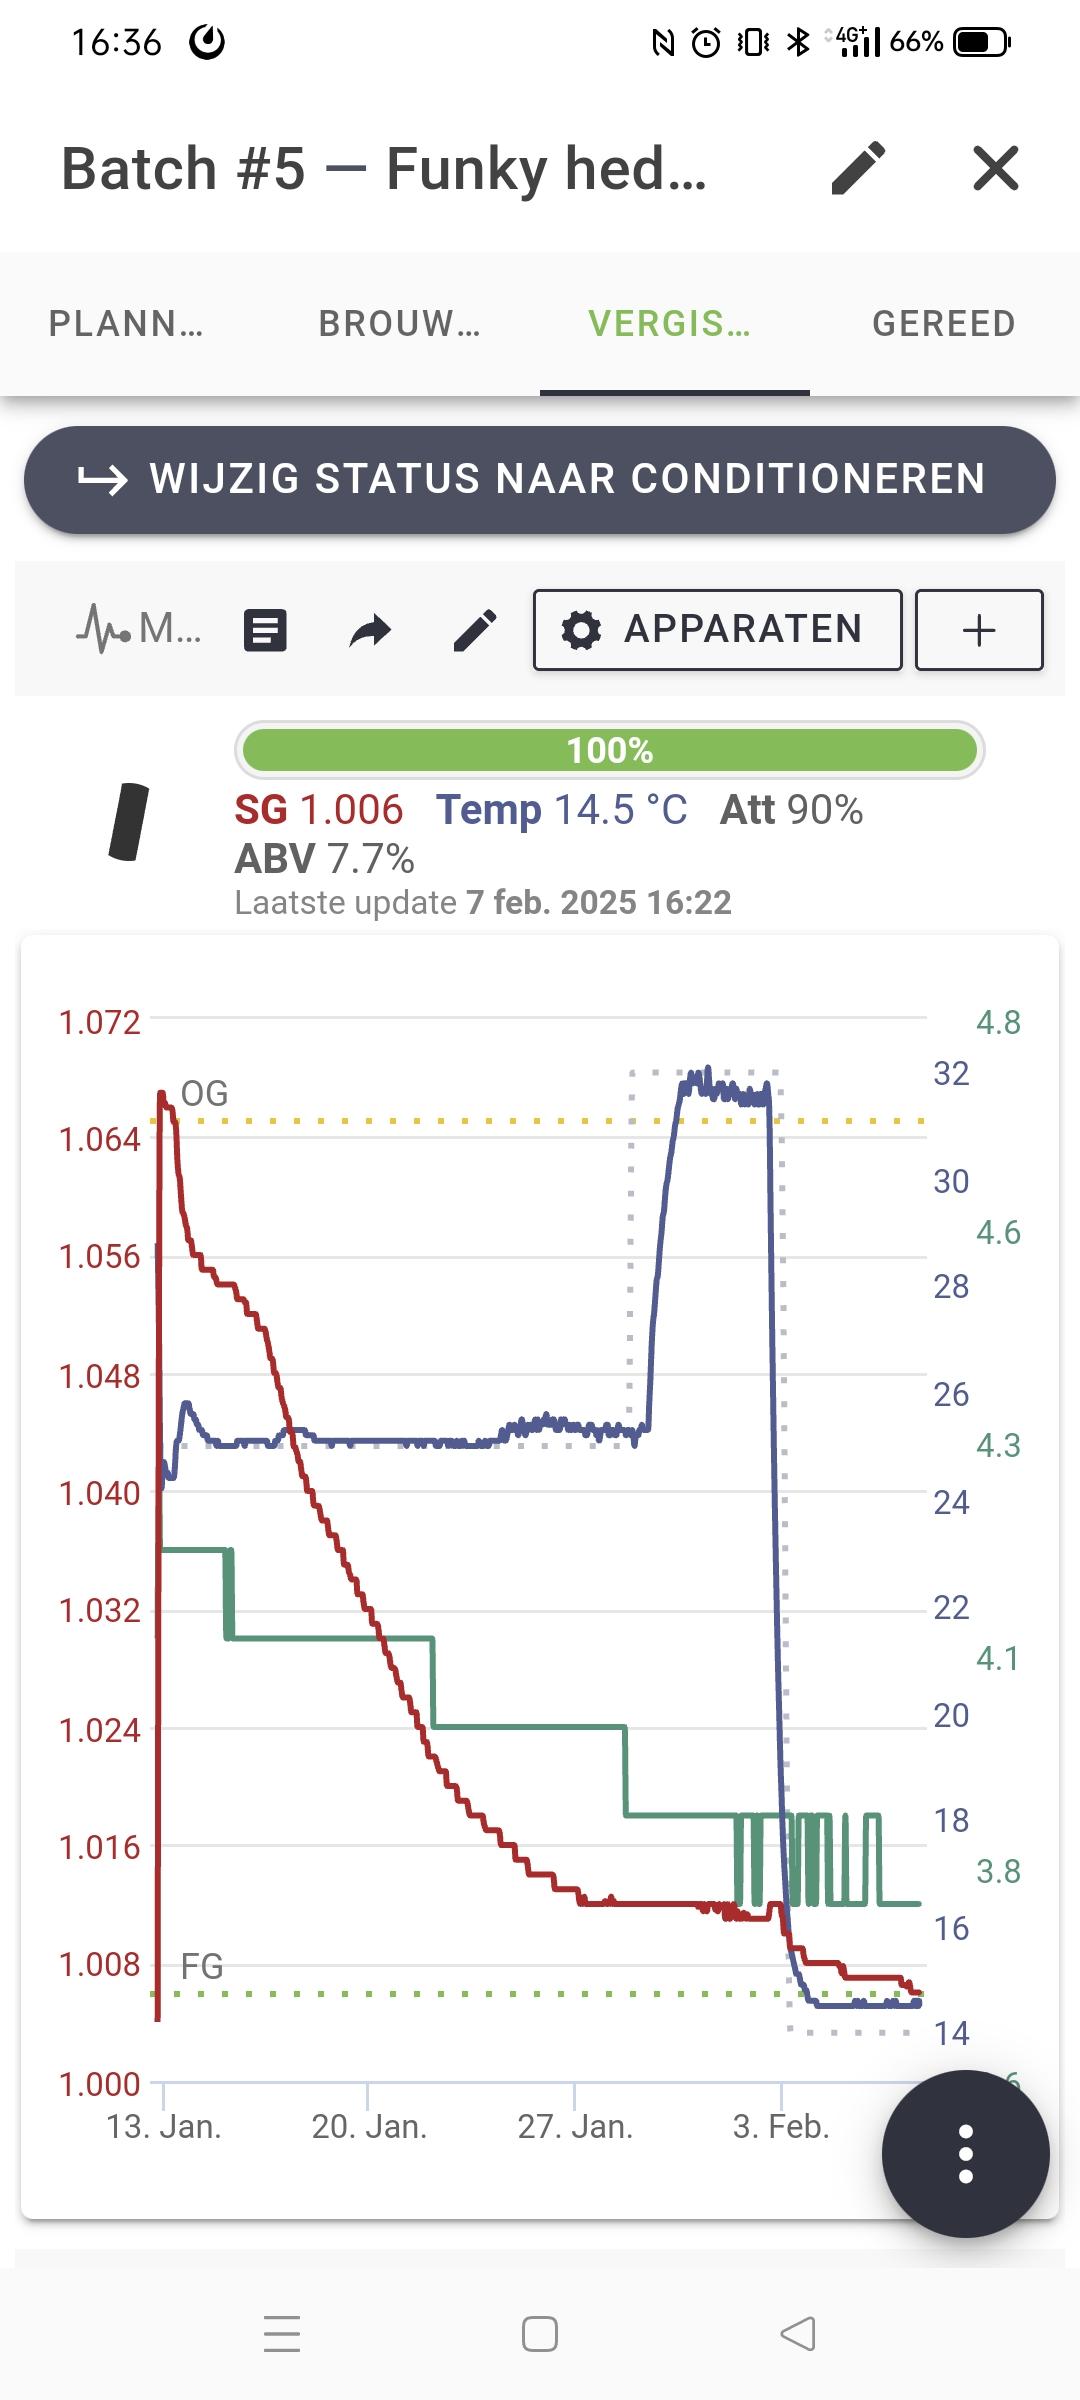
UPDATE:
20250312 – Liquid BBQ smoke whisky delivered ..
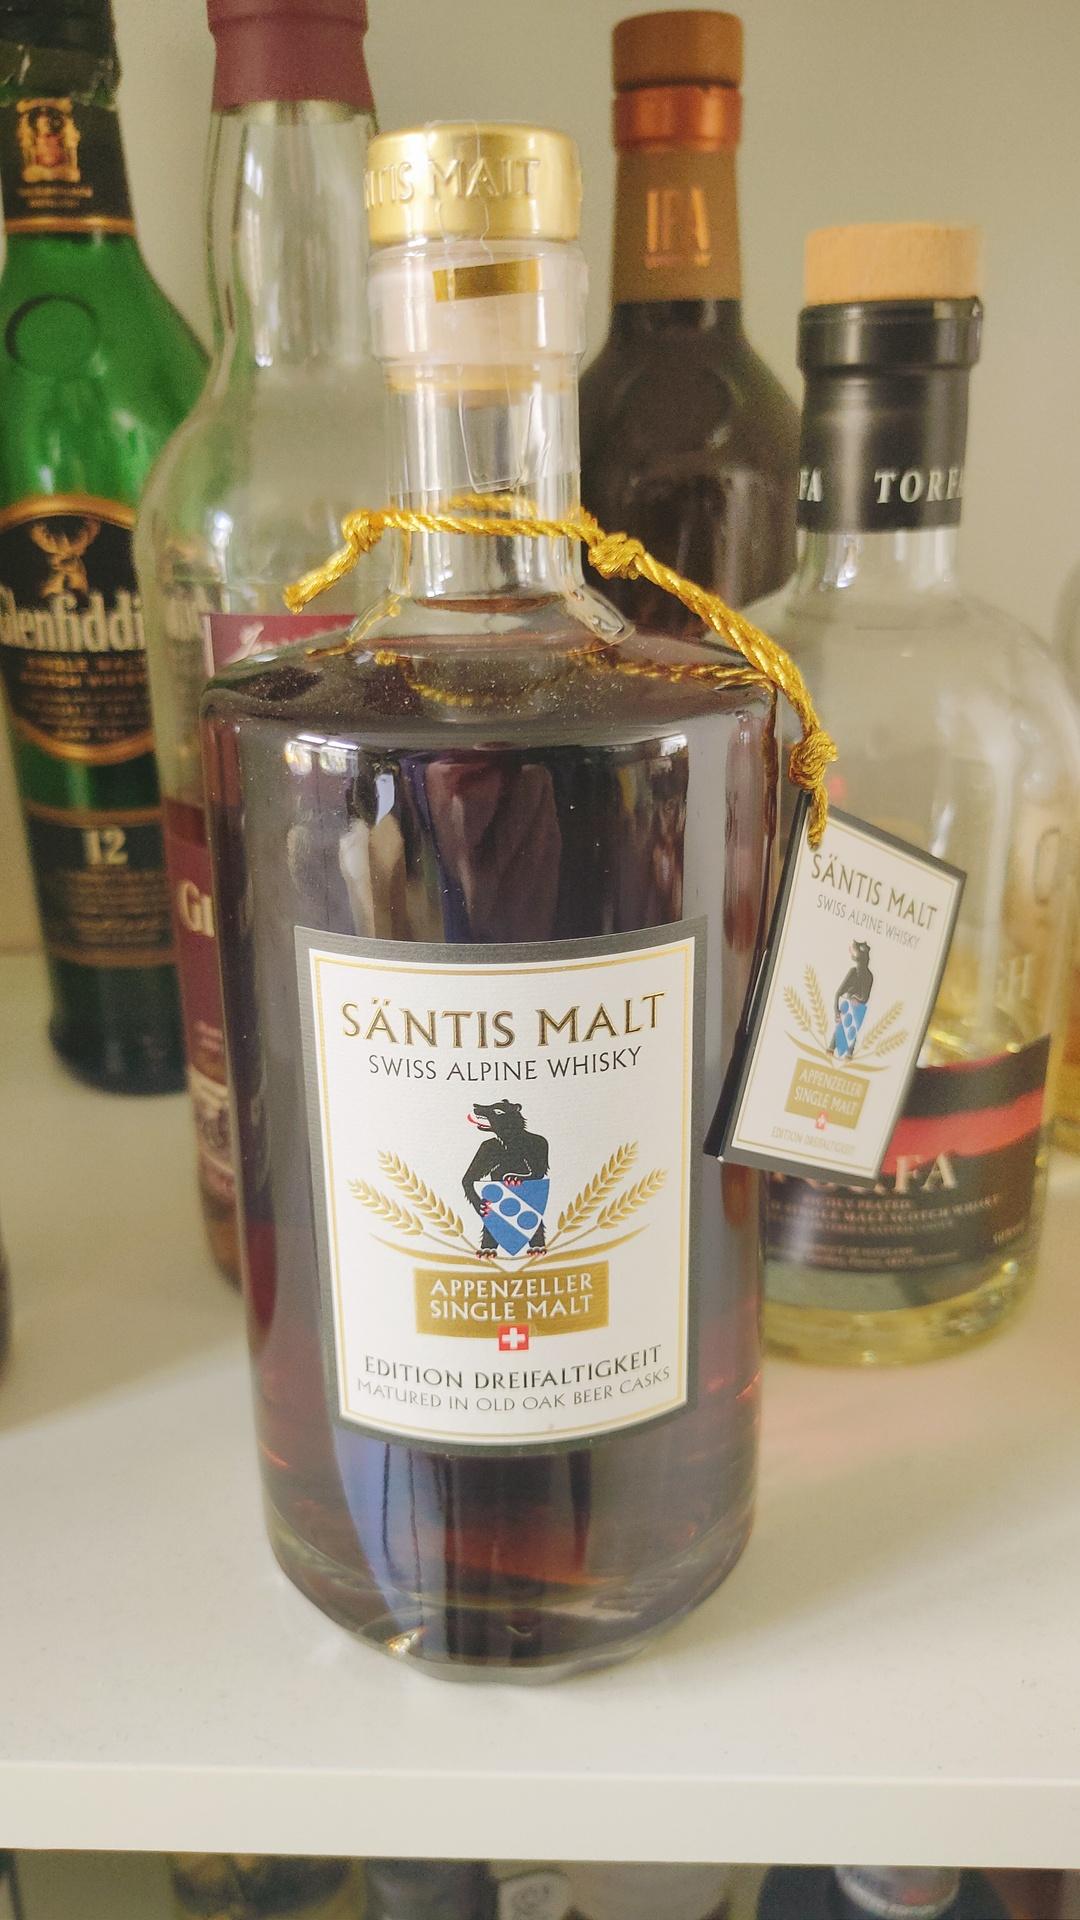
Next step sedimentation
Made a cap for a mushroom button, with editable text.
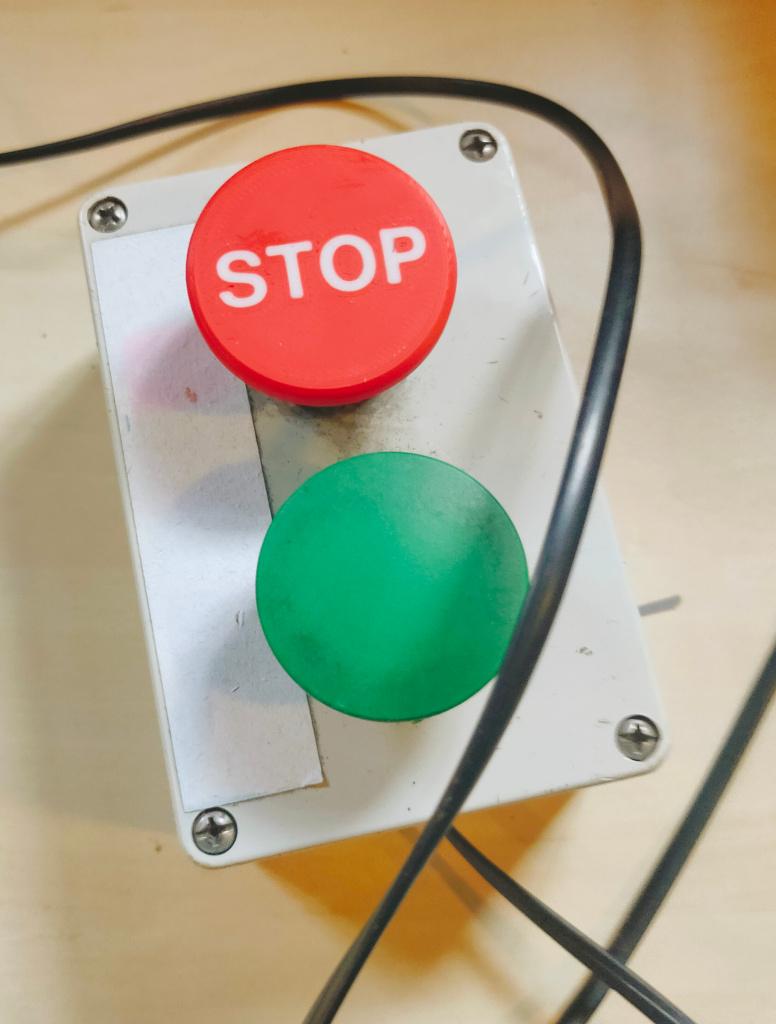

It’s on makersworld:
https://makerworld.com/en/models/1093945
Also made some chair thingies. We have wooden floors and her new chair has pointy feet.
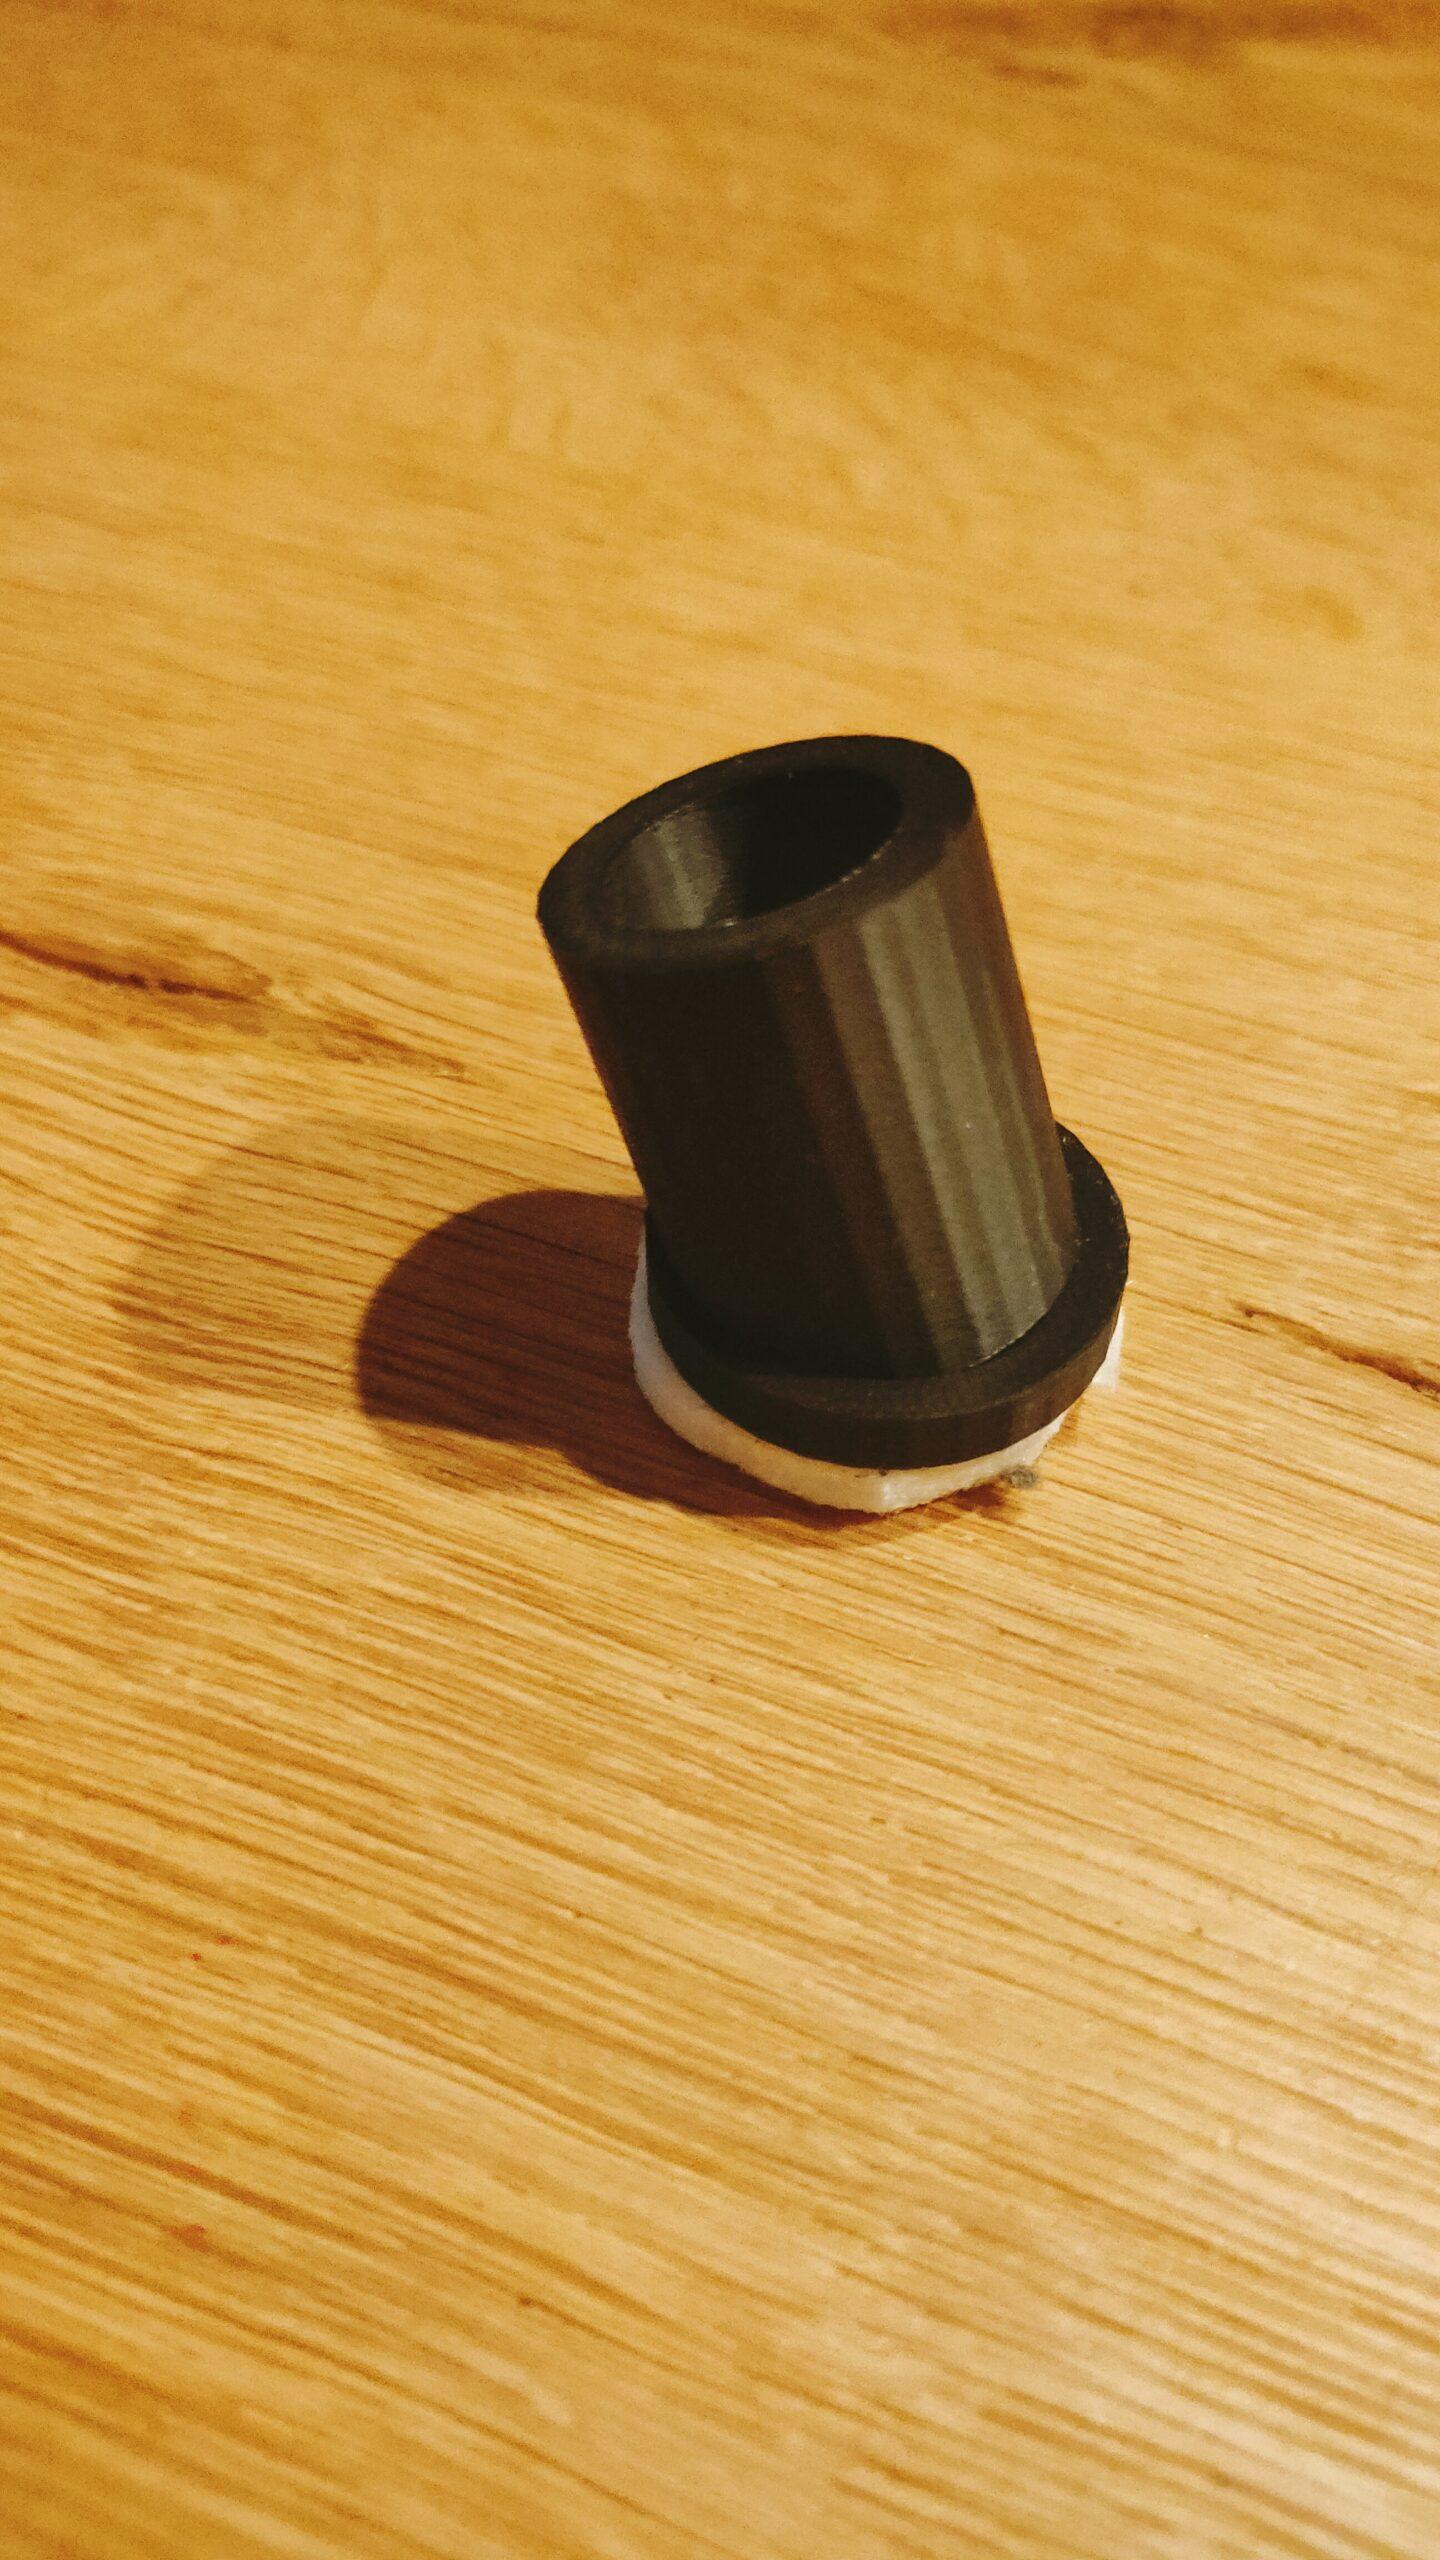

Made using Openscad
difference(){
union(){
cylinder(h=5,d=30);

translate([0,0,1.5]){
difference(){
rotate([20,0,0])
cylinder(h=30,d=25);

rotate([20,0,0])
cylinder(h=30,d=17);
}
}
}
translate([0,0,-5])
cylinder(h=5,d=30);
}
I’ve got a little SDR stick a while ago with some antenna’s.
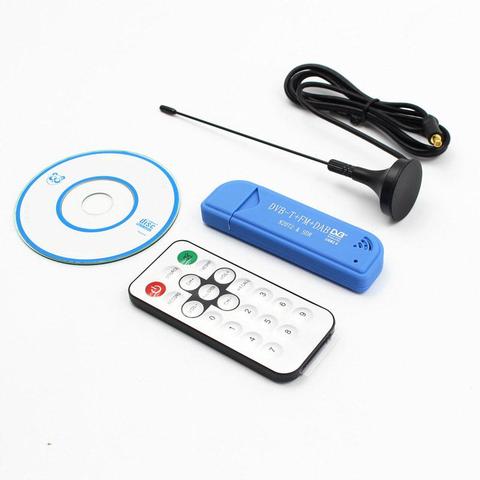
I’ve got some extra antenna’s
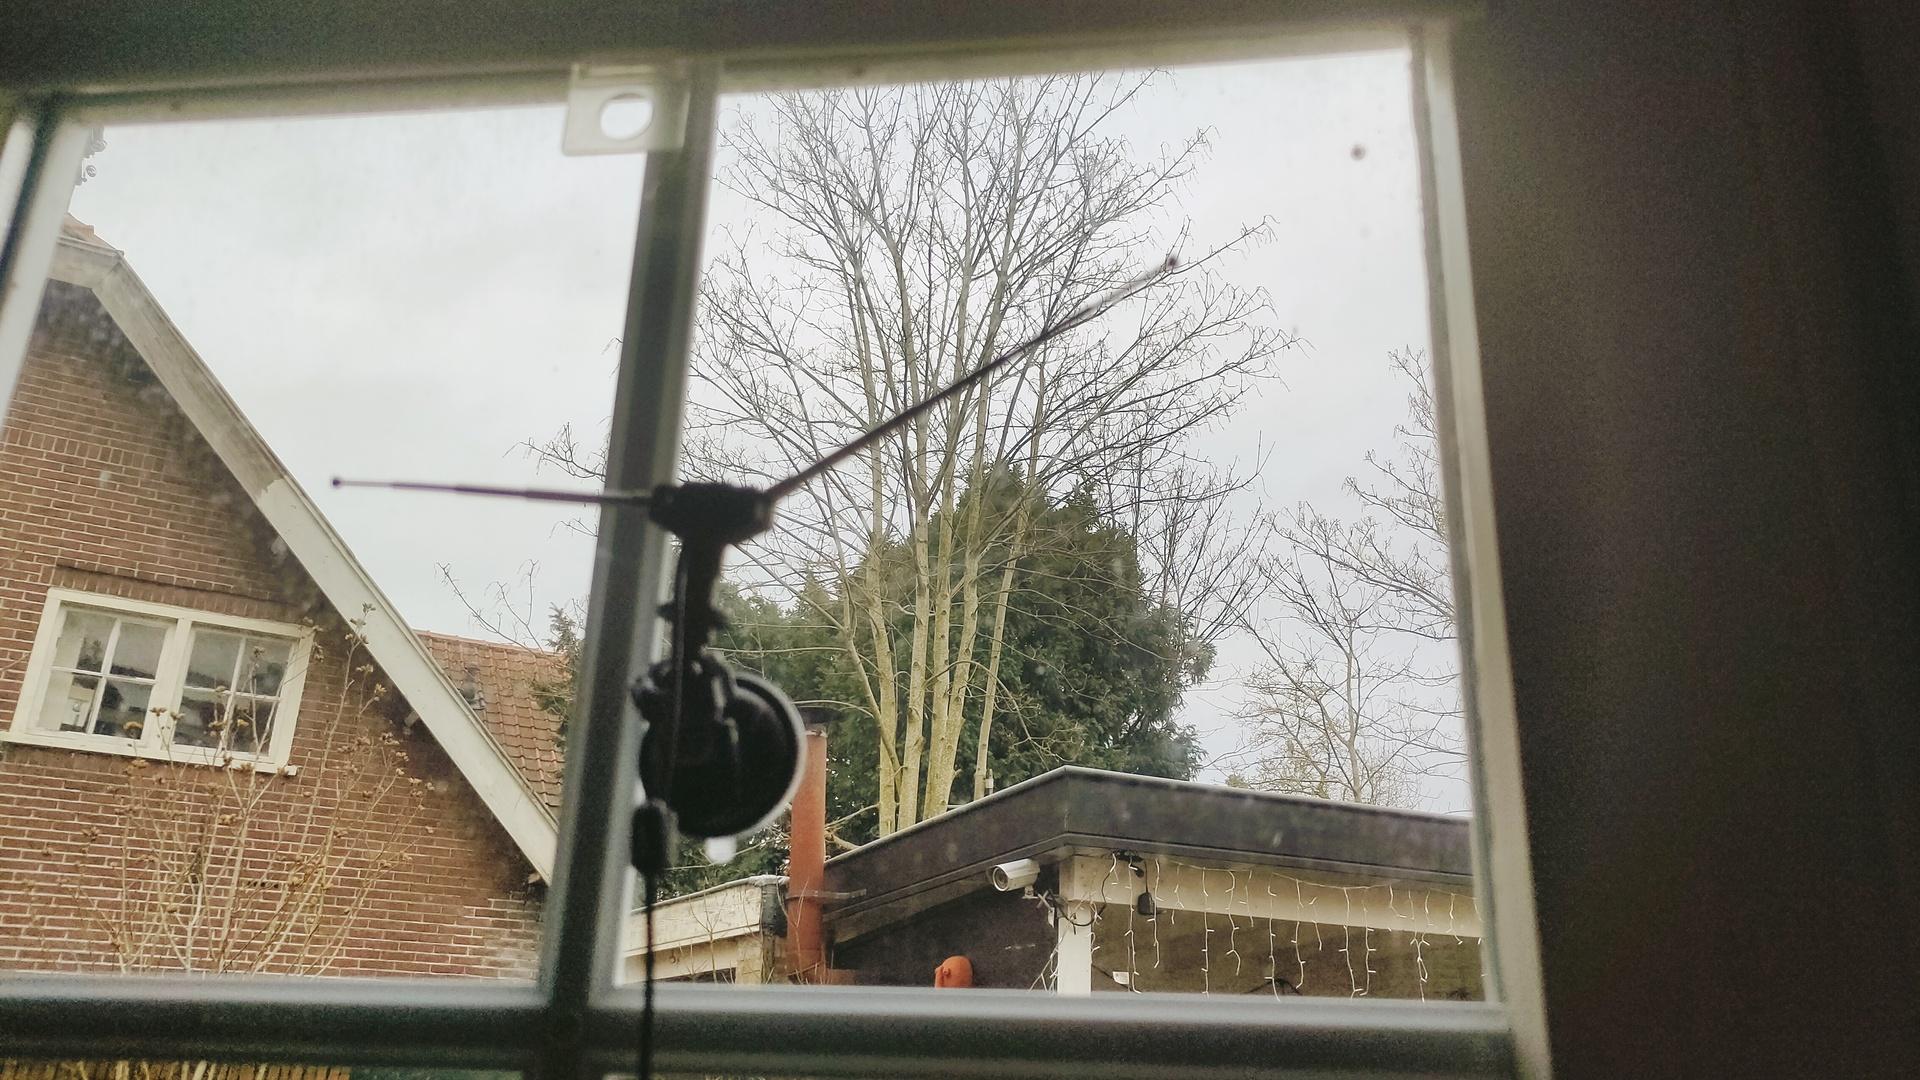
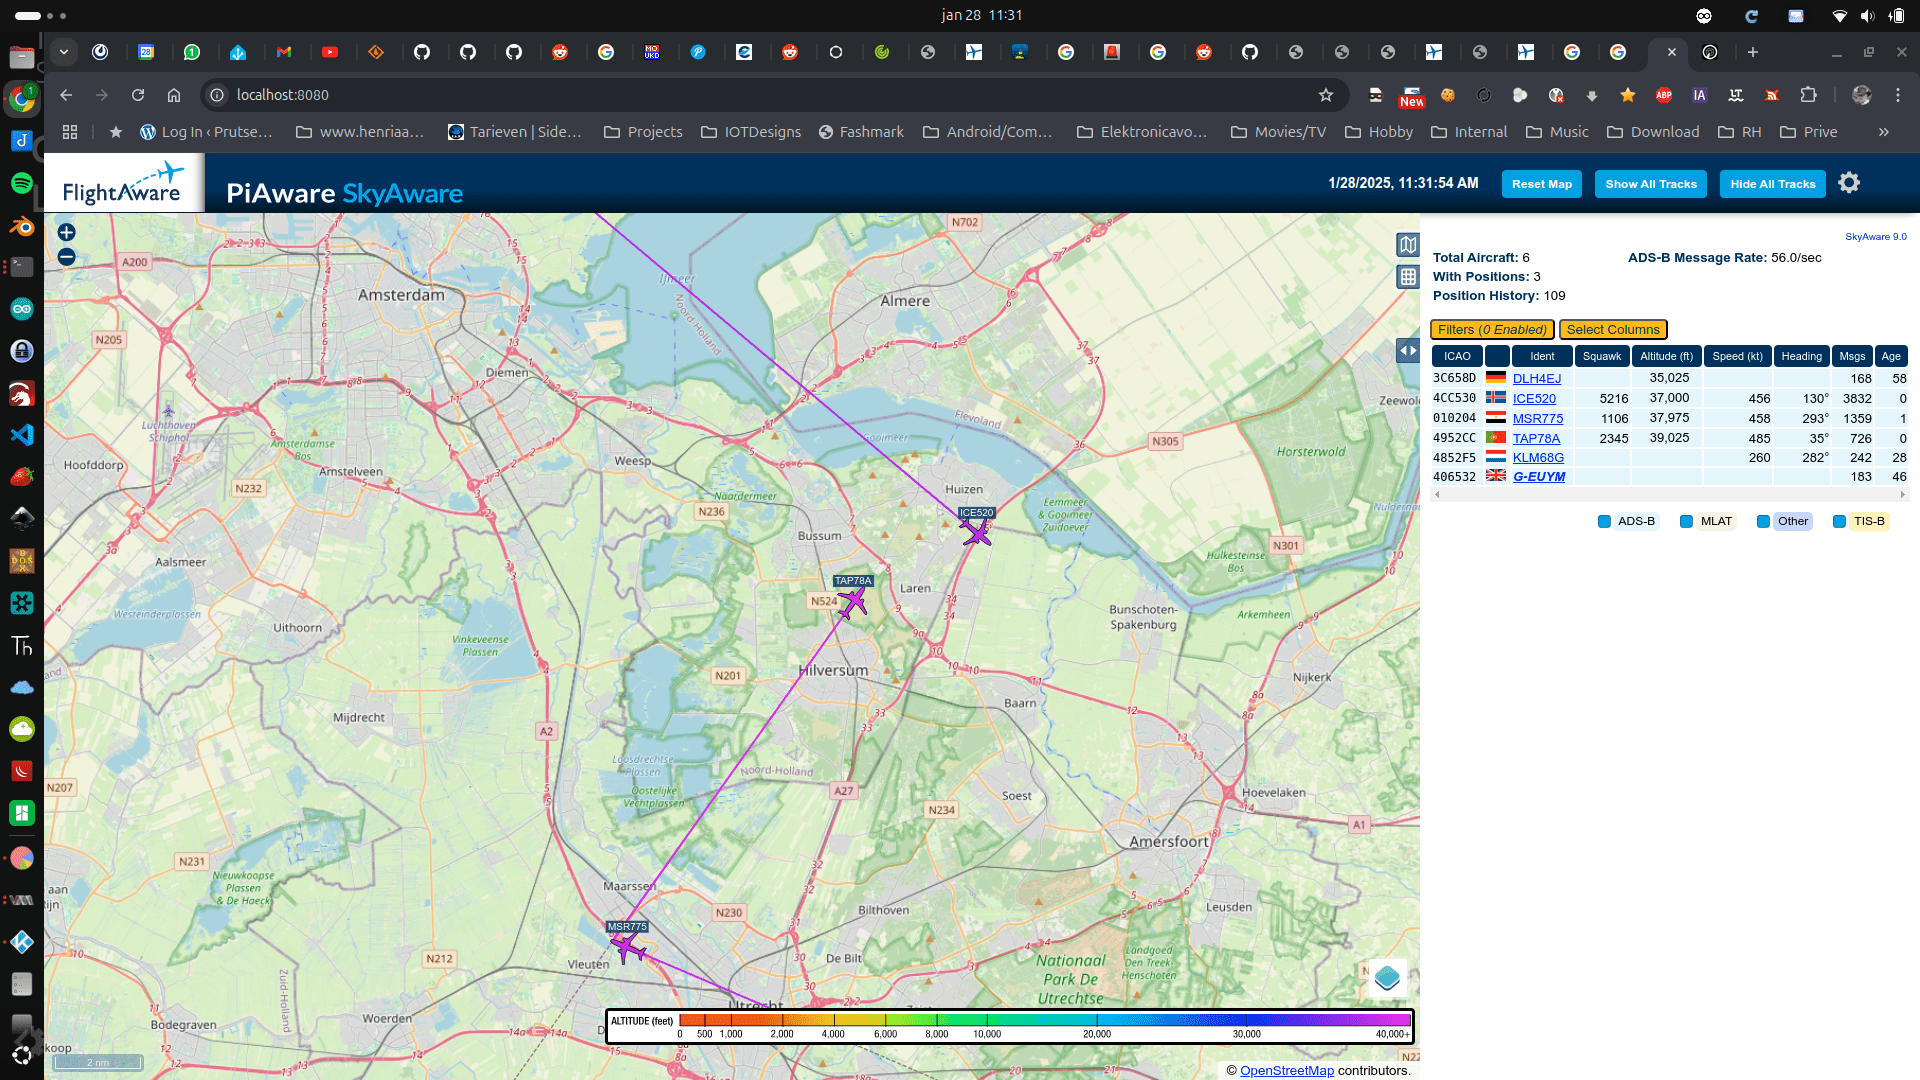
So I was playing around with P2000 and Airplane Radio (tracking overhead planes)

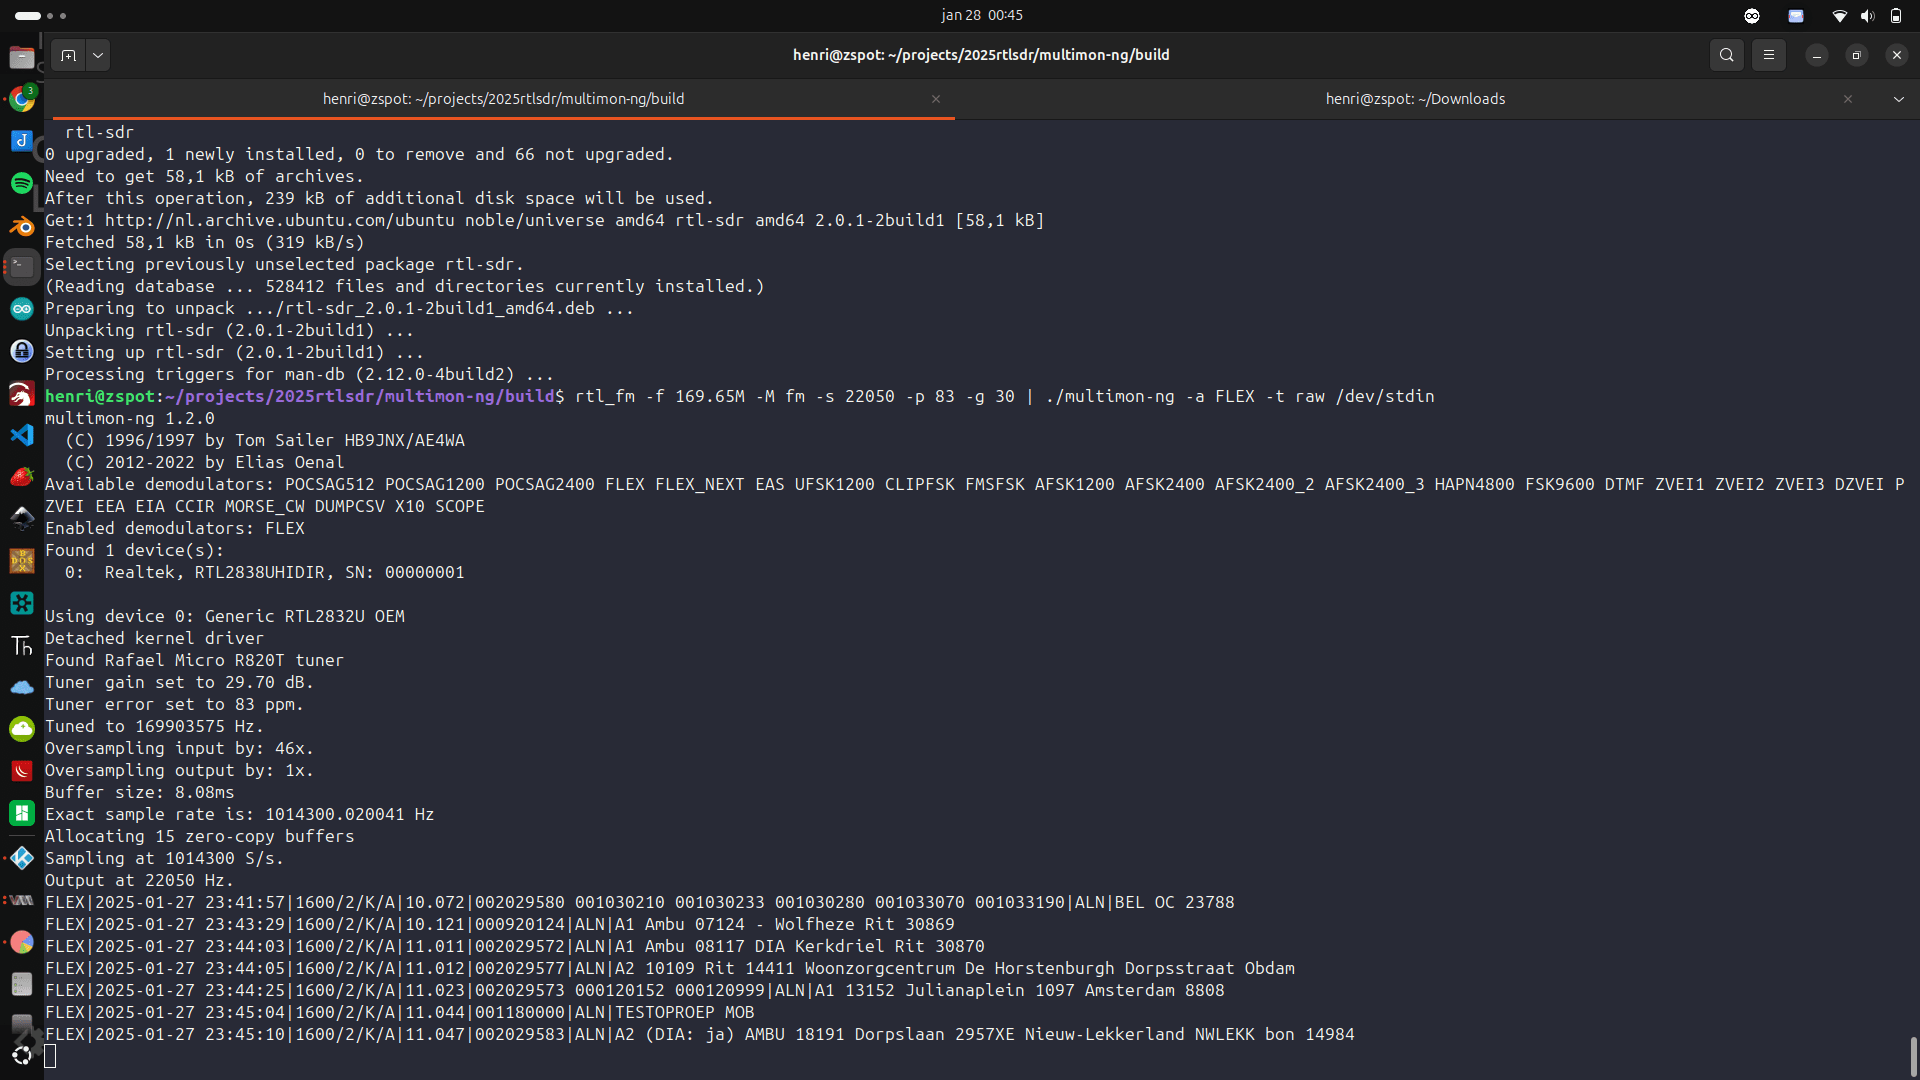
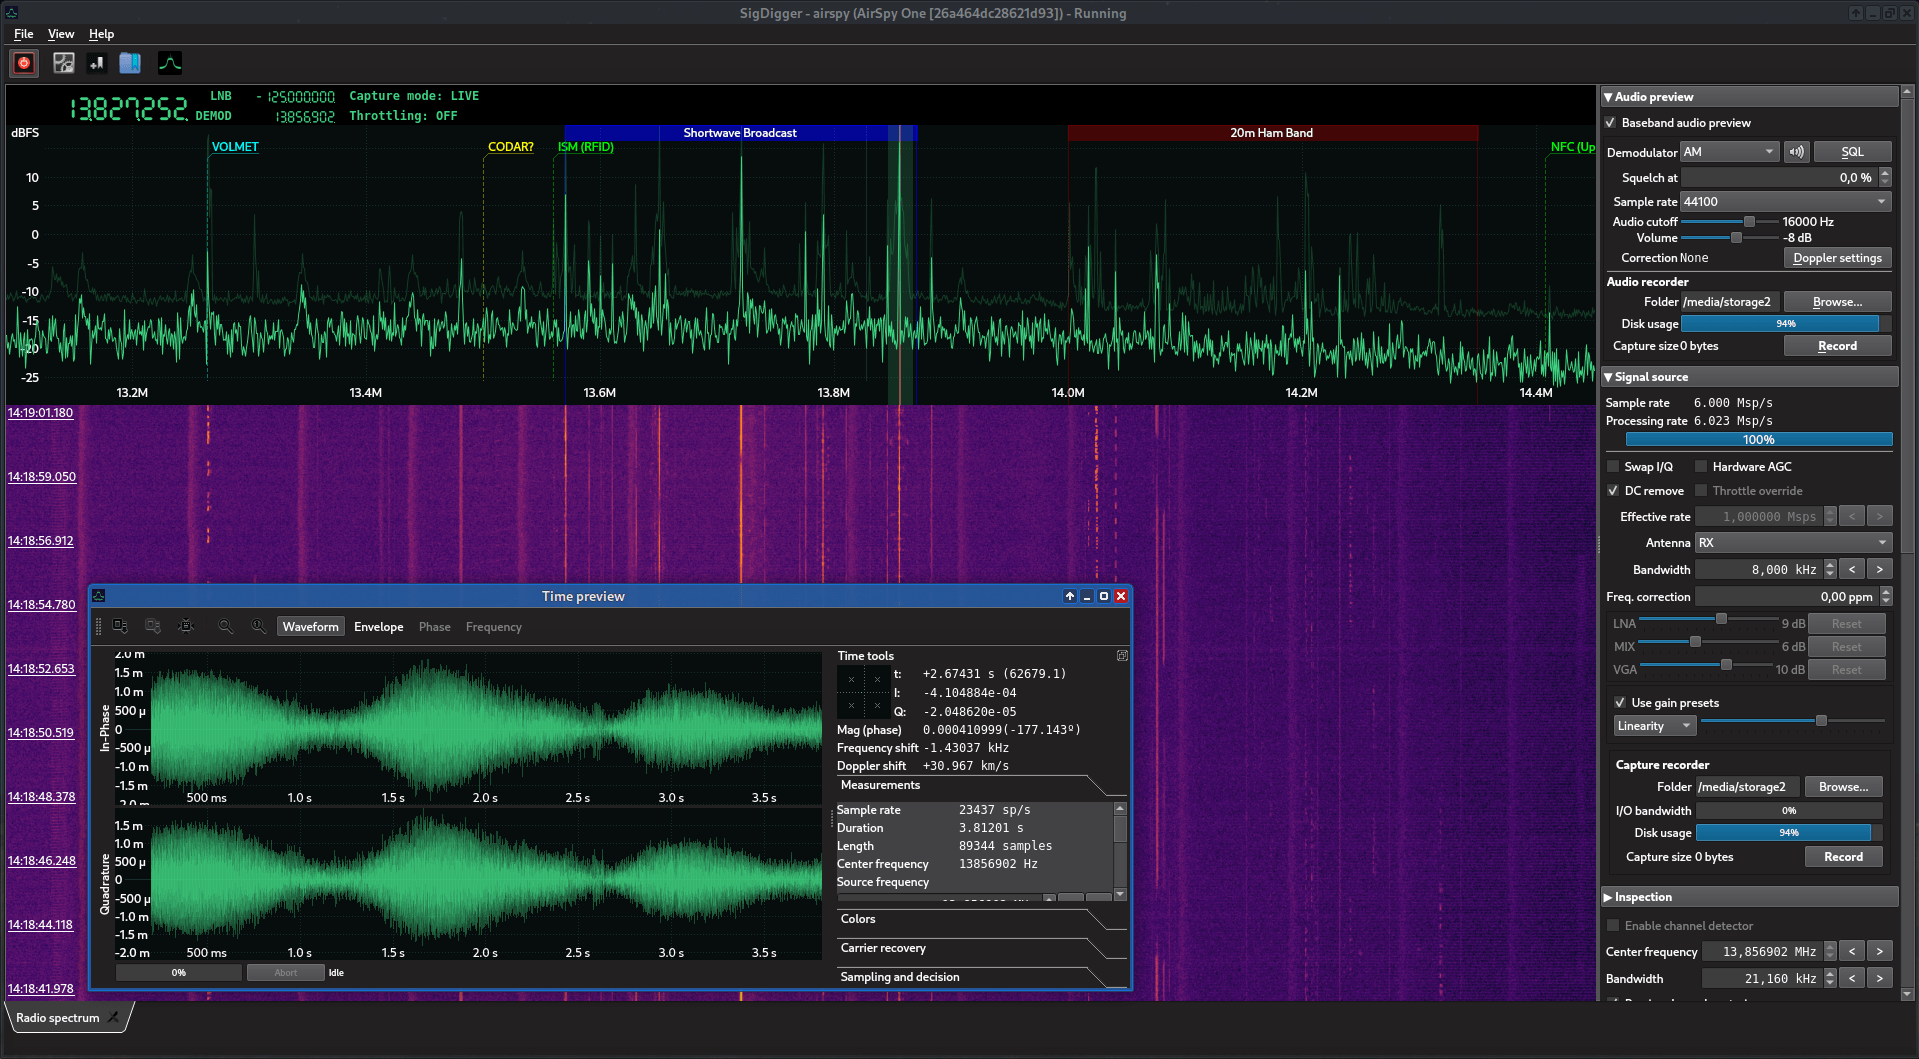
For debugging I used SigDigger
dump1090-mutability --aggressive --interactive --net --net-http-port 8080 --net-sbs-port 30003

git clone https://github.com/Zanoroy/multimon-ng.git
 cd multimon-ng/
 mkdir build
 cd build
 cmake ..
 make
rtl_fm -f 169.65M -M fm -s 22050 -p 83 -g 30 | ./multimon-ng -a FLEX -t raw /dev/stdin

dump1090-fa --interactive
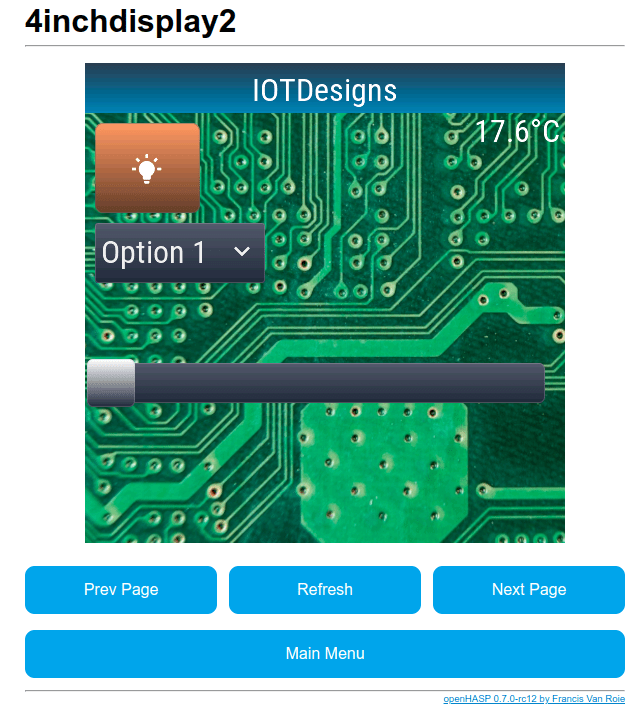
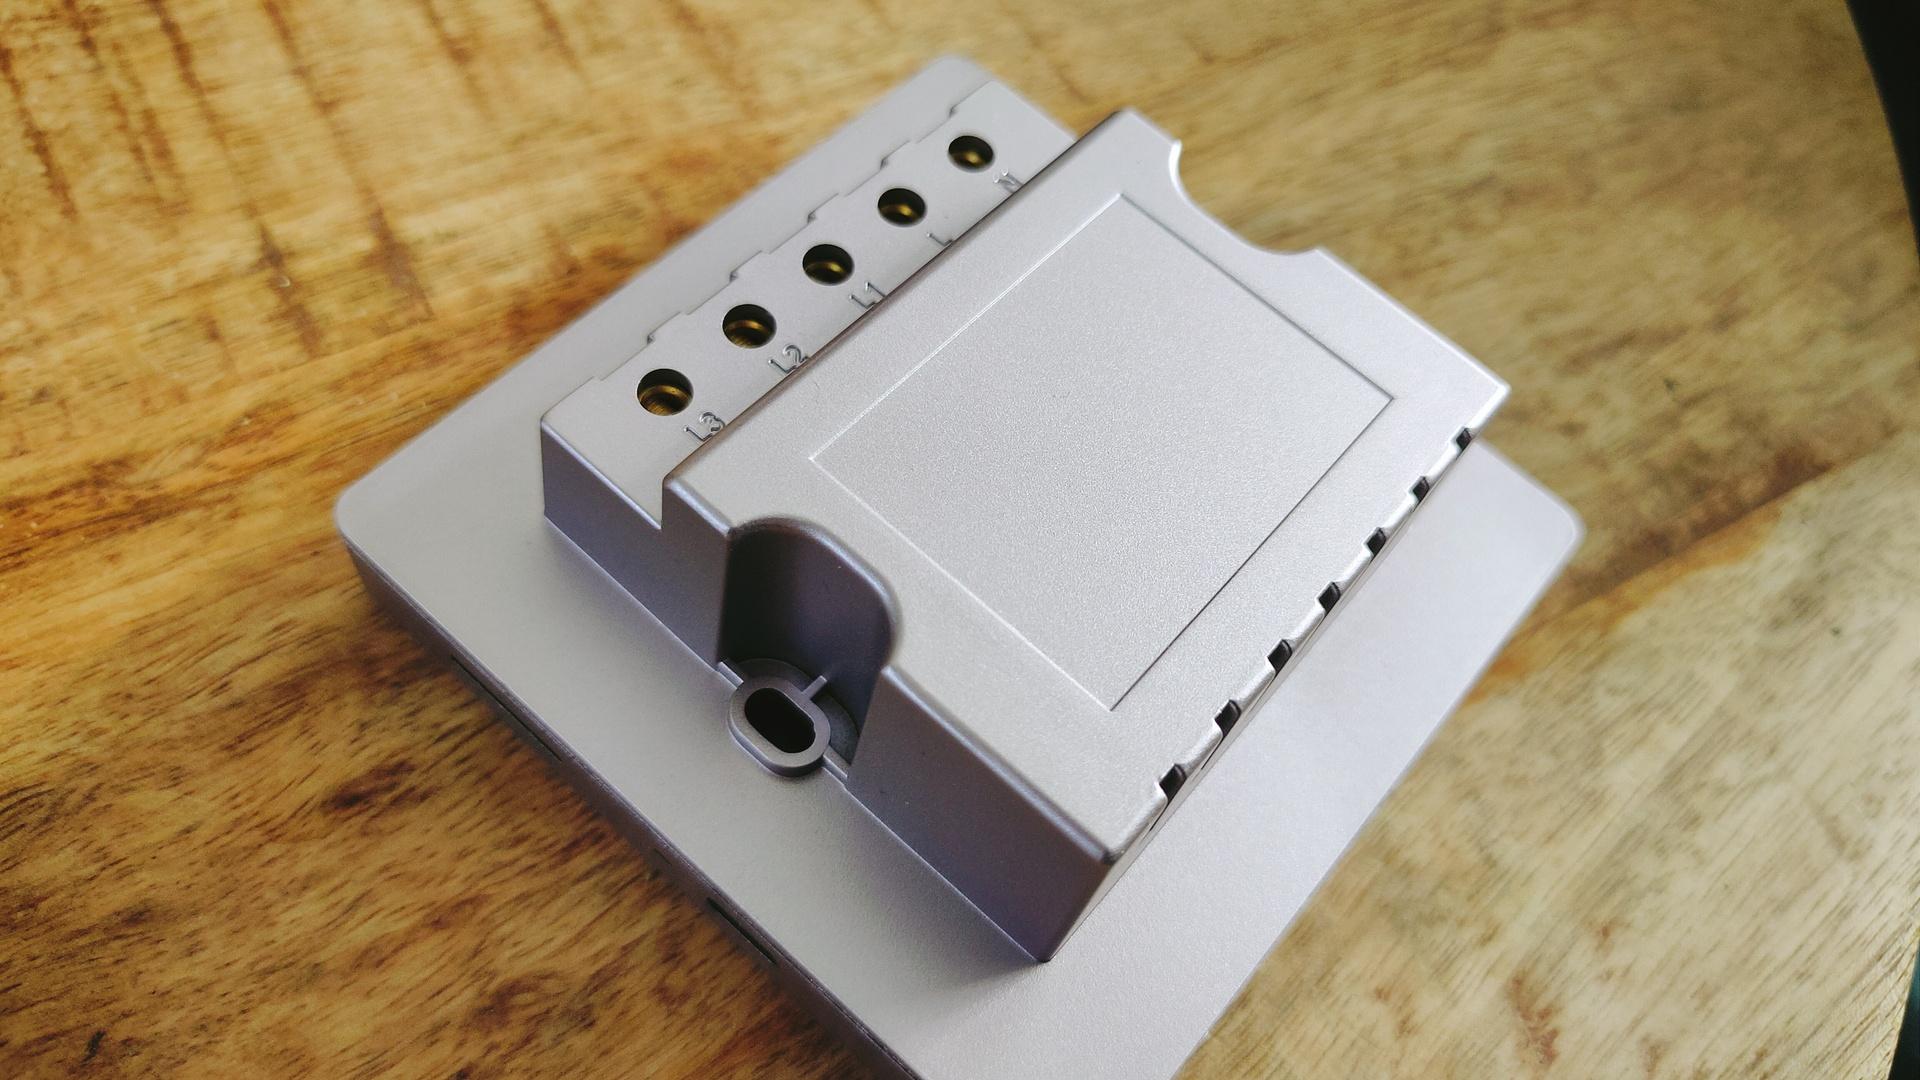
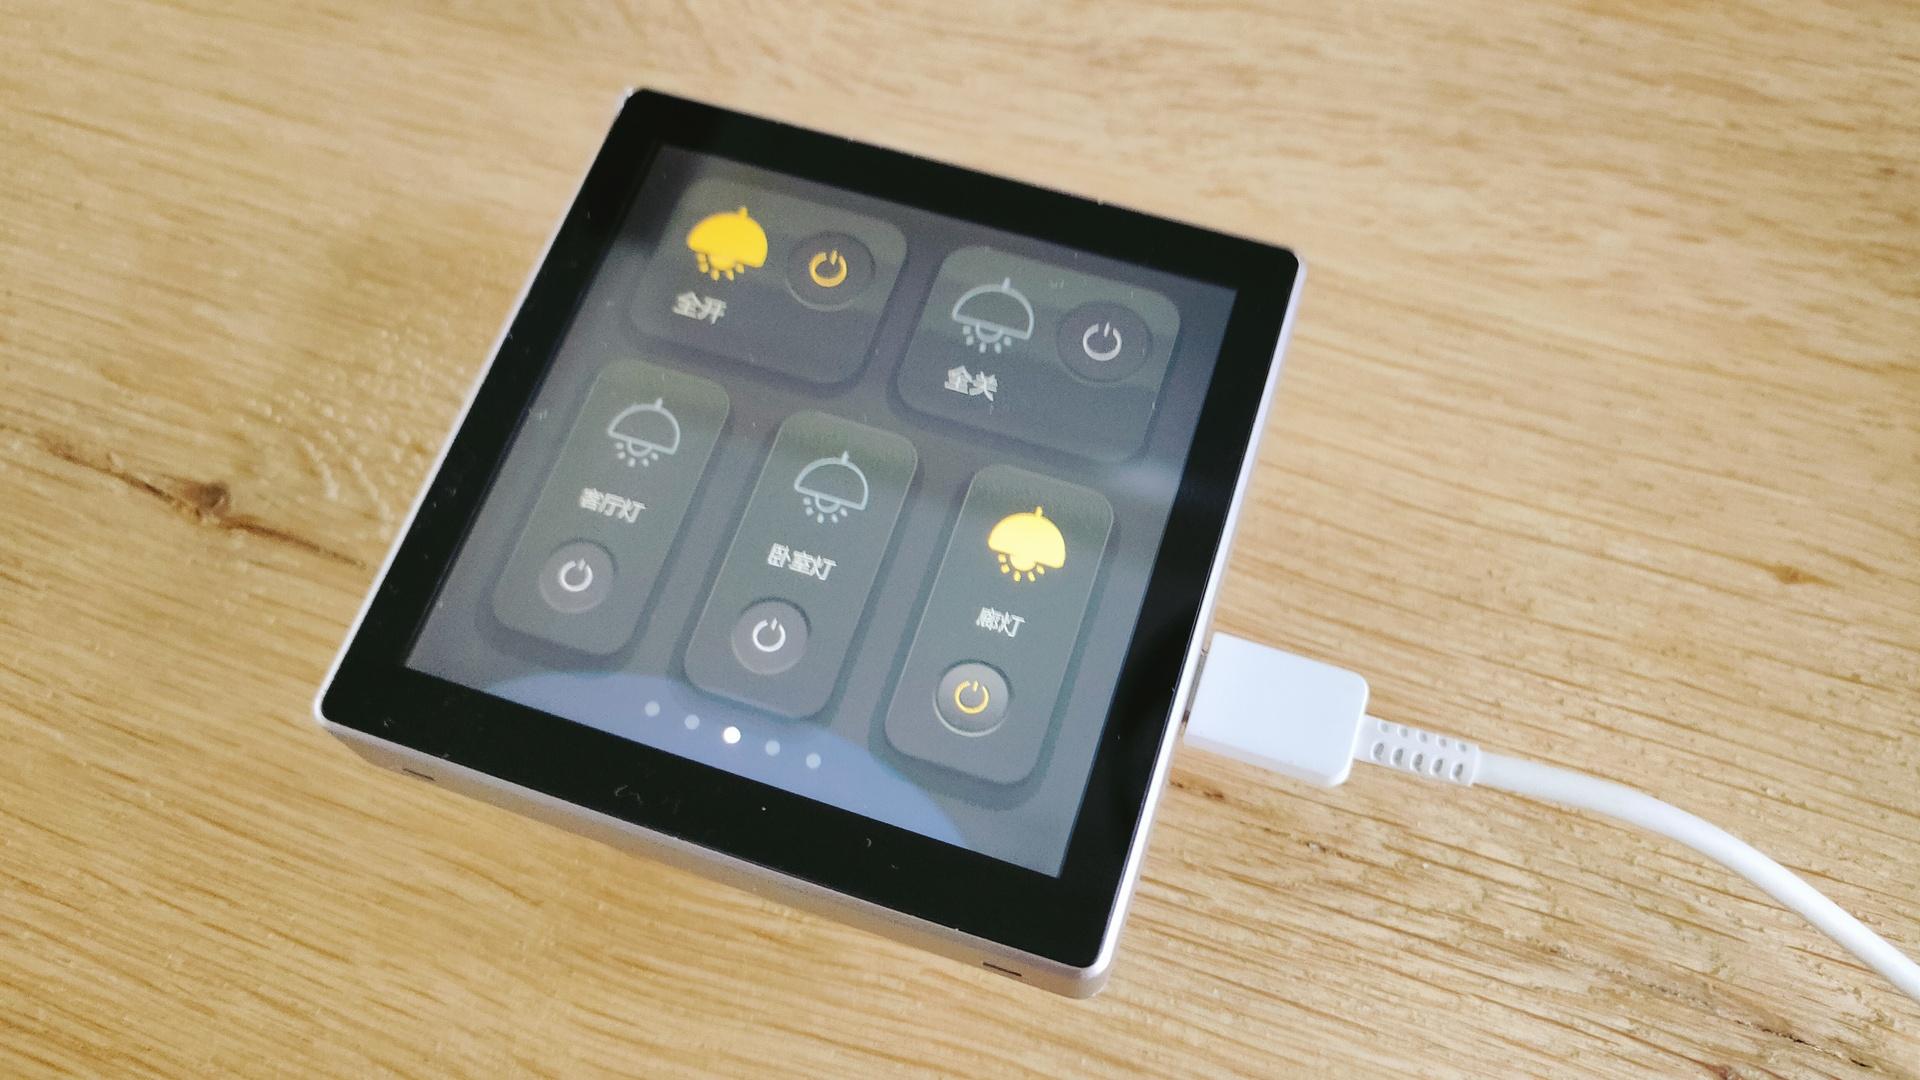
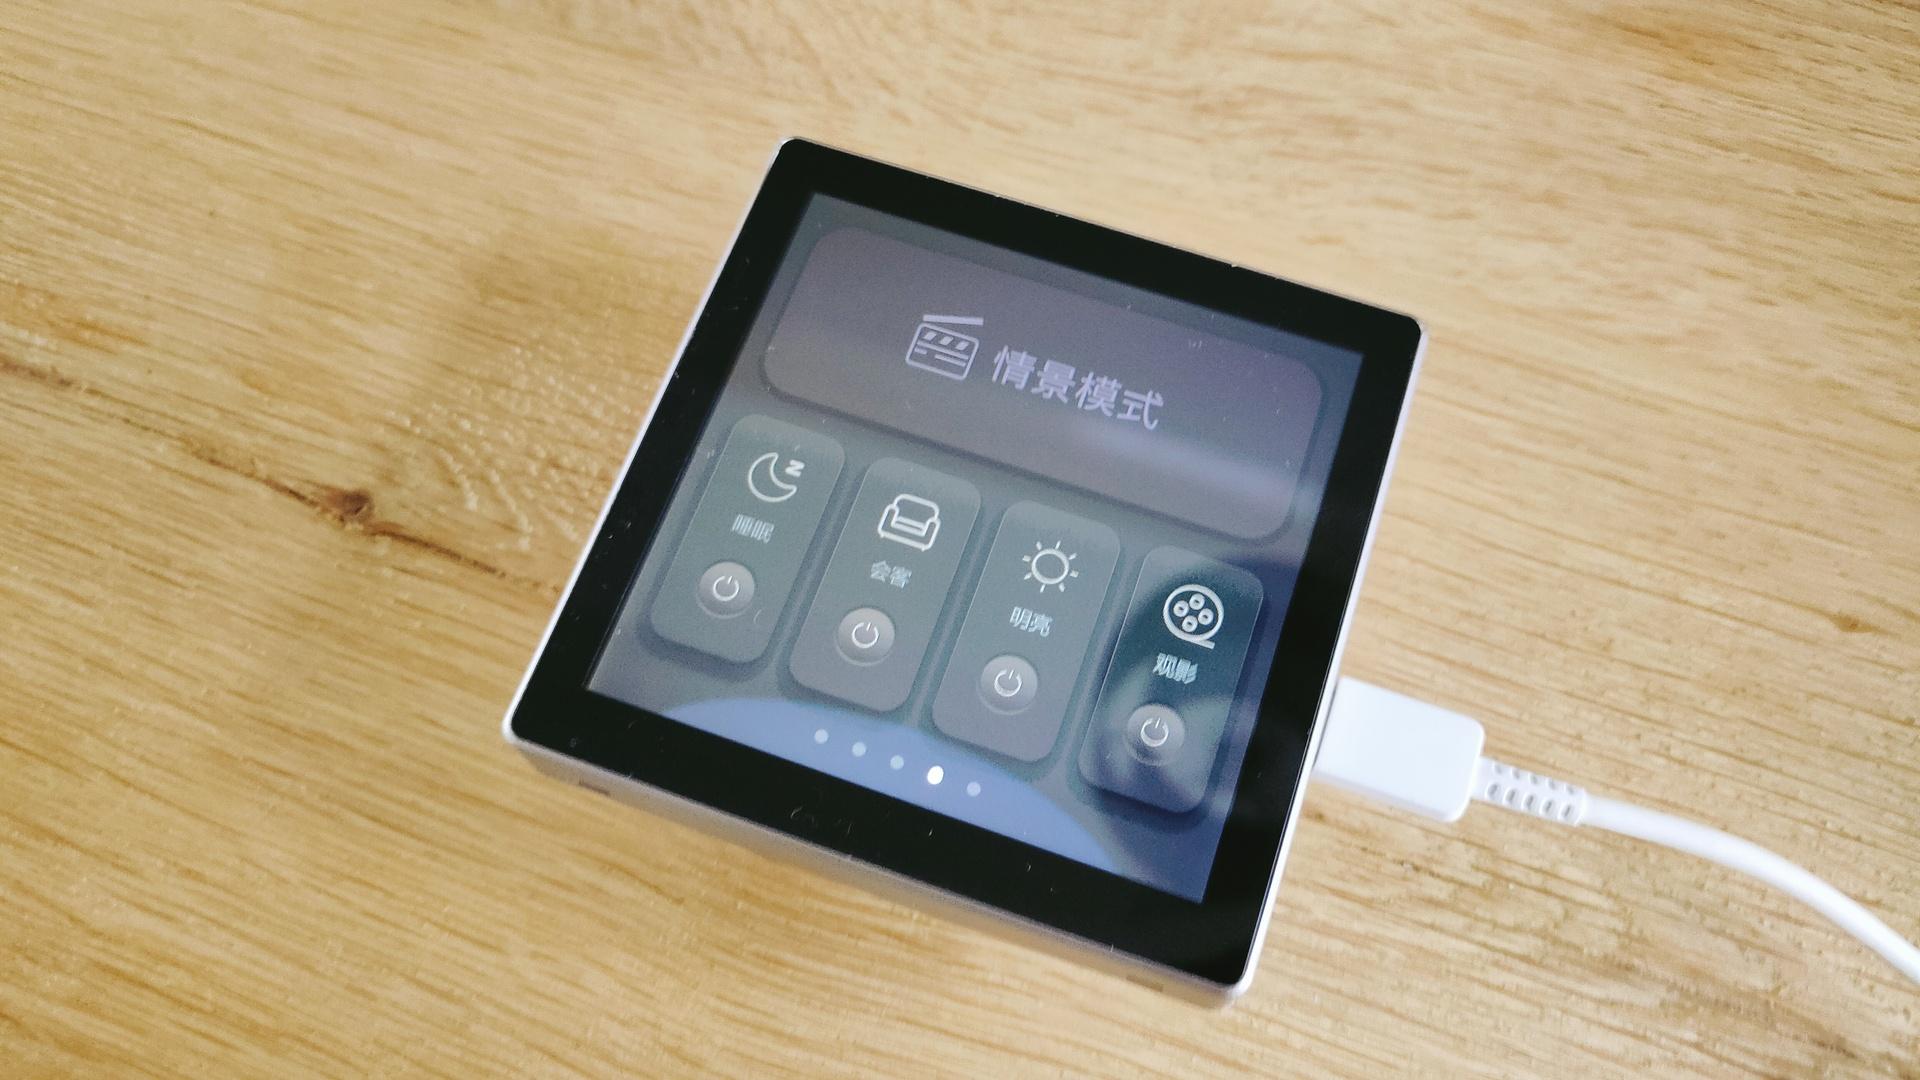
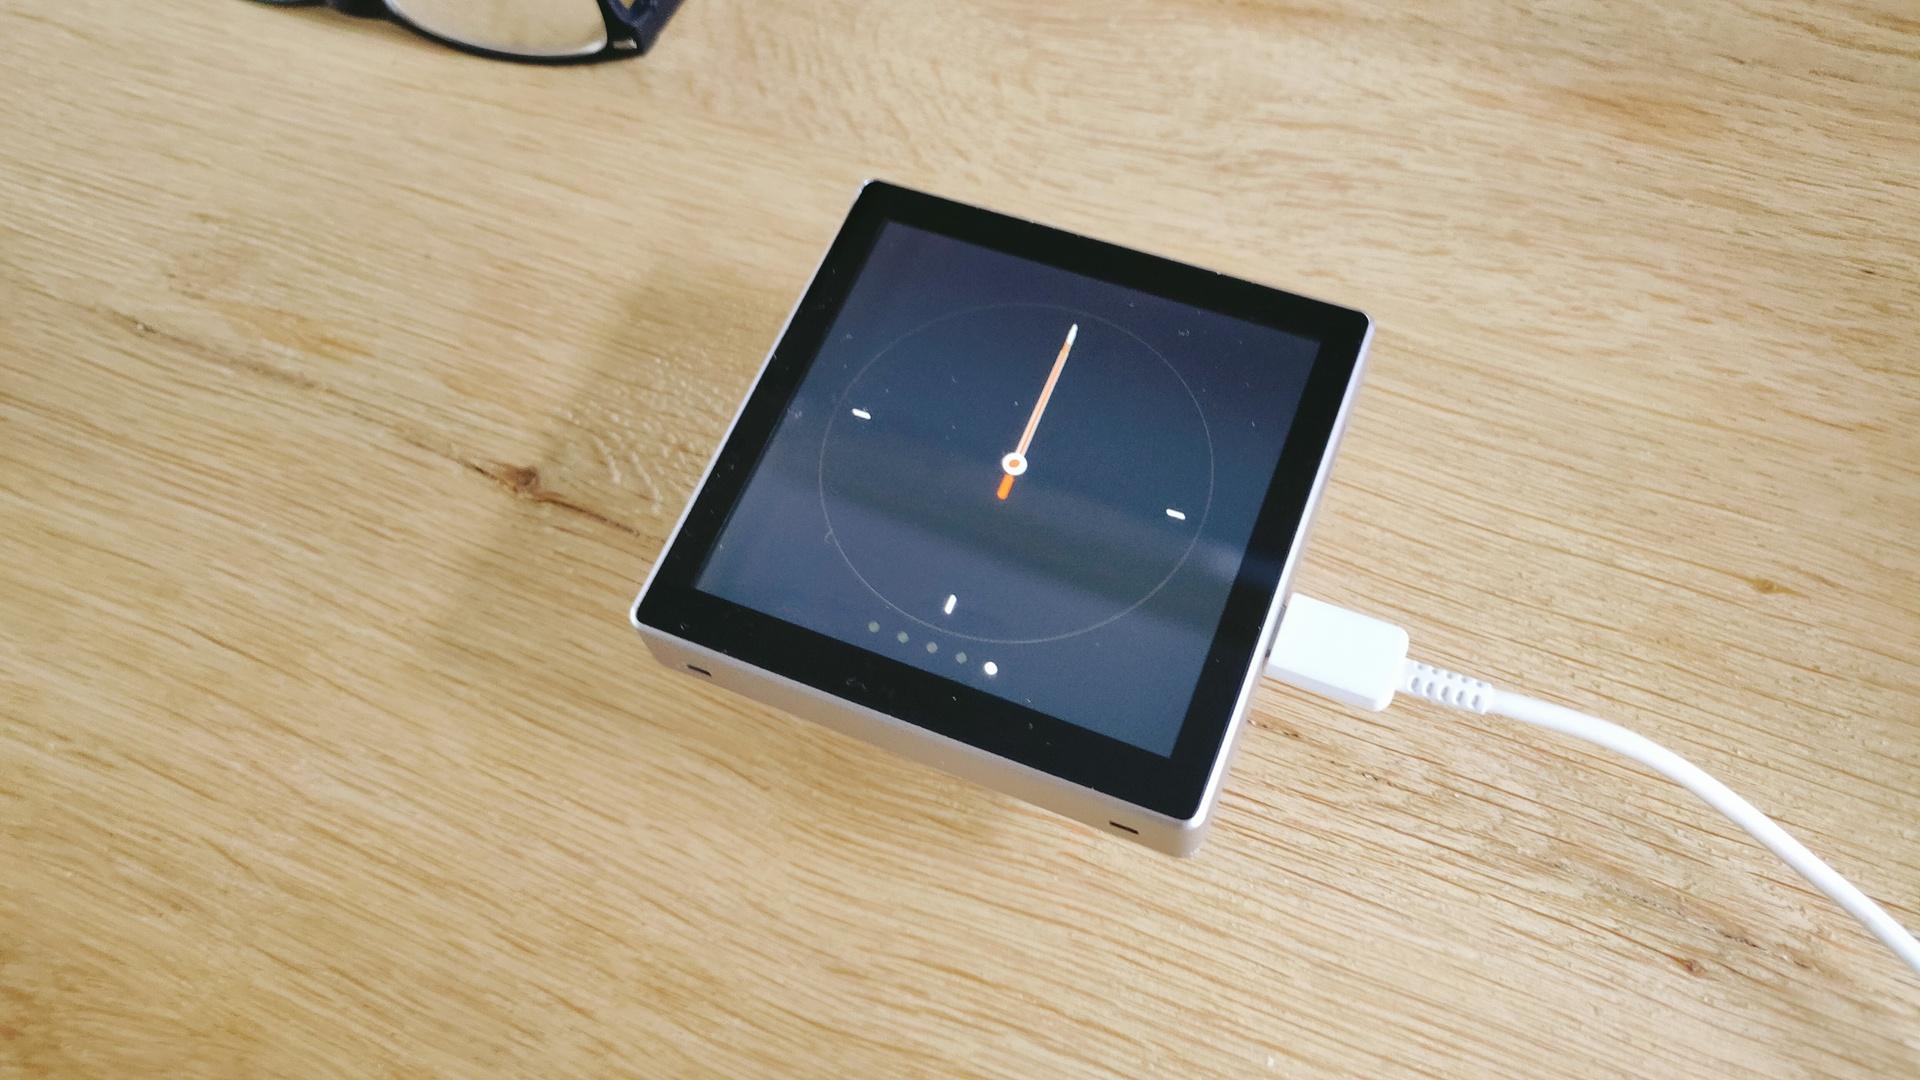
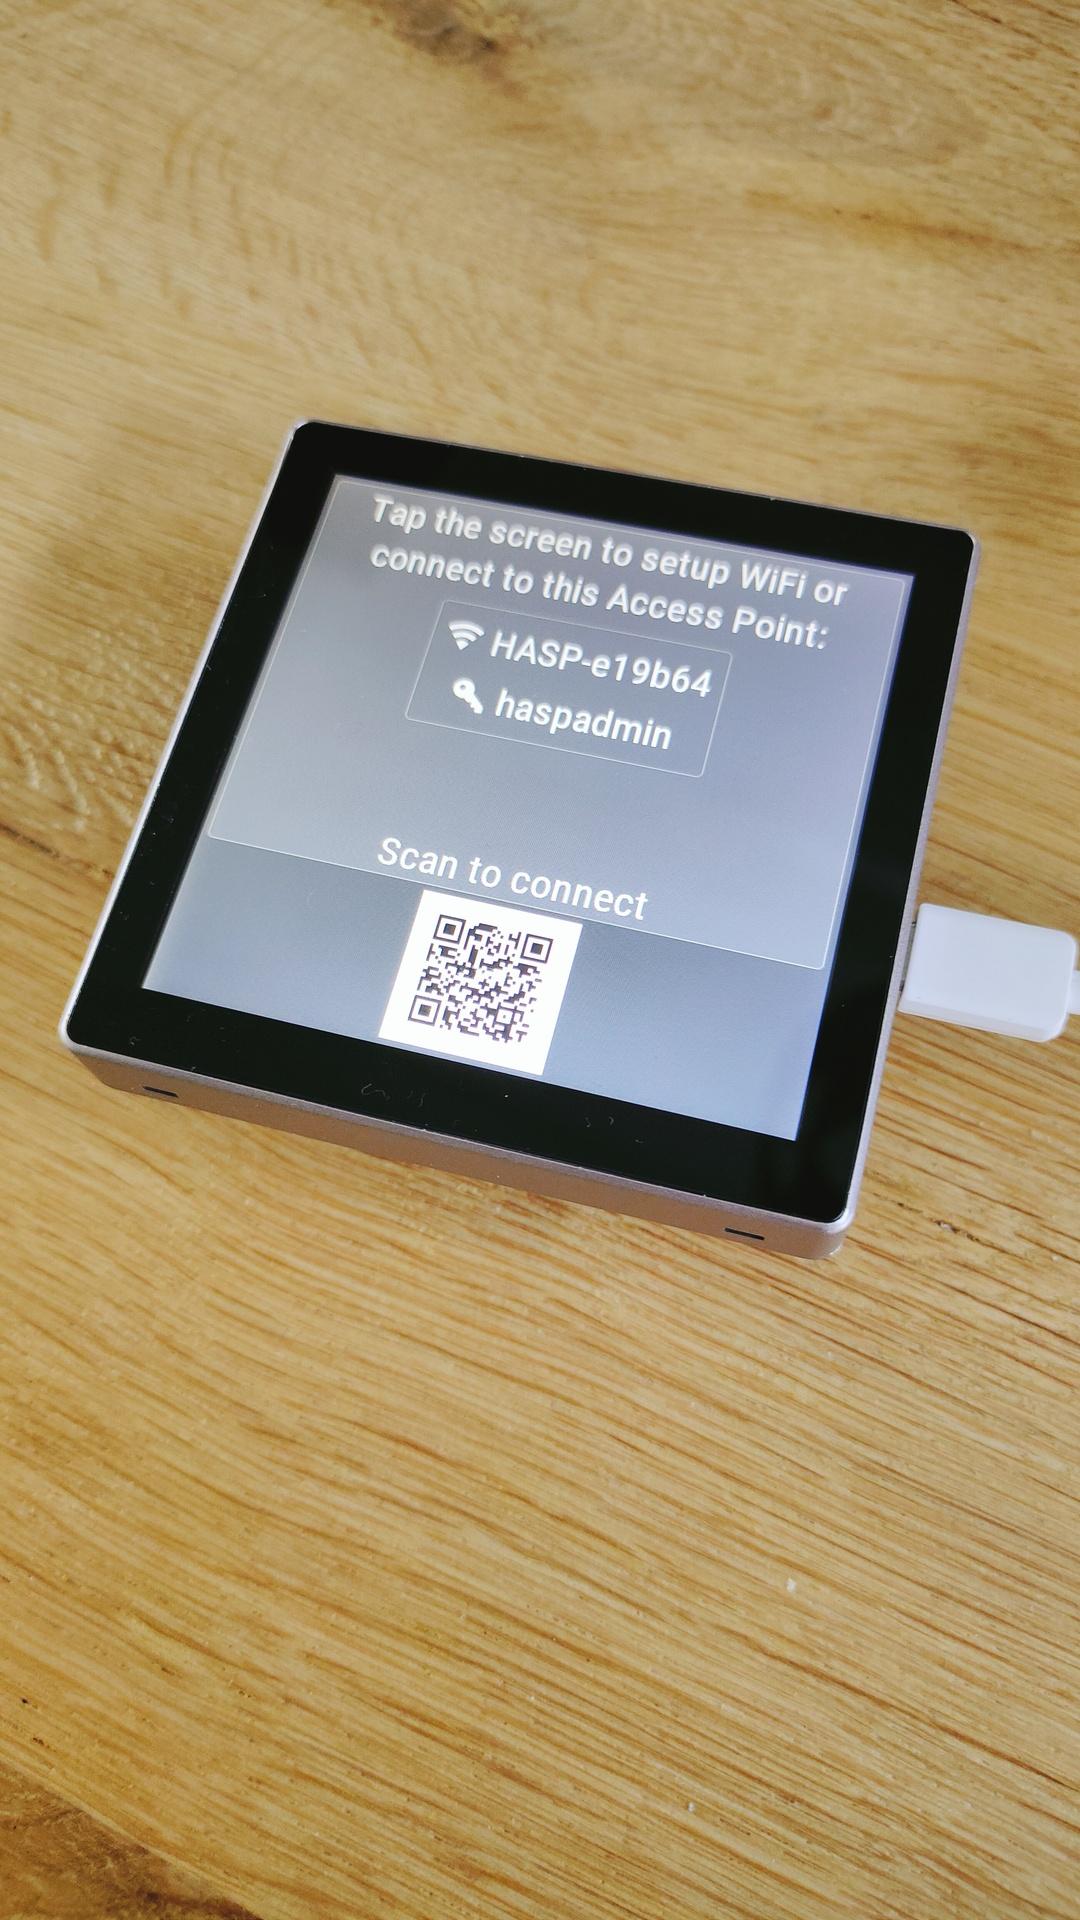
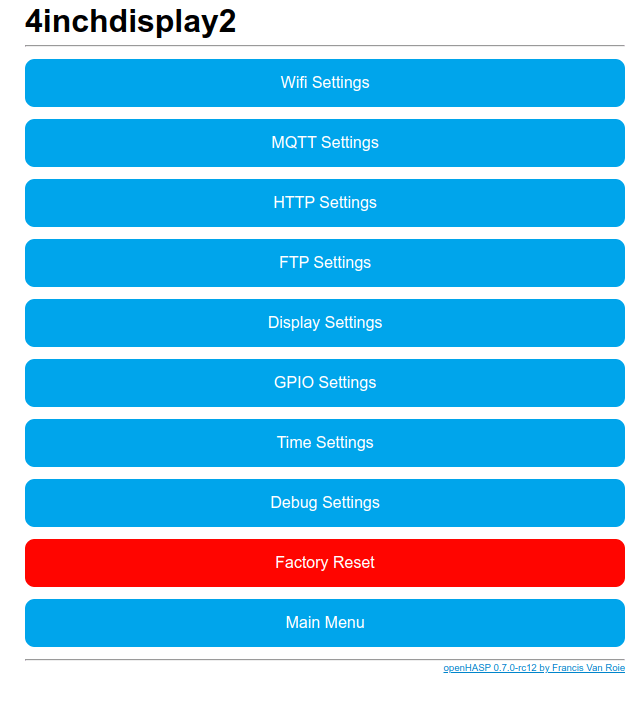
I bought a cheap esp32 display (4 inch 480×480) from China.
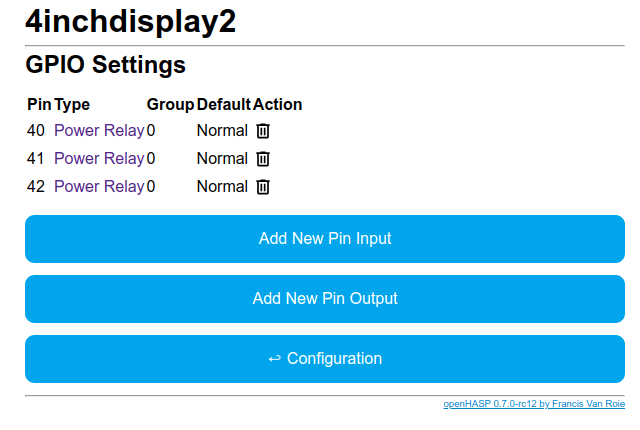
It also has three relays to control lights.
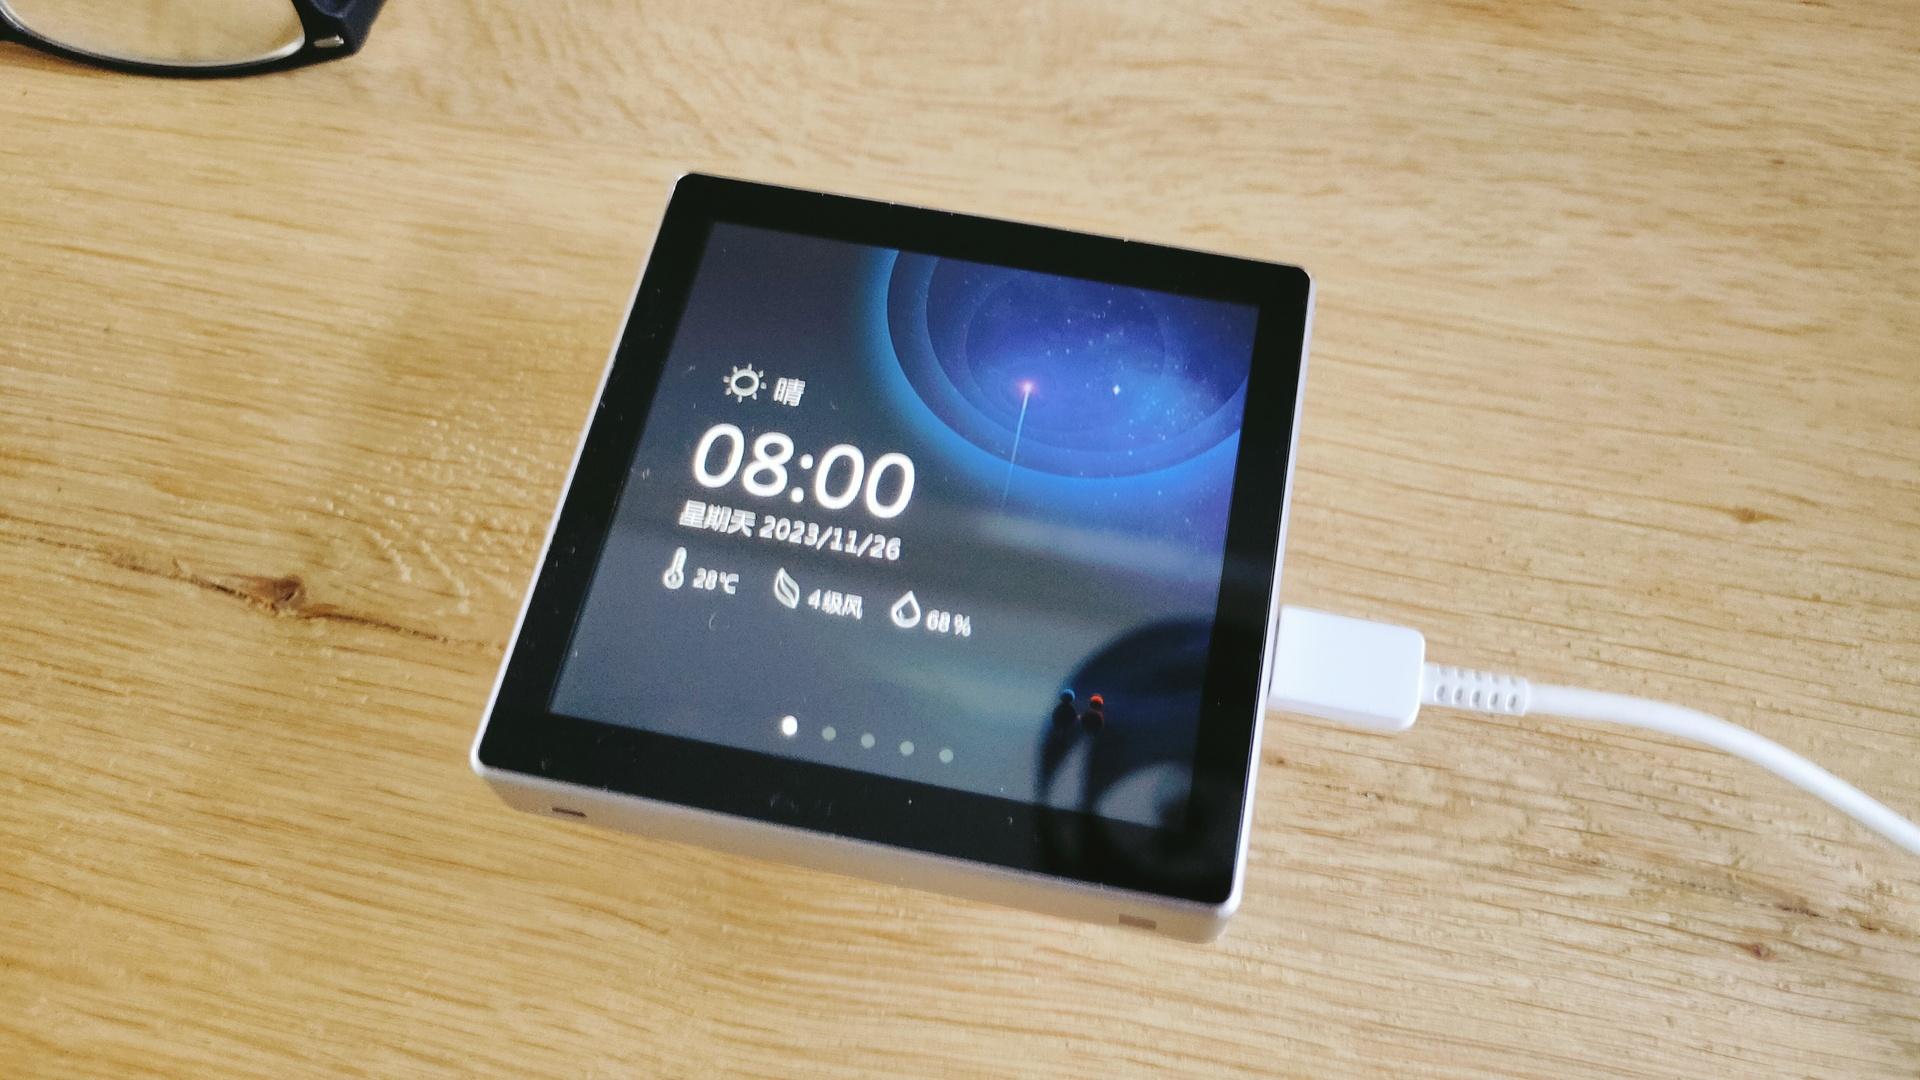
Below is a gallery with default screens.

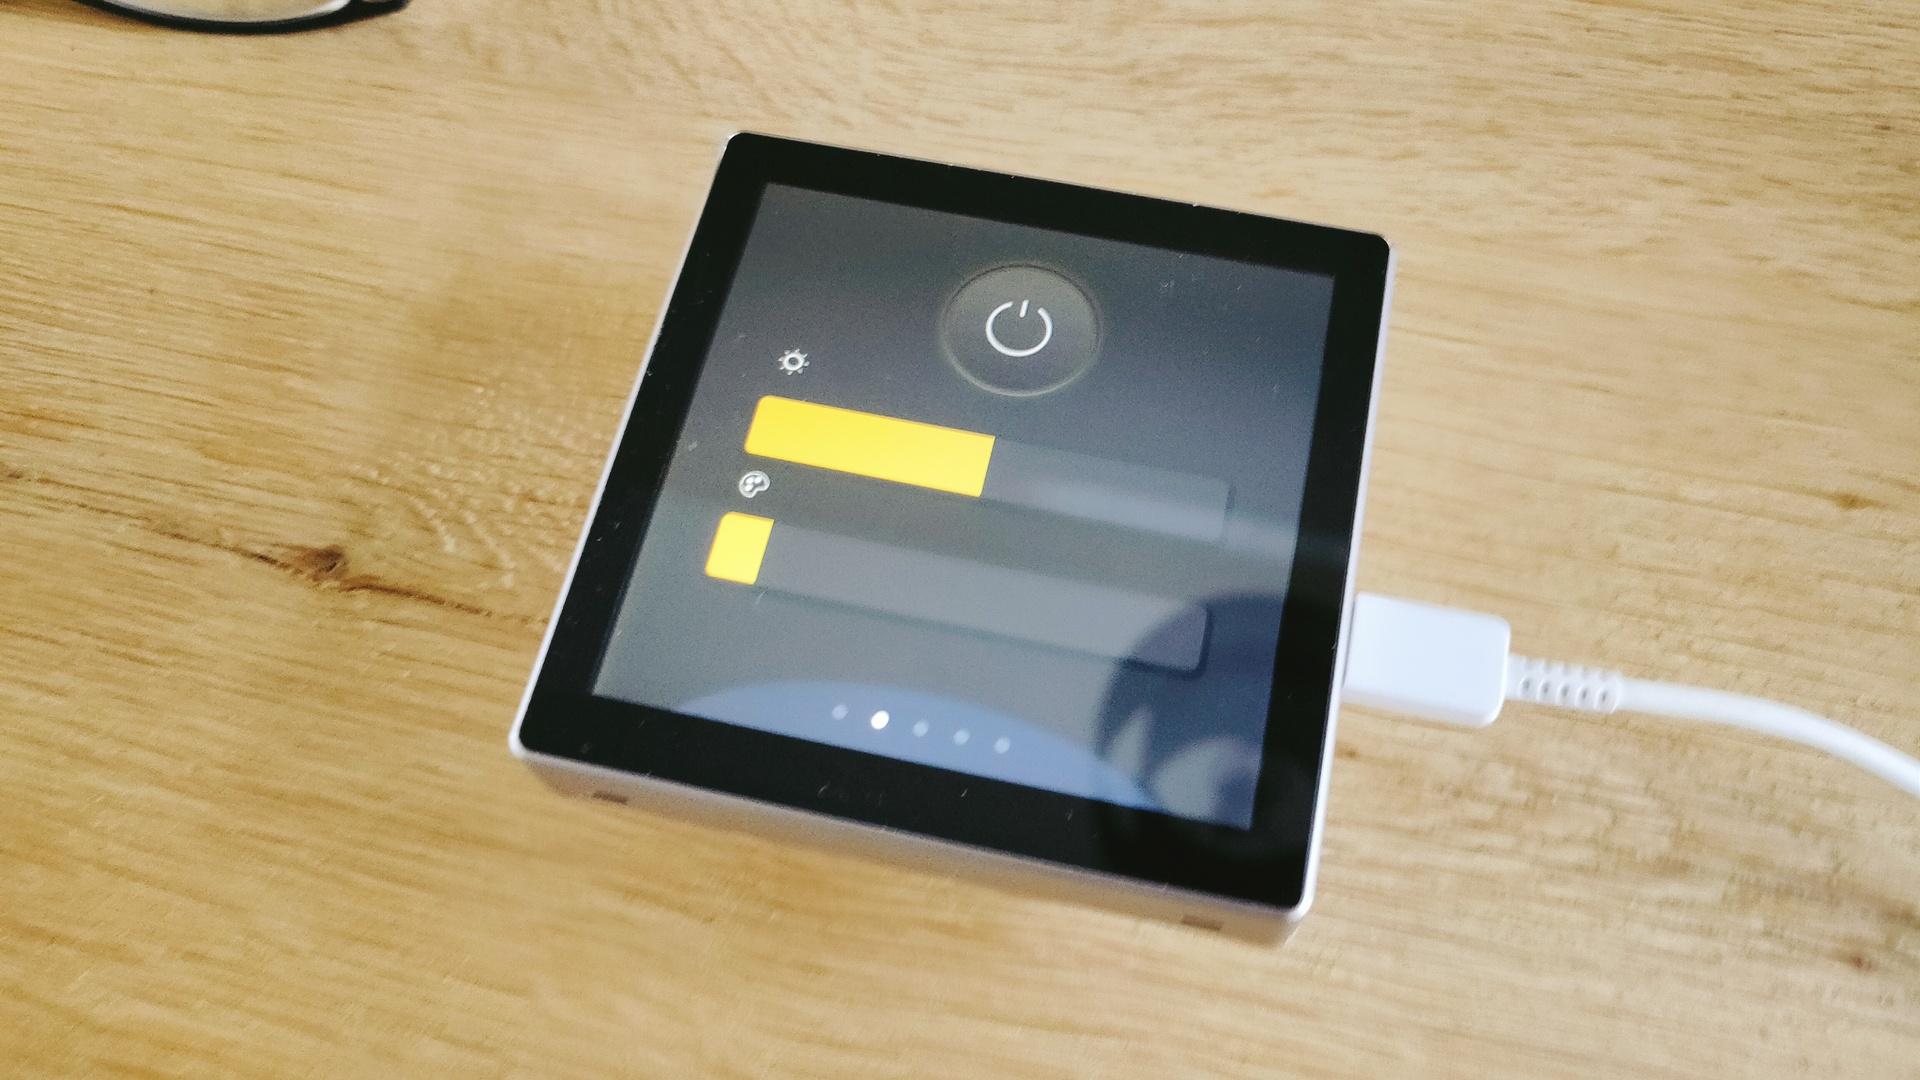


Flashing OpenHasp was a breeze.
Configure the thing for HA was not so easy.
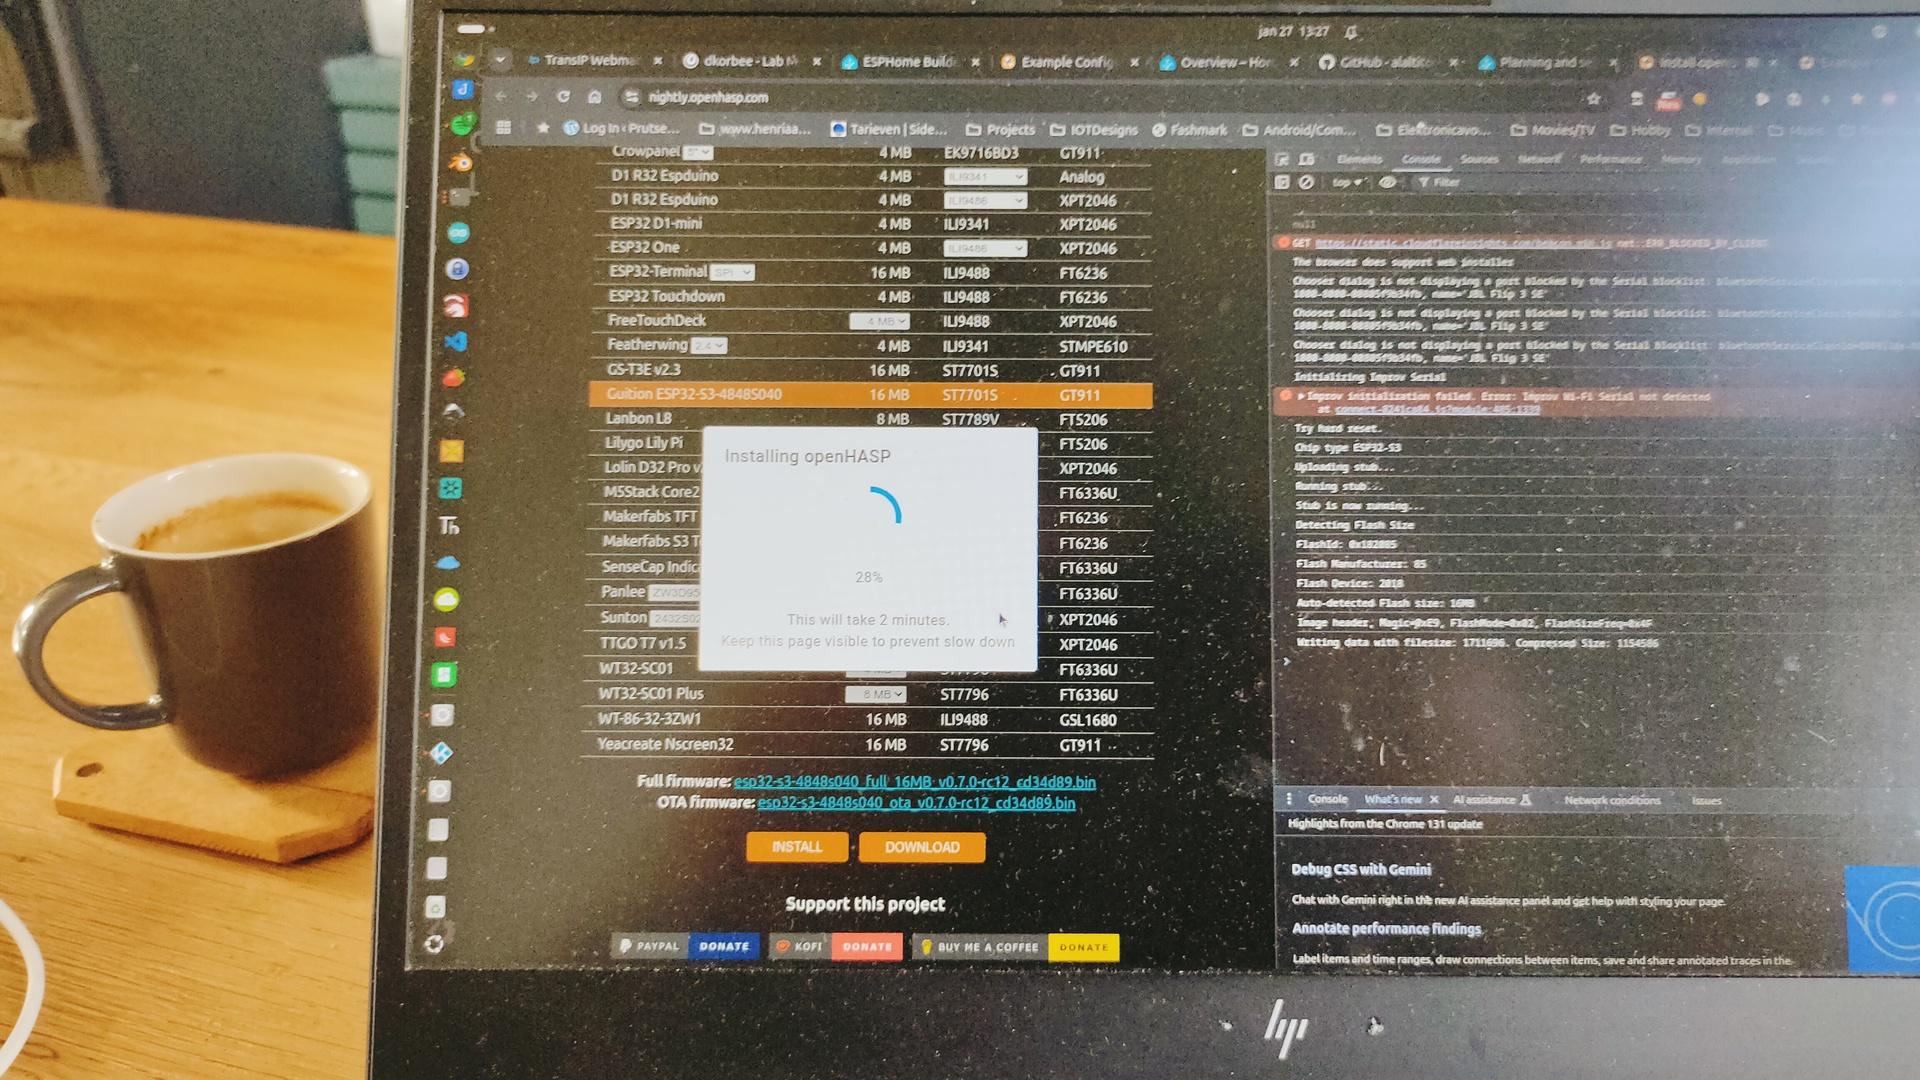
Install OpenHasp via Hacs on HA.
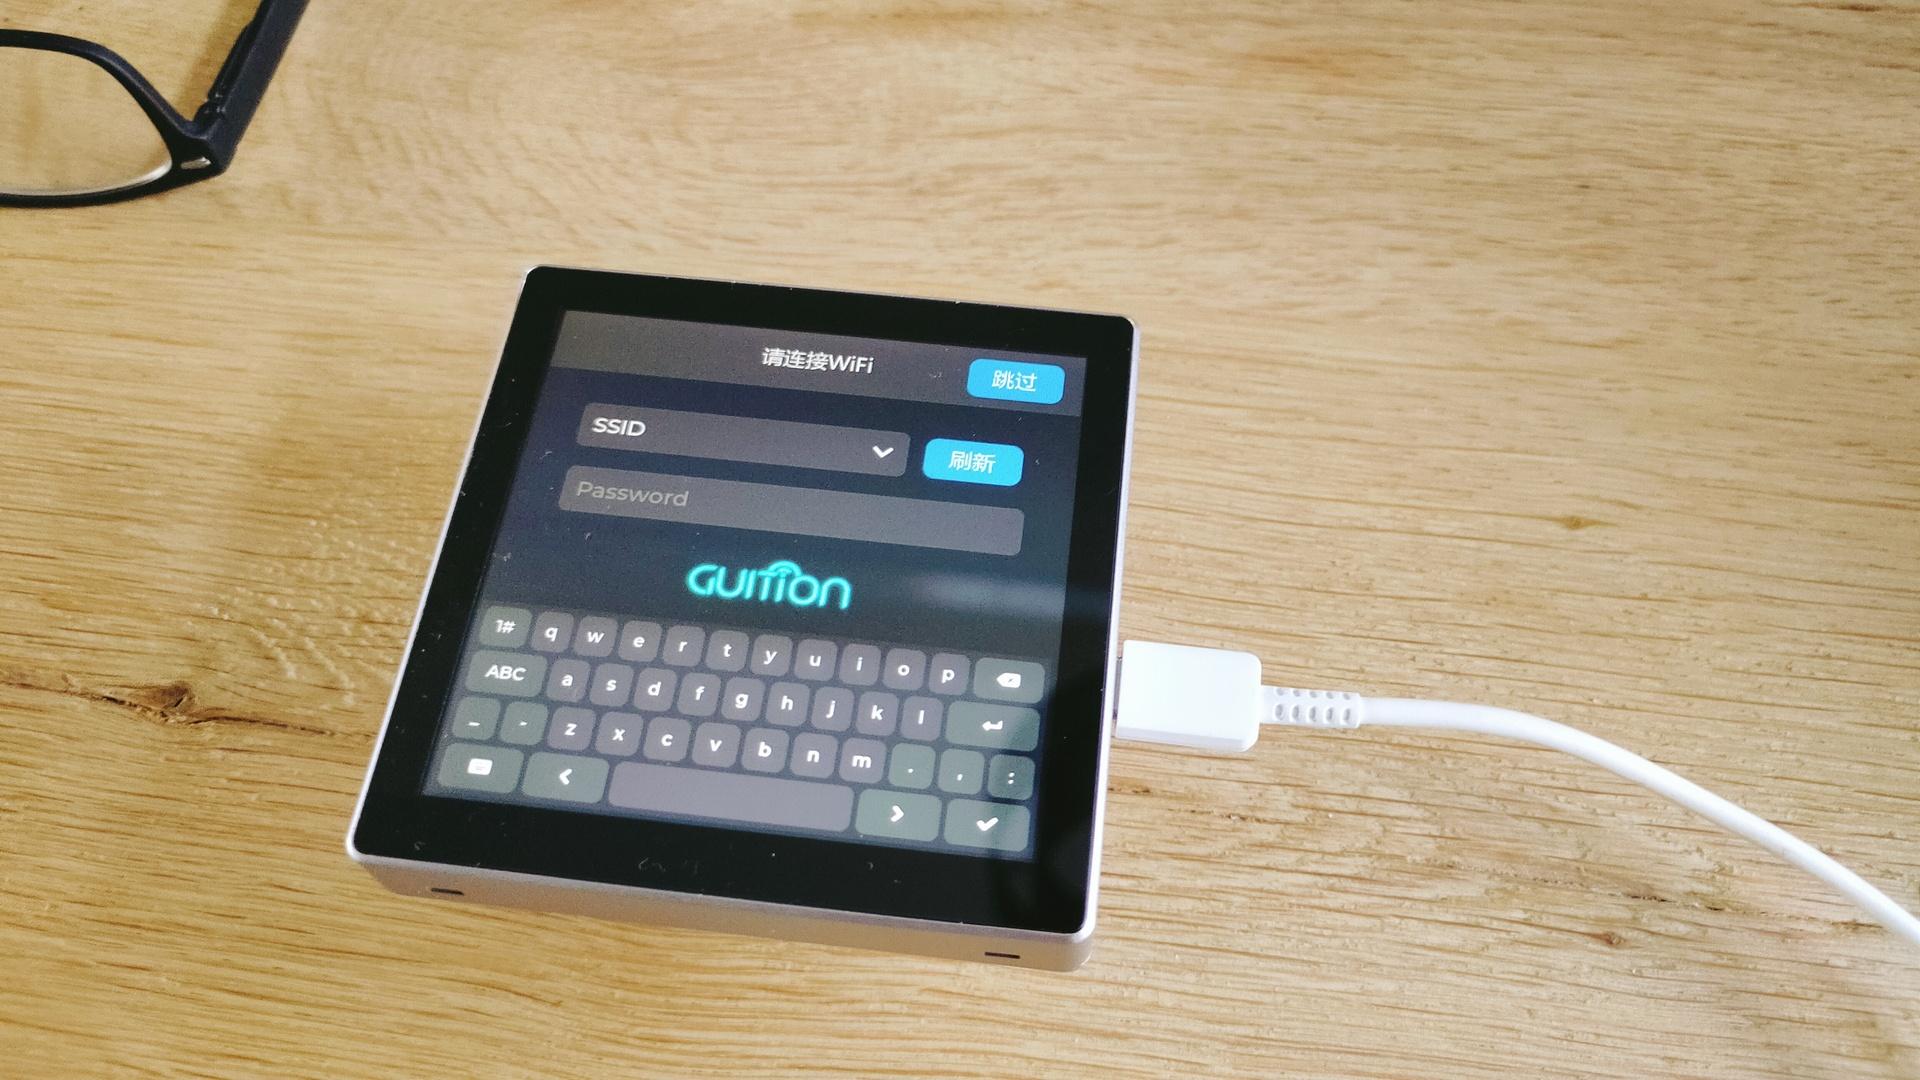
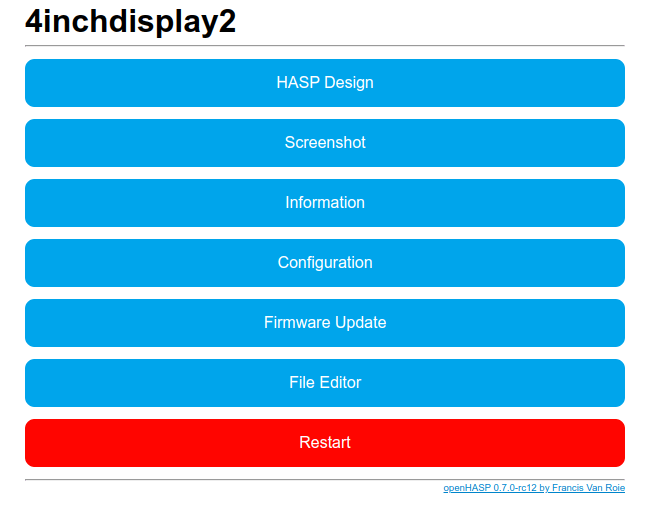
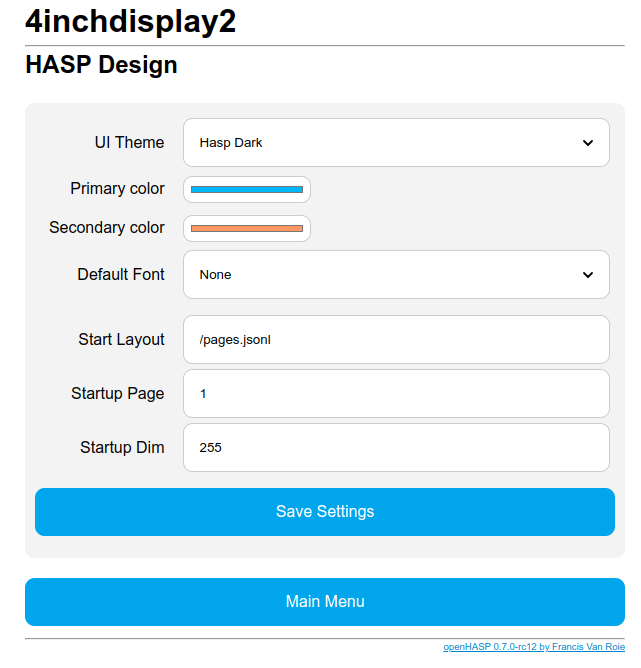
There is a webinterface on the display, here you have to configure wifi, mqtt and the pages.

Config files used for this first test:
{"page":1,"id":34,"obj":"img","src":"L:/pcb480x480.png","auto_size":0,"w":480}
{"page":1,"id":1,"obj":"btn","x":0,"y":0,"w":480,"h":50,"text":"IOTDesigns","value_font":22,"bg_color":"#2C3E50","text_color":"#FFFFFF","radius":0,"border_side":0}
{"page":1,"id":2,"obj":"btn","x":10,"y":60,"w":105,"h":90,"toggle":true,"text":"\uE335","text_font":32,"mode":"break","align":1}
{"page":1,"id":3,"obj":"dropdown","x":10,"y":160,"w":170,"h":60,"options":"Option 1\nOption 2\nOption 3\nOption 4"}
{"page":0,"id":1,"obj":"label","x":375,"y":45,"h":40,"w":100,"text":"00.0°C","align":2,"bg_color":"#2C3E50","text_color":"#FFFFFF"}
{"page":1,"id":6,"obj":"slider","x":20,"y":300,"w":440,"h":40,"min":15,"max":85}
Designer at : https://haspdesigner.qrisonline.nl/
4inchdisplay2:
    objects:
      - obj: "p0b1"  # temperature label on all pages
        properties:
          "text": '{{ states("sensor.livingtemperature") }}°C'
      - obj: "p1b2"  # light-switch toggle button
        properties:
          "val": '{{ 1 if states("switch.livingshelly") == "on" else 0 }}'
          "text": '{{ "\uE6E8" if is_state("switch.livingshelly", "on") else "\uE335" | e }}'
        event:
          "up":
            - service: homeassistant.toggle
              entity_id: "switch.livingshelly"
      - obj: "p1b3"  # dropdown
        event:
          "changed":
            - service: persistent_notification.create
              data:
                message: I like {{ text }}
      - obj: "p1b6" # Light brightness
        properties:
          "val": "{{ state_attr('number.dinnertable_brightness_0', 'brightness') if state_attr('number.dinnertable_brightness_0', 'brightness') != None else 0 }}"
        event:
          "changed":
            - service: light.turn_on
              data:
                entity_id: number.dinnertable_brightness_0
                brightness:  "{{ val }}"
          "up":
            - service: light.turn_on
              data:
                entity_id: number.dinnertable_brightness_0
                brightness:  "{{ val }}"
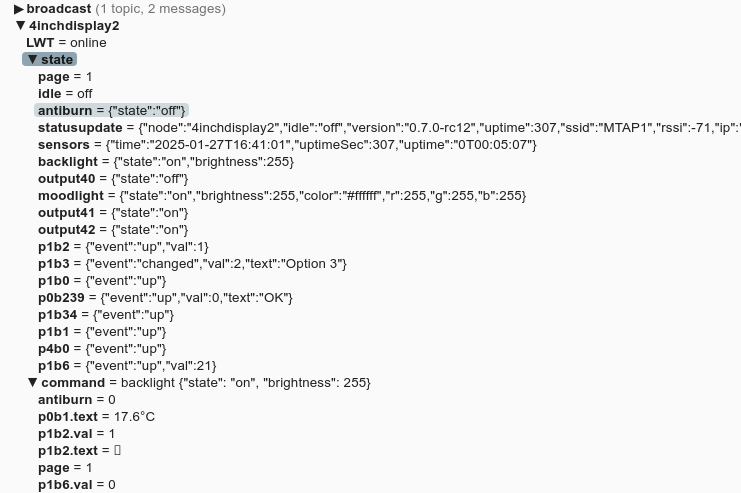
NOTE: Dimmer is not working via HA (yet), but mqtt messages are working.
| obj | Type | Description | Extra Parts |
|---|---|---|---|
| btn | Binary | Button | |
| switch | Toggle | Switch | indicator, knob |
| checkbox | Toggle | Checkbox | indicator |
| label | Visual | Label | |
| led | Visual | LED | |
| spinner | Visual | Spinner | indicator |
| obj | Visual | Base Object | |
| line | Visual | Line | |
| img | Visual | Image | |
| cpicker | Selector | Color picker | knob |
| roller | Selector | Roller | selected |
| dropdown | Selector | Dropdown List | selected, items, scrollbar |
| btnmatrix | Selector | Button Matrix | items |
| msgbox | Selector | Messagebox | items, items_bg |
| tabview | Selector | Tabview | items, items_bg, indicator, selected |
| tab | Selector | Tab | |
| bar | Range | Progress Bar | indicator |
| slider | Range | Slider | indicator, knob |
| arc | Range | Arc | indicator, knob |
| linemeter | Range | Line Meter | |
| gauge | Range | Gauge | indicator, ticks |
| qrcode | Visual | Qrcode |
We’ve gone too far.
IA is generating news articles and complete YT video’s.
Also, forums and news articles are made using AI.
Reviews are being generated by vote farms.
Unchecked and being re-ingested by other IA scrapers.
It’s being fed again into other new AI generators.
Content generators are not interested in if the generated content is true.
Just generate traffic and income.
I hate watching a long YT video, voice being generated, story content from ChatGPT and not fact checked.
No new information, just generic information stretched into more time you have to watch.
If there is a disaster, people generate false footage to generate traffic.
I’ll resume this rant in time .. i’m not done