(These are only movies 1900-1939)
UPDATE 20230830
I’m not talking about the well known movies like:
- King kong (1933)
- The Wizard of Oz (1939)
- Mr. Smith Goes to Washington (1939)
- The Gold Rush (1925)
- Frankenstein (1931)
- Modern Times (1936)
I’ve seen many more, maybe i’ll add above and more to below list.
These are also very good, just watch them!
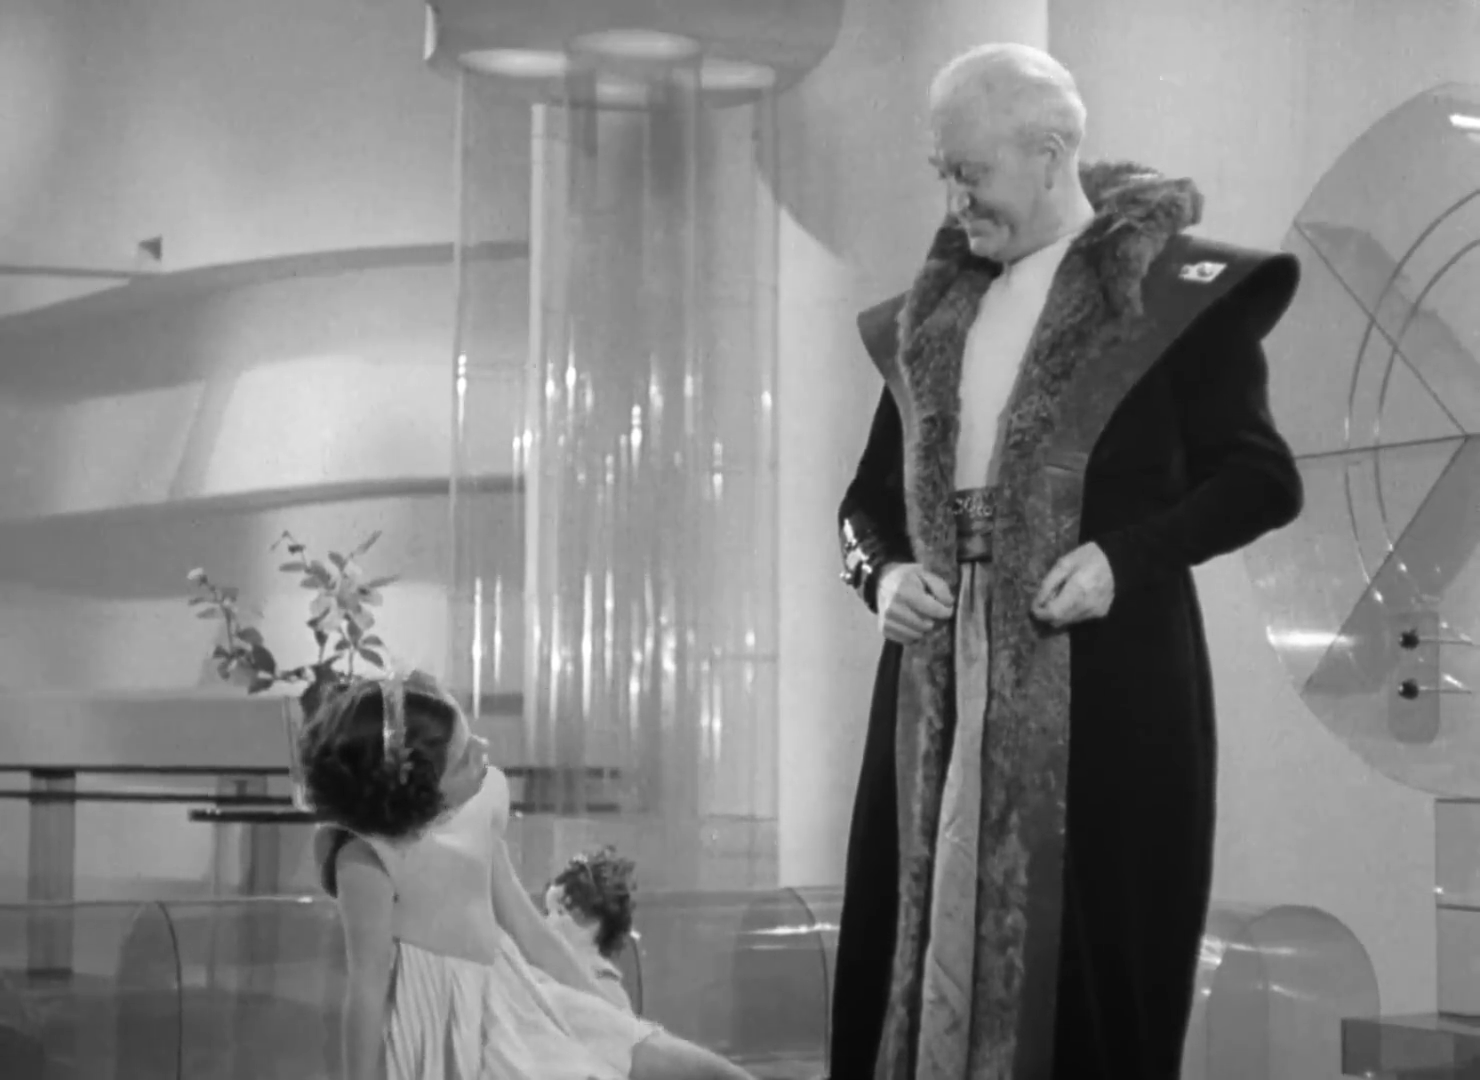
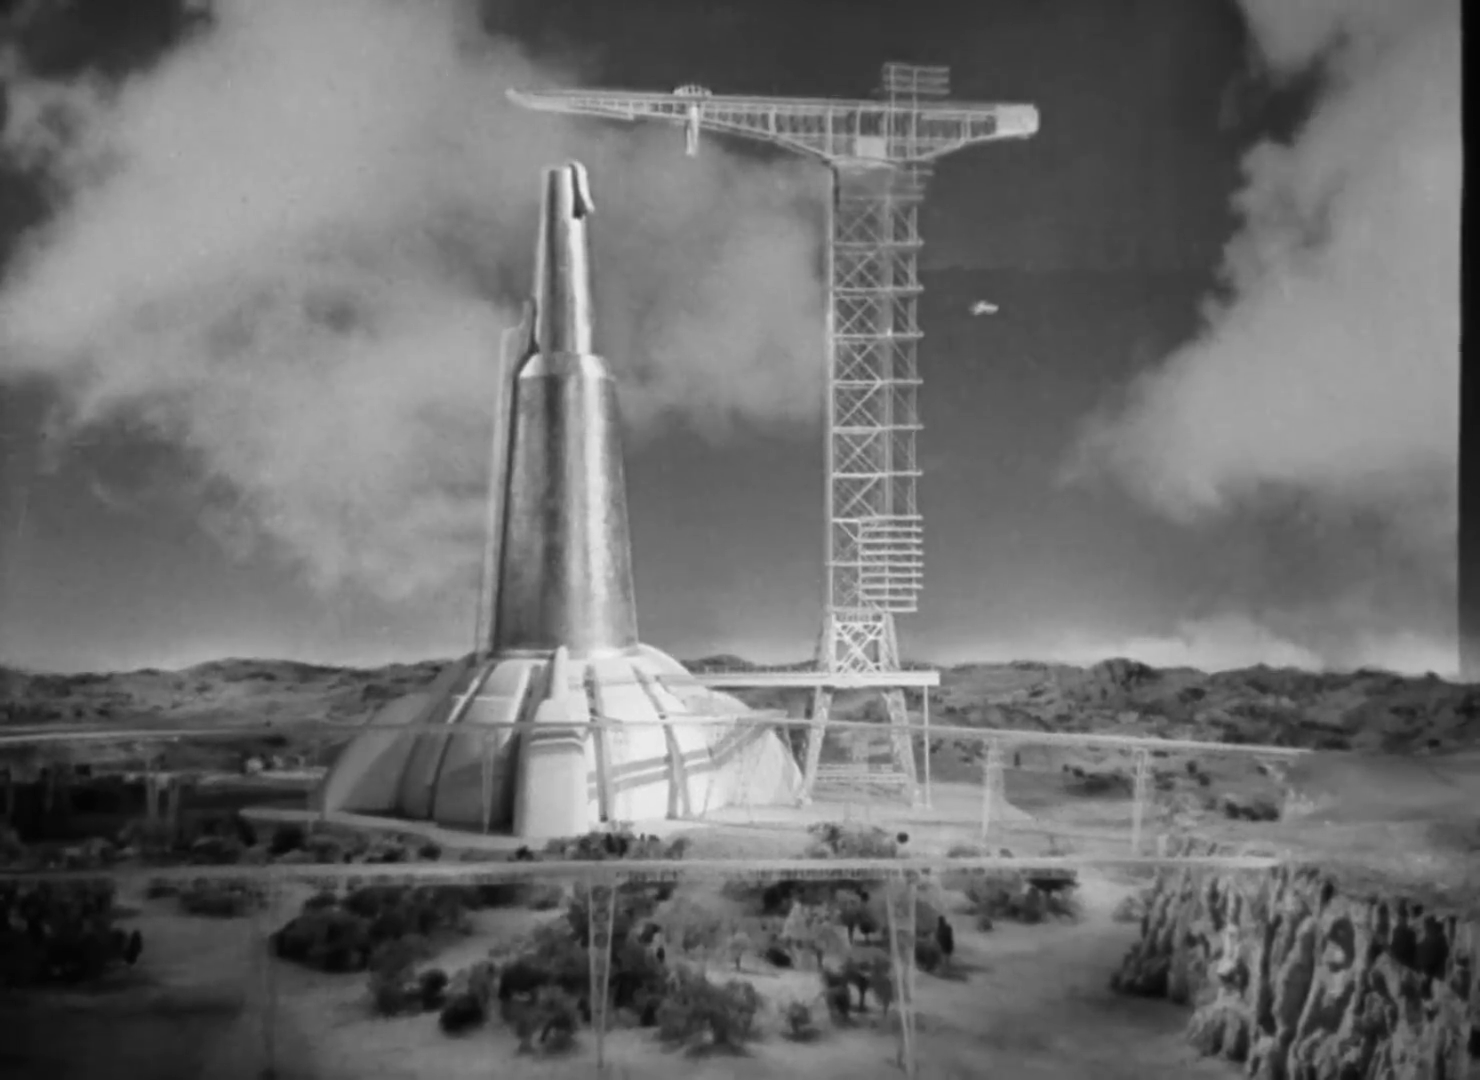
Things to come (1936)
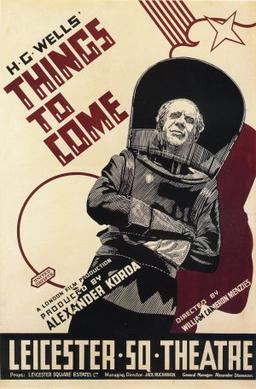
H.G.Wells sci-fi movie ‘predicting’ WWII and a trip to the moon (predicted 1970 instead of 1969)
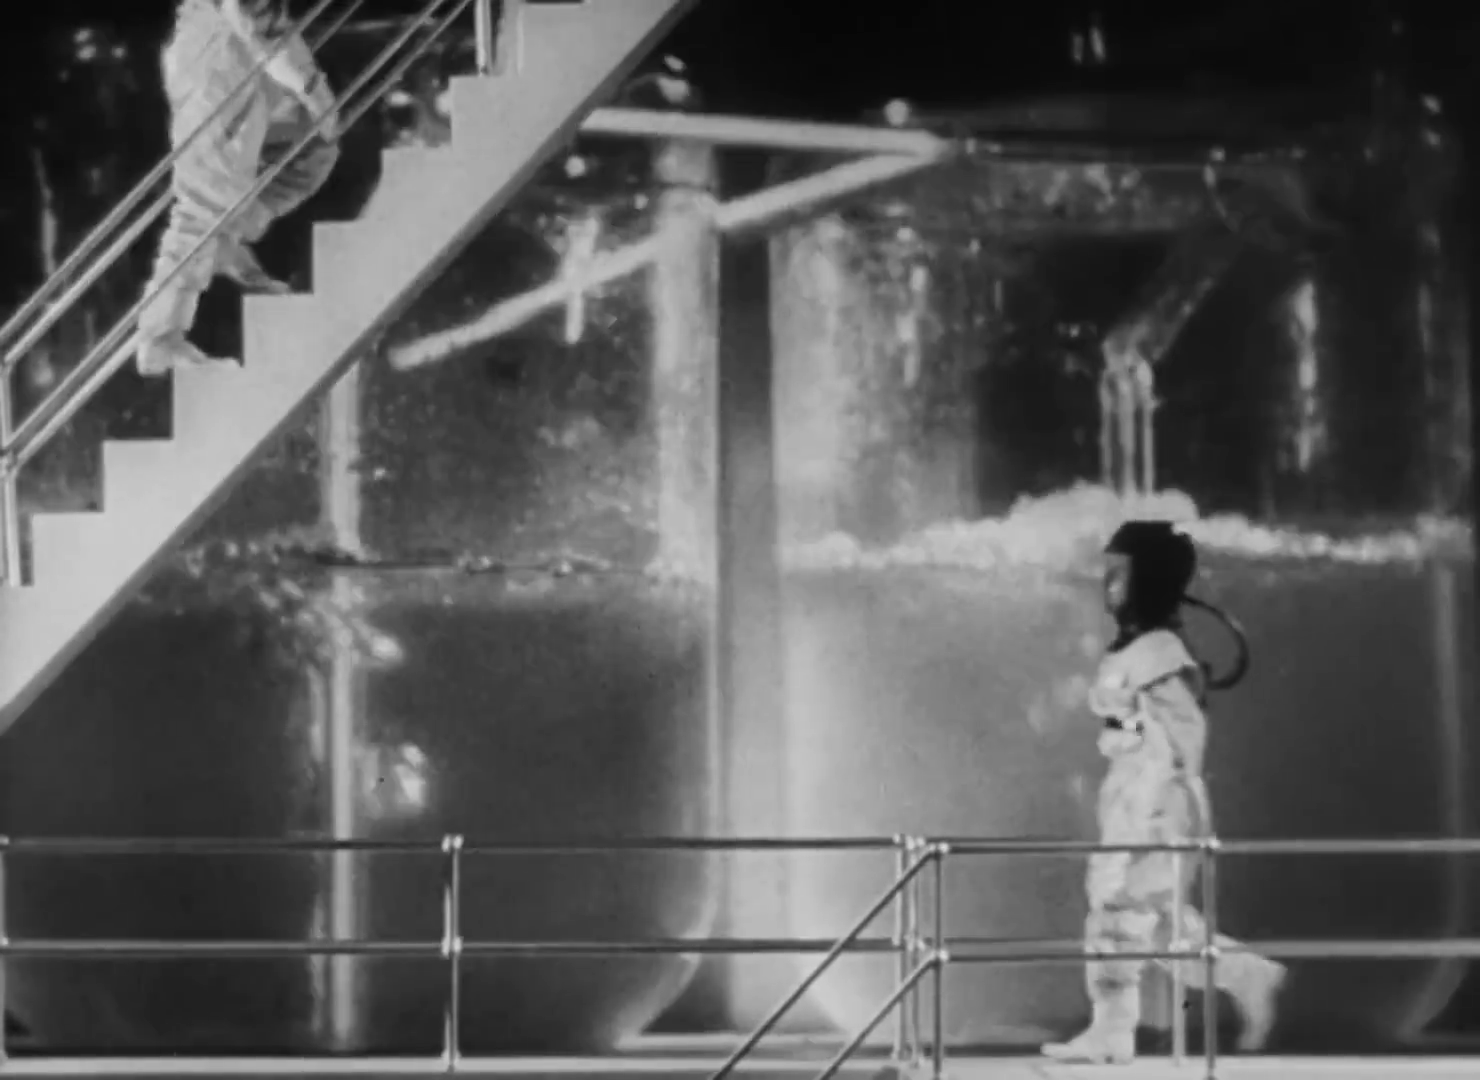
Special effects using Matte painting, double exposure and miniature models.
It’s Christmas 1940, and Everytown resident John Cabal fears that war is imminent. When it breaks out, the war lasts 30 years, destroying the city and ushering in a new dark age of plagues and petty despots. But there is hope in the form of Wings Over the World, a group of pacifist scientists and thinkers lead by Cabal. Their dream is to build a utopian society on the ruins of the old. But first they’ll have to unseat the latest ruling tyrant.

M (1931)
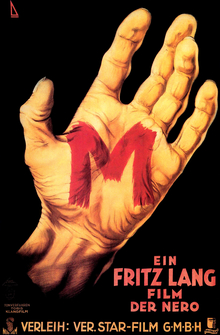
Good story with superb acting by Peter Lorre.
M is a 1931 German mystery suspense thriller film directed by Fritz Lang and starring Peter Lorre in his third screen role as Hans Beckert, a serial killer of children. An early example of a procedural drama, the film centers on the manhunt for Lorre’s character, conducted by both the police and the criminal underworld.
Metropolis (1927)
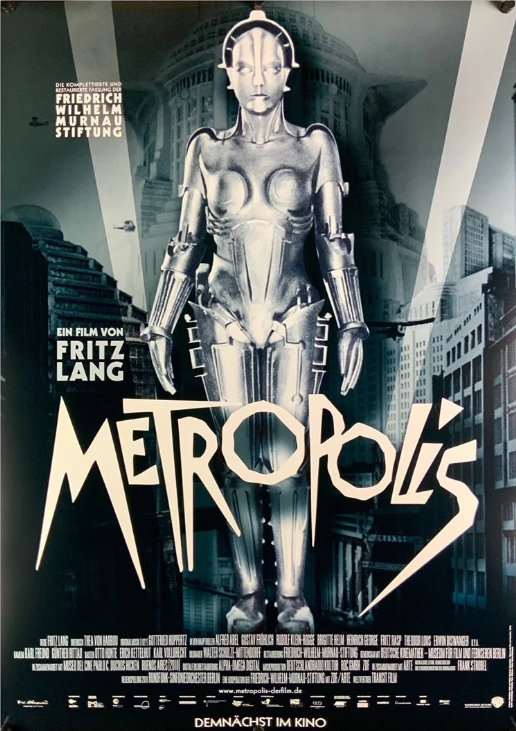
Silent Sci-Fy movie, using some special effects never seen before.
It is a long movie, and shows some nice dystopian scenes.
This influential German science-fiction film presents a highly stylized futuristic city where a beautiful and cultured utopia exists above a bleak underworld populated by mistreated workers. When the privileged youth Freder discovers the grim scene under the city, he becomes intent on helping the workers. He befriends the rebellious teacher Maria , but this puts him at odds with his authoritative father, leading to greater conflict.
Freaks (1932)
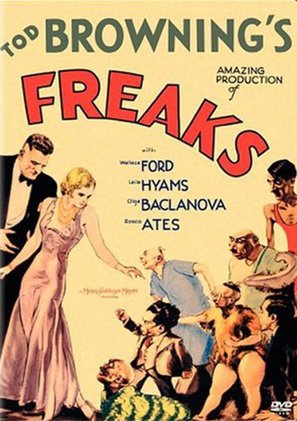
What can I say, can’t be made anymore. Shocking to see what sideshows looked like 100 years ago.
Still they managed to tell a story about relations and greed.
When trapeze artist Cleopatra learns that circus midget Hans has an inheritance, she marries the lovesick, diminutive performer, all the while planning to steal his fortune and run off with her lover, strong man Hercules. When Hans’ friends and fellow performers discover what is going on, they band together and carry out a brutal revenge that leaves Hercules and Cleopatra knowing what it truly means to be a “freak.”
Nosferatu, eine Symphonie des Grauens (1922)
While almost at the end of our 250 best movies journey, this movie popped up.
Almost the oldest in our collection.
The Kid is one year older (charlie chaplin)
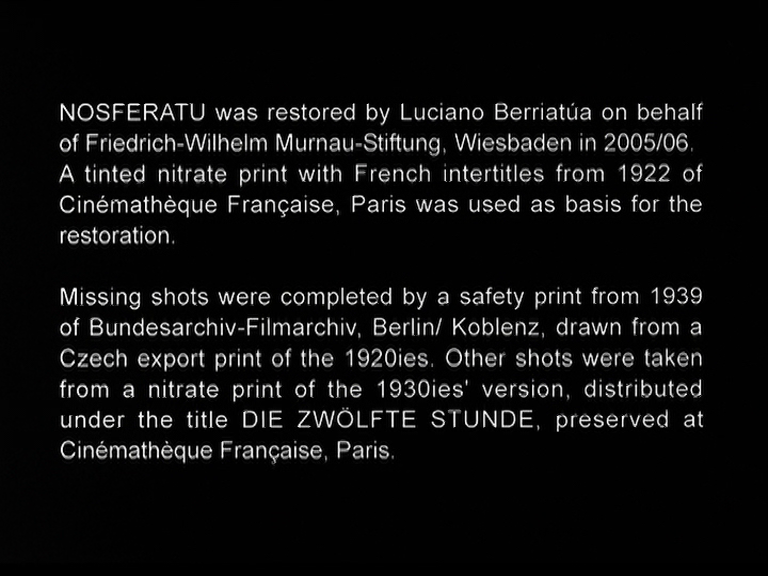
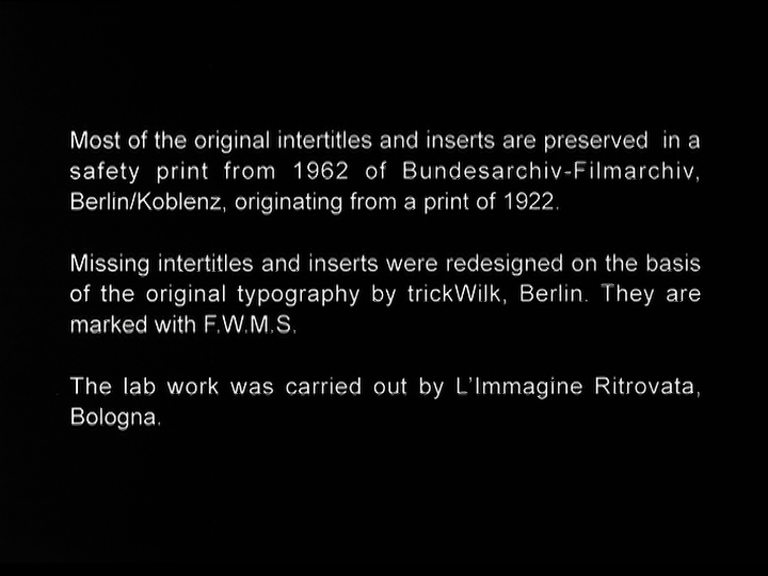
This one has a history.
Al copies had to be destroyed ( Stokers Widow ordered it, because it was not authorized https://rosenbach.org/blog/the-destruction-of-nosferatu/ )
So this version I saw, was put together using multiple sources. Like a Frankensteins monster.
But is it a well made movie, which had a great influence on dracula movies to come.
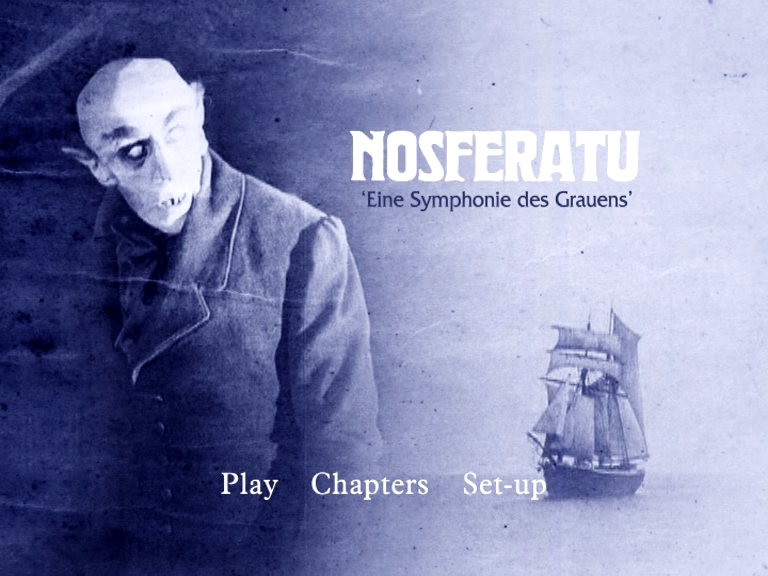
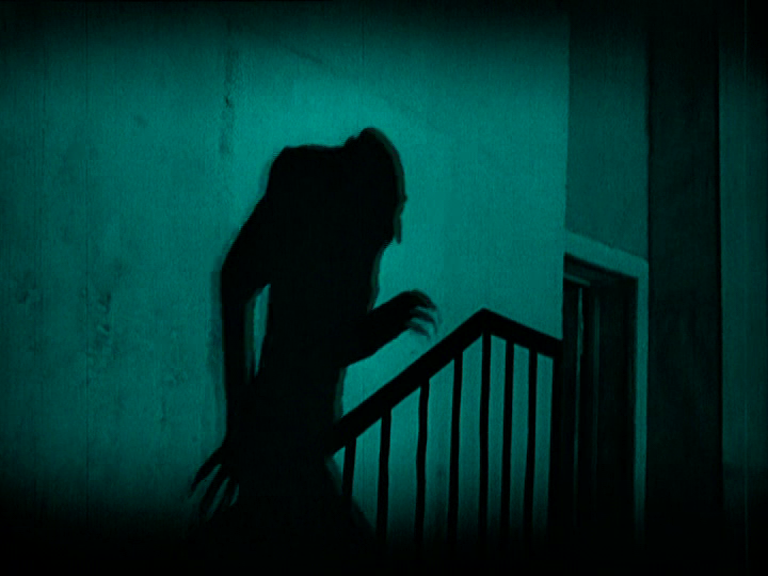
Max Schreck as Orlok is amazing! There is something in his statue/movement.